Snack Box Sketchbook Making | New Year, New Hobby 2024
Welcome to Week 3 of the New Year, New Hobby Series!!!
Back in November, I wrote a blog post called “Fear of the Pretty Sketchbook.”
It was about being afraid of wasting high-quality and pretty art supplies or materials on projects that didn’t seem worthy. In that post, I talked about deciding to make some low-stakes sketchbooks using snack and cereal boxes. The goal was for these ugly sketchbooks to eventually lessen my fear of using pretty sketchbooks. The problem and blessing is, those snack and cereal box sketchbooks ended up looking pretty cool!
That post and personal project inspired this week’s hobby experiment,
Snack Box Sketchbook Making!
Before we get into the tutorial, I want to warn you that your sketchbook may not look like mine by the end… And that is okay! I have been binding sketchbooks with this ONE singular form of stitching for a few years now, so I’ve had a LOT of practice. Even so, I still make mistakes during the process and have to watch tutorials from others to refresh my memory if it’s been a while. If I do my best to write the instructions as clear and explanatory as I can, and you do your best to follow them, your sketchbook should hold up.
And if it doesn’t, you can fully blame me!
Basically, what I’m tryna say is, take your time and be easy with yourself in this process. We’re all learners here.
TUTORIAL
For this hobby you will need the following supplies:
A Snack or Cereal Box
15 Sheets of Paper
A Ruler
A Pencil
Scissors or a Box Cutter
Thread
A Sewing Needle
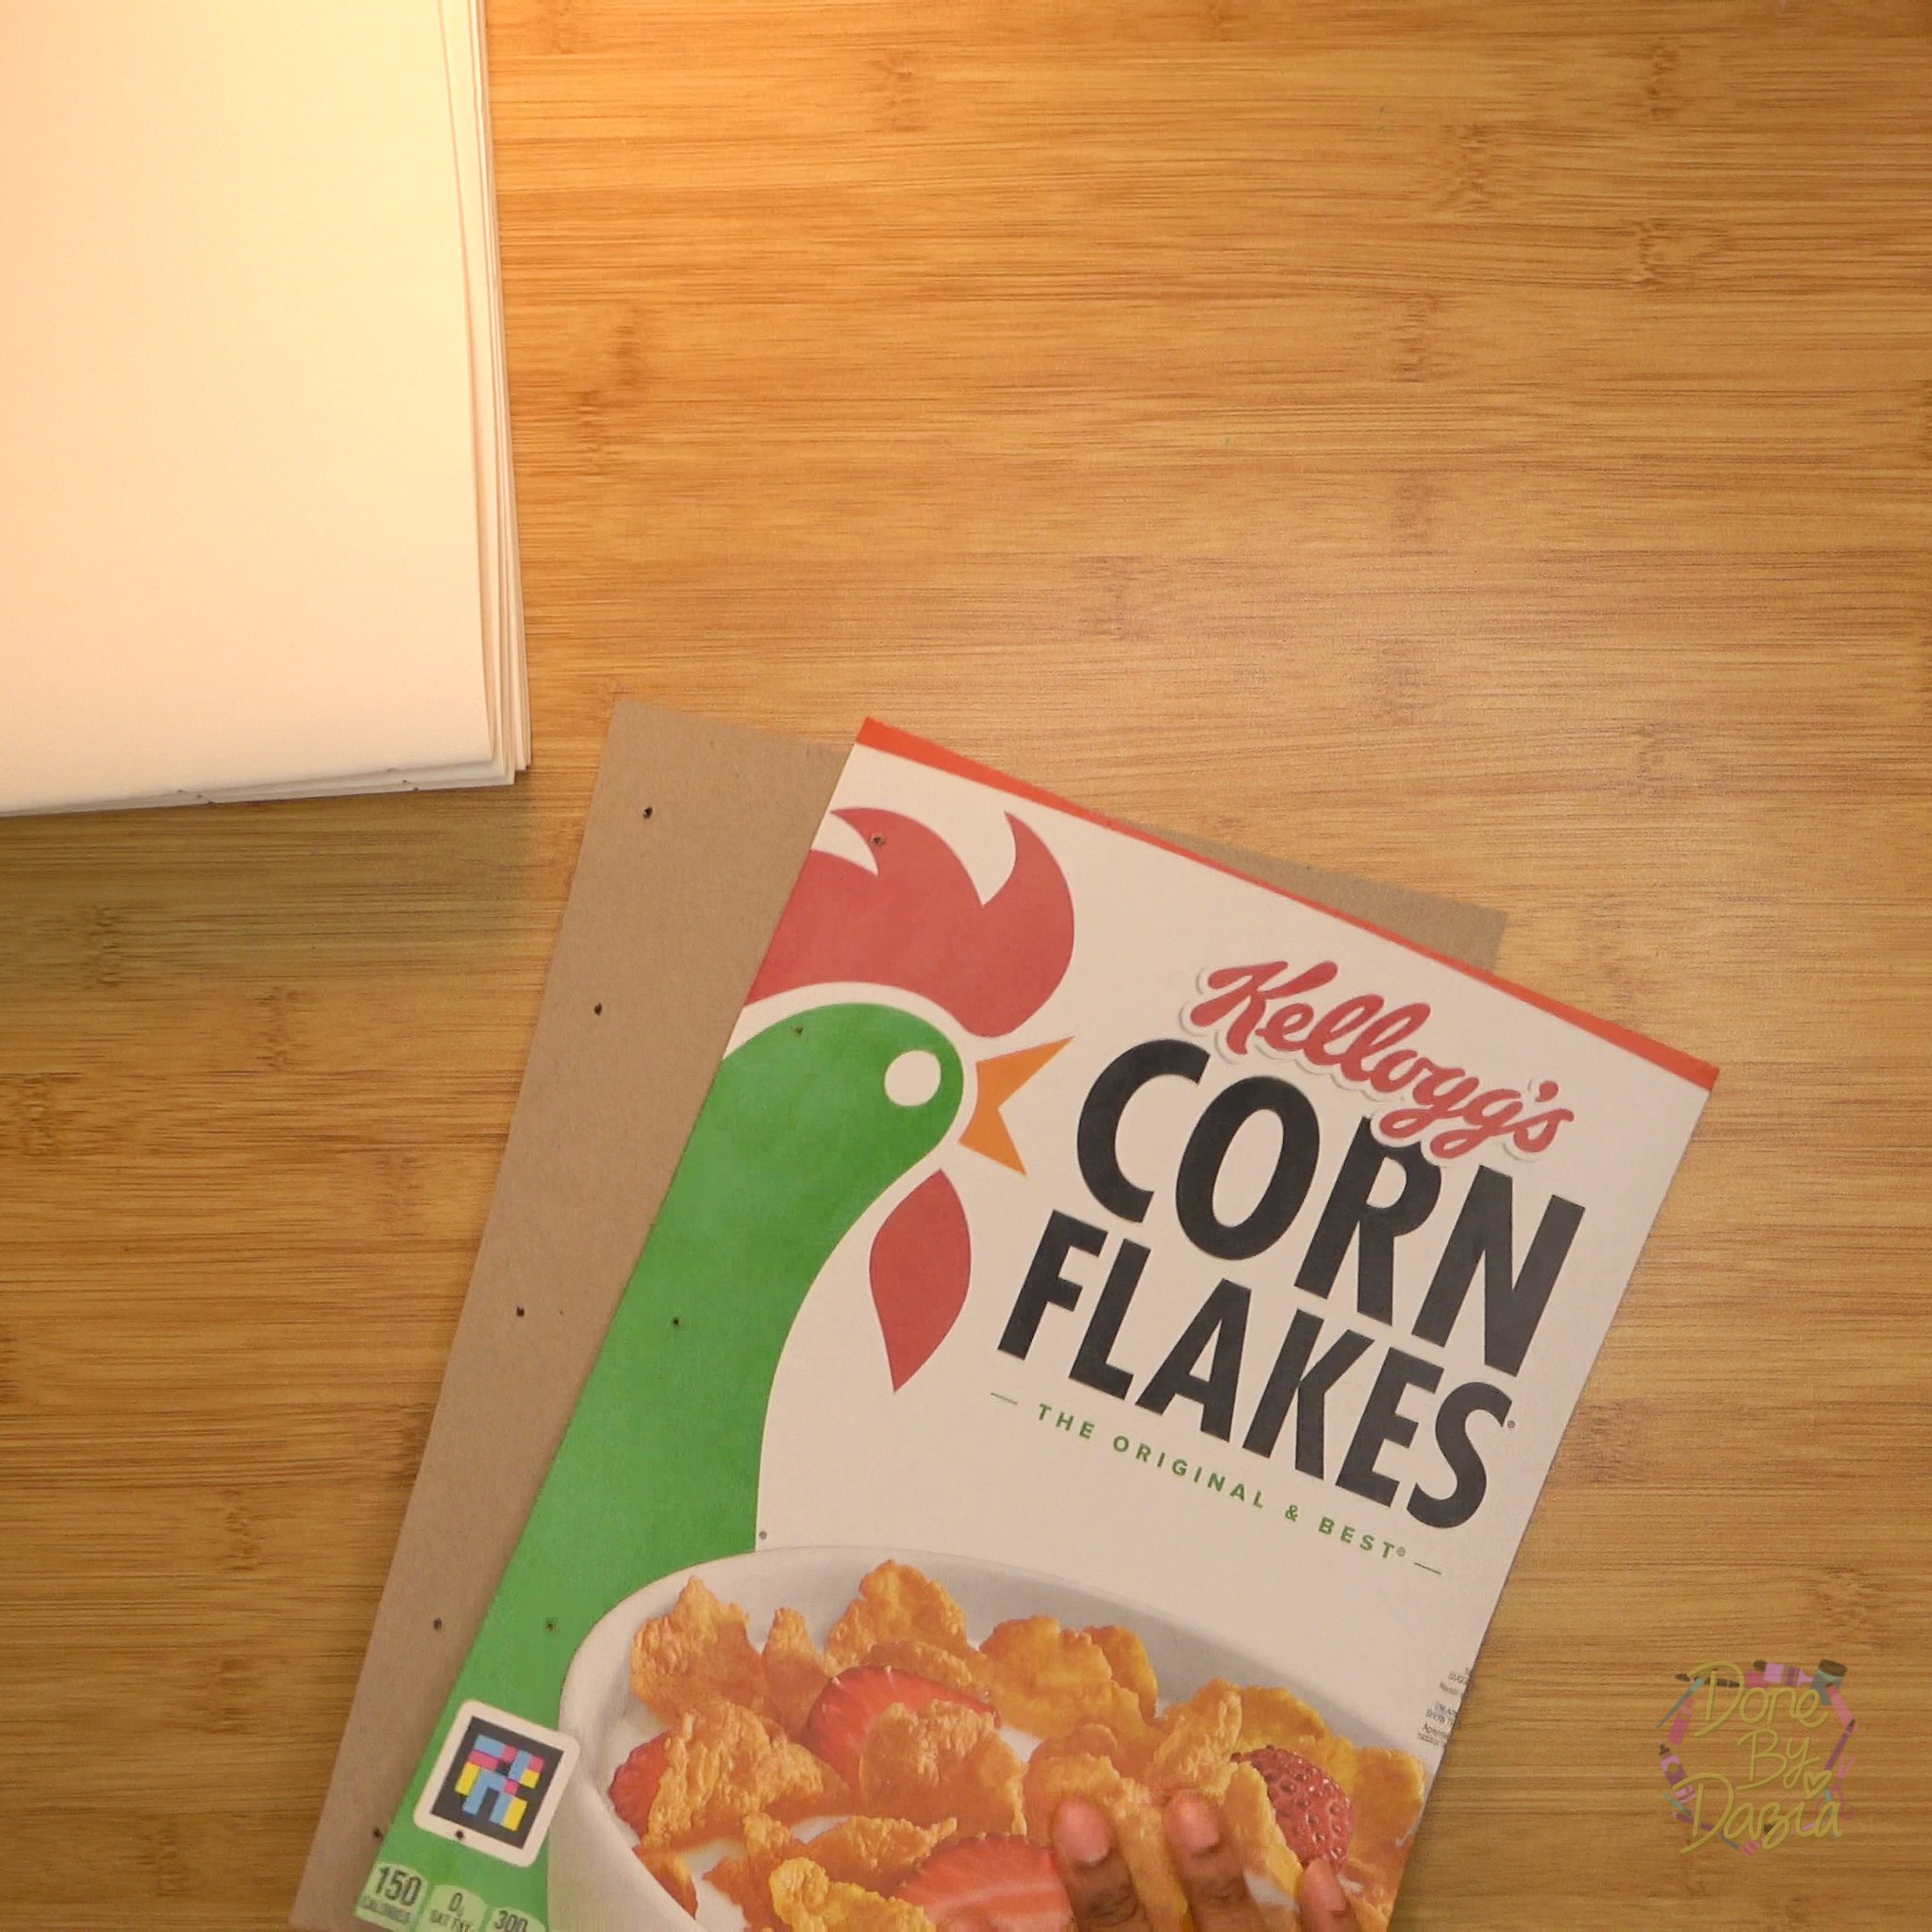
First, you’ll need to deconstruct your snack or cereal box. You’ll have to find the seam that holds the box together and carefully pull it apart so that the box is completely open and flat.

Next, we’re going to isolate the 2 larger portions of the box (typically the front and backside of the snack or cereal box) by cutting off all the extra bits of the box. This includes the sides of the box as well as the flaps on the top and bottom. The separated front and back sides of your box will be your sketchbook's front and back cover.


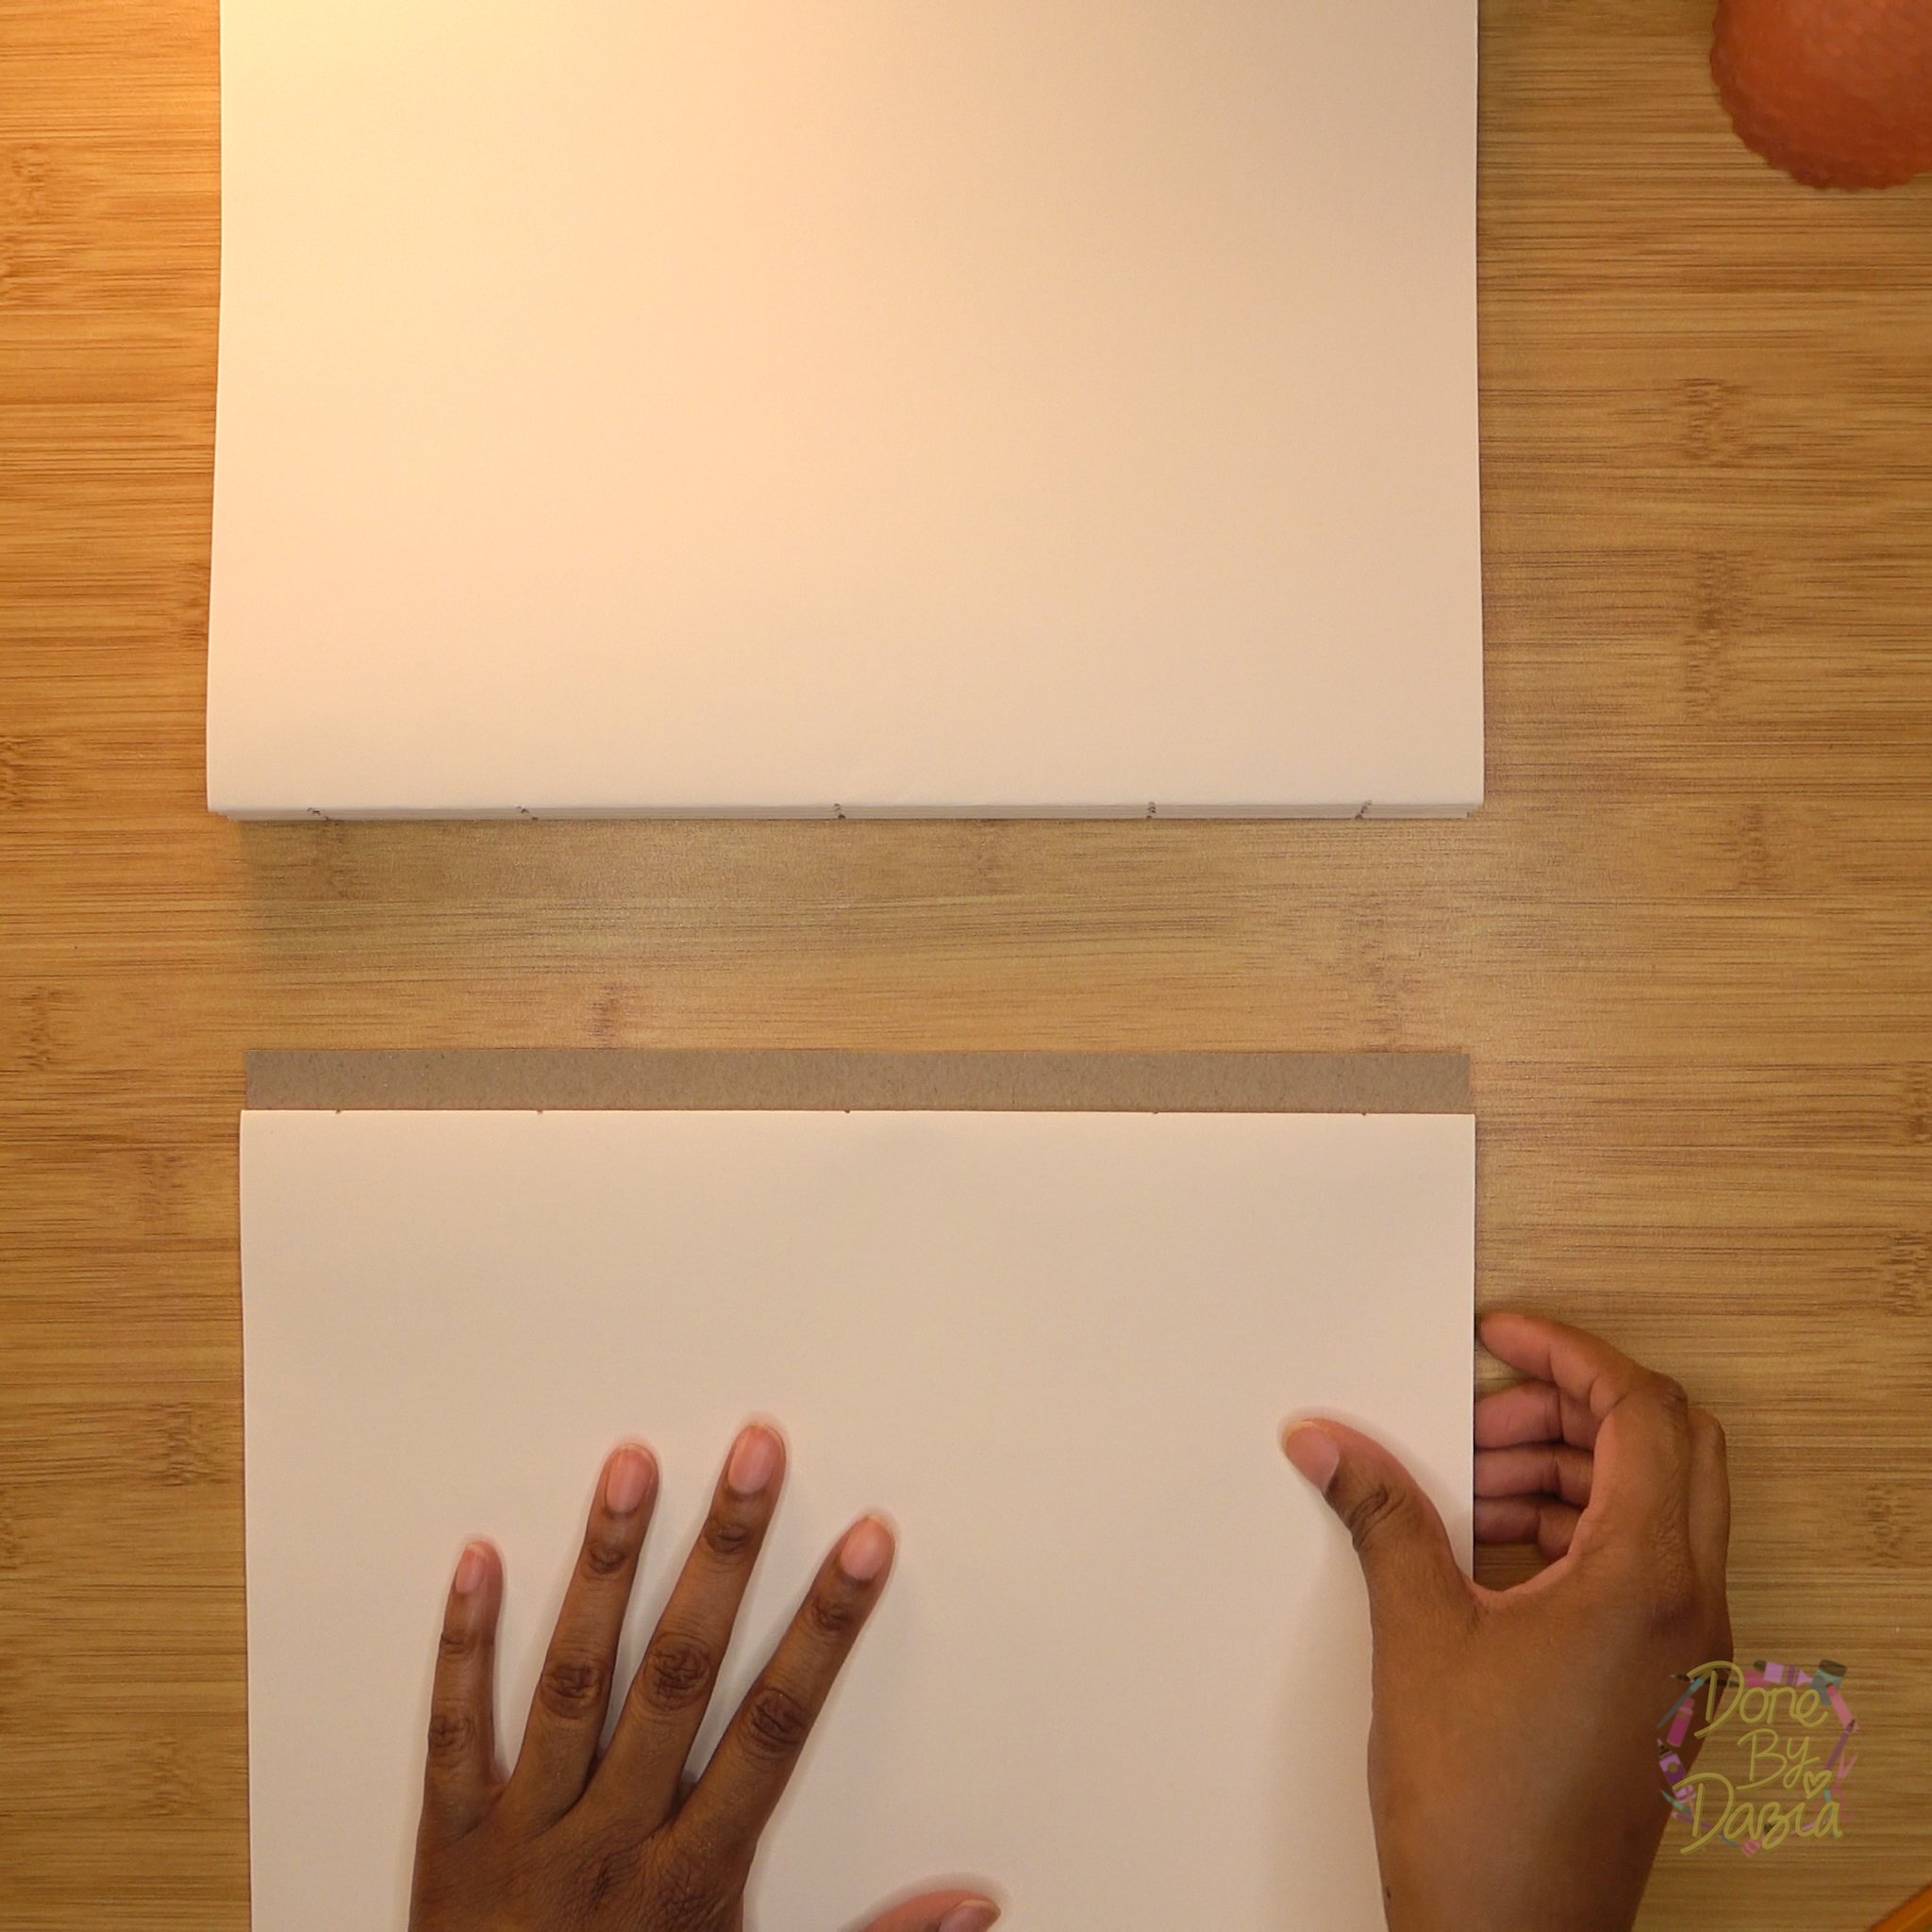
Great, now it’s time to deal with our paper. Whatever paper you decide to use inside your sketchbook should be (when folded in half hamburger style) about the same size or smaller (horizontally and vertically) than your sketchbook covers. Smaller is okay because you’ll be cutting down the size of your sketchbook covers to match the paper.
If, when folded in half, your paper is longer on either side than your sketchbook covers you’ll need to cut your paper down to size.
To do this you’ll want to fold a spare sheet of paper (not one of the 15 for your sketchbook) in half and lay one of your sketchbook covers on top of it lining up at least one corner of the folded paper with a corner of your sketchbook cover. Then take your pencil and draw two lines tracing the long side and short side of your sketchbook cover onto the folded paper.
After setting your sketchbook cover aside, use your ruler to trace two lines about a centimeter below both of the lines you just traced from the sketchbook cover.
You’re doing this because you’ll be cutting down the sketchbook covers at least a little bit in size later to make sure they match, and your lines are as straight as possible.
With your spare sheet of paper still folded, cut along the two lines you just traced with your ruler, so your paper is now the proper size. This will act as your template for the actual sketchbook paper you’ll need to cut.
Unfold your paper template and lay it on top of a sheet of your sketchbook paper, lining up one set of the corners.
Line your ruler up with your template and trace along the ruler's edge (not the template’s edge) onto your actual sketchbook paper. Do this for both the long and short side.
You’re using a ruler to transfer these lines because our cuts may have been a lil wobbly but your ruler shouldn’t be!
Before we go into the next step, I need to explain a signature is in the context of bookmaking. A signature is a group of folded papers that are sewn into a sketchbook or regular book at the same time, nested into one another.
For example, in my Done By Dazia sketchbooks, I typically include 5 signatures. Each signature is made up of 5 folded pieces of paper stacked/layered/nested into one another. That means I use 25 sheets of paper in total, which, folded together and stacked, make 50 sketchbook pages (100 when counting front and back). Not only does it expand the number of workable pages, but it also allows for the pages and book to be sewn together in a very secure way with less fear of tearing.
I’m explaining this now because you have two options for cutting all your sketchbook papers to size. You can trace the template onto each of them, which would take more time and you might wind up with each sheet of paper being a little wonky when stacked together (nothing wrong with that though, it could look really cool and organic). Or you can decide now if you’ll have three 5-page signatures, or five 3-page signatures in your final sketchbook. This would mean you’d only have to trace the template onto 3 or 5 sheets of paper, and you could cut all the sheets of paper for each signature at the same time. You might still lack some uniformity between signatures, but it would be less noticeable when all sewn together.
Once you decide what you want to do, line up your ruler with the template and trace along the ruler edge (not the templates) for the long and short sides on as many sheets of paper as you need to, and cut all of your sketchbook paper down to size accordingly.
Woohoo! You got the hardest part done, I’m proud of you!
Now you’re going to fold each sheet of paper in half and assemble your signatures. You can individually fold each sheet of paper in half and then stack/layer/nest the appropriate number of papers together or you can stack/layer/nest sheets of paper together according to how many signatures you decided on, and then fold each signature in half together.


Individually folding will, of course, take more time but bookbinders say that doing so makes the papers line up better. I tried it for the first time while making this sketchbook and didn’t notice a huge difference.


When you have your signatures, stack them on top of one another and position them so that they’re aligned and standing straight up on your work surface.

From this angle, decide which signature is the tallest and widest. Whichever is will be used as your template to trace onto the insides (sides without pictures) of your sketchbook covers. This time you don’t need to line up the corners because you should trace all sides of your signature so that when you cut, we have the straightest lines on every side.

I would again suggest that you use your ruler to trace the sides of your signature onto the inside of the sketchbook covers. Just line your ruler up with the edges of your signature and trace along on the ruler’s edge (not the signature's edge) with your pencil.


Once the tracing is done go ahead and cut out your sleek sketchbook covers!


And with that, we are almost halfway there!!!
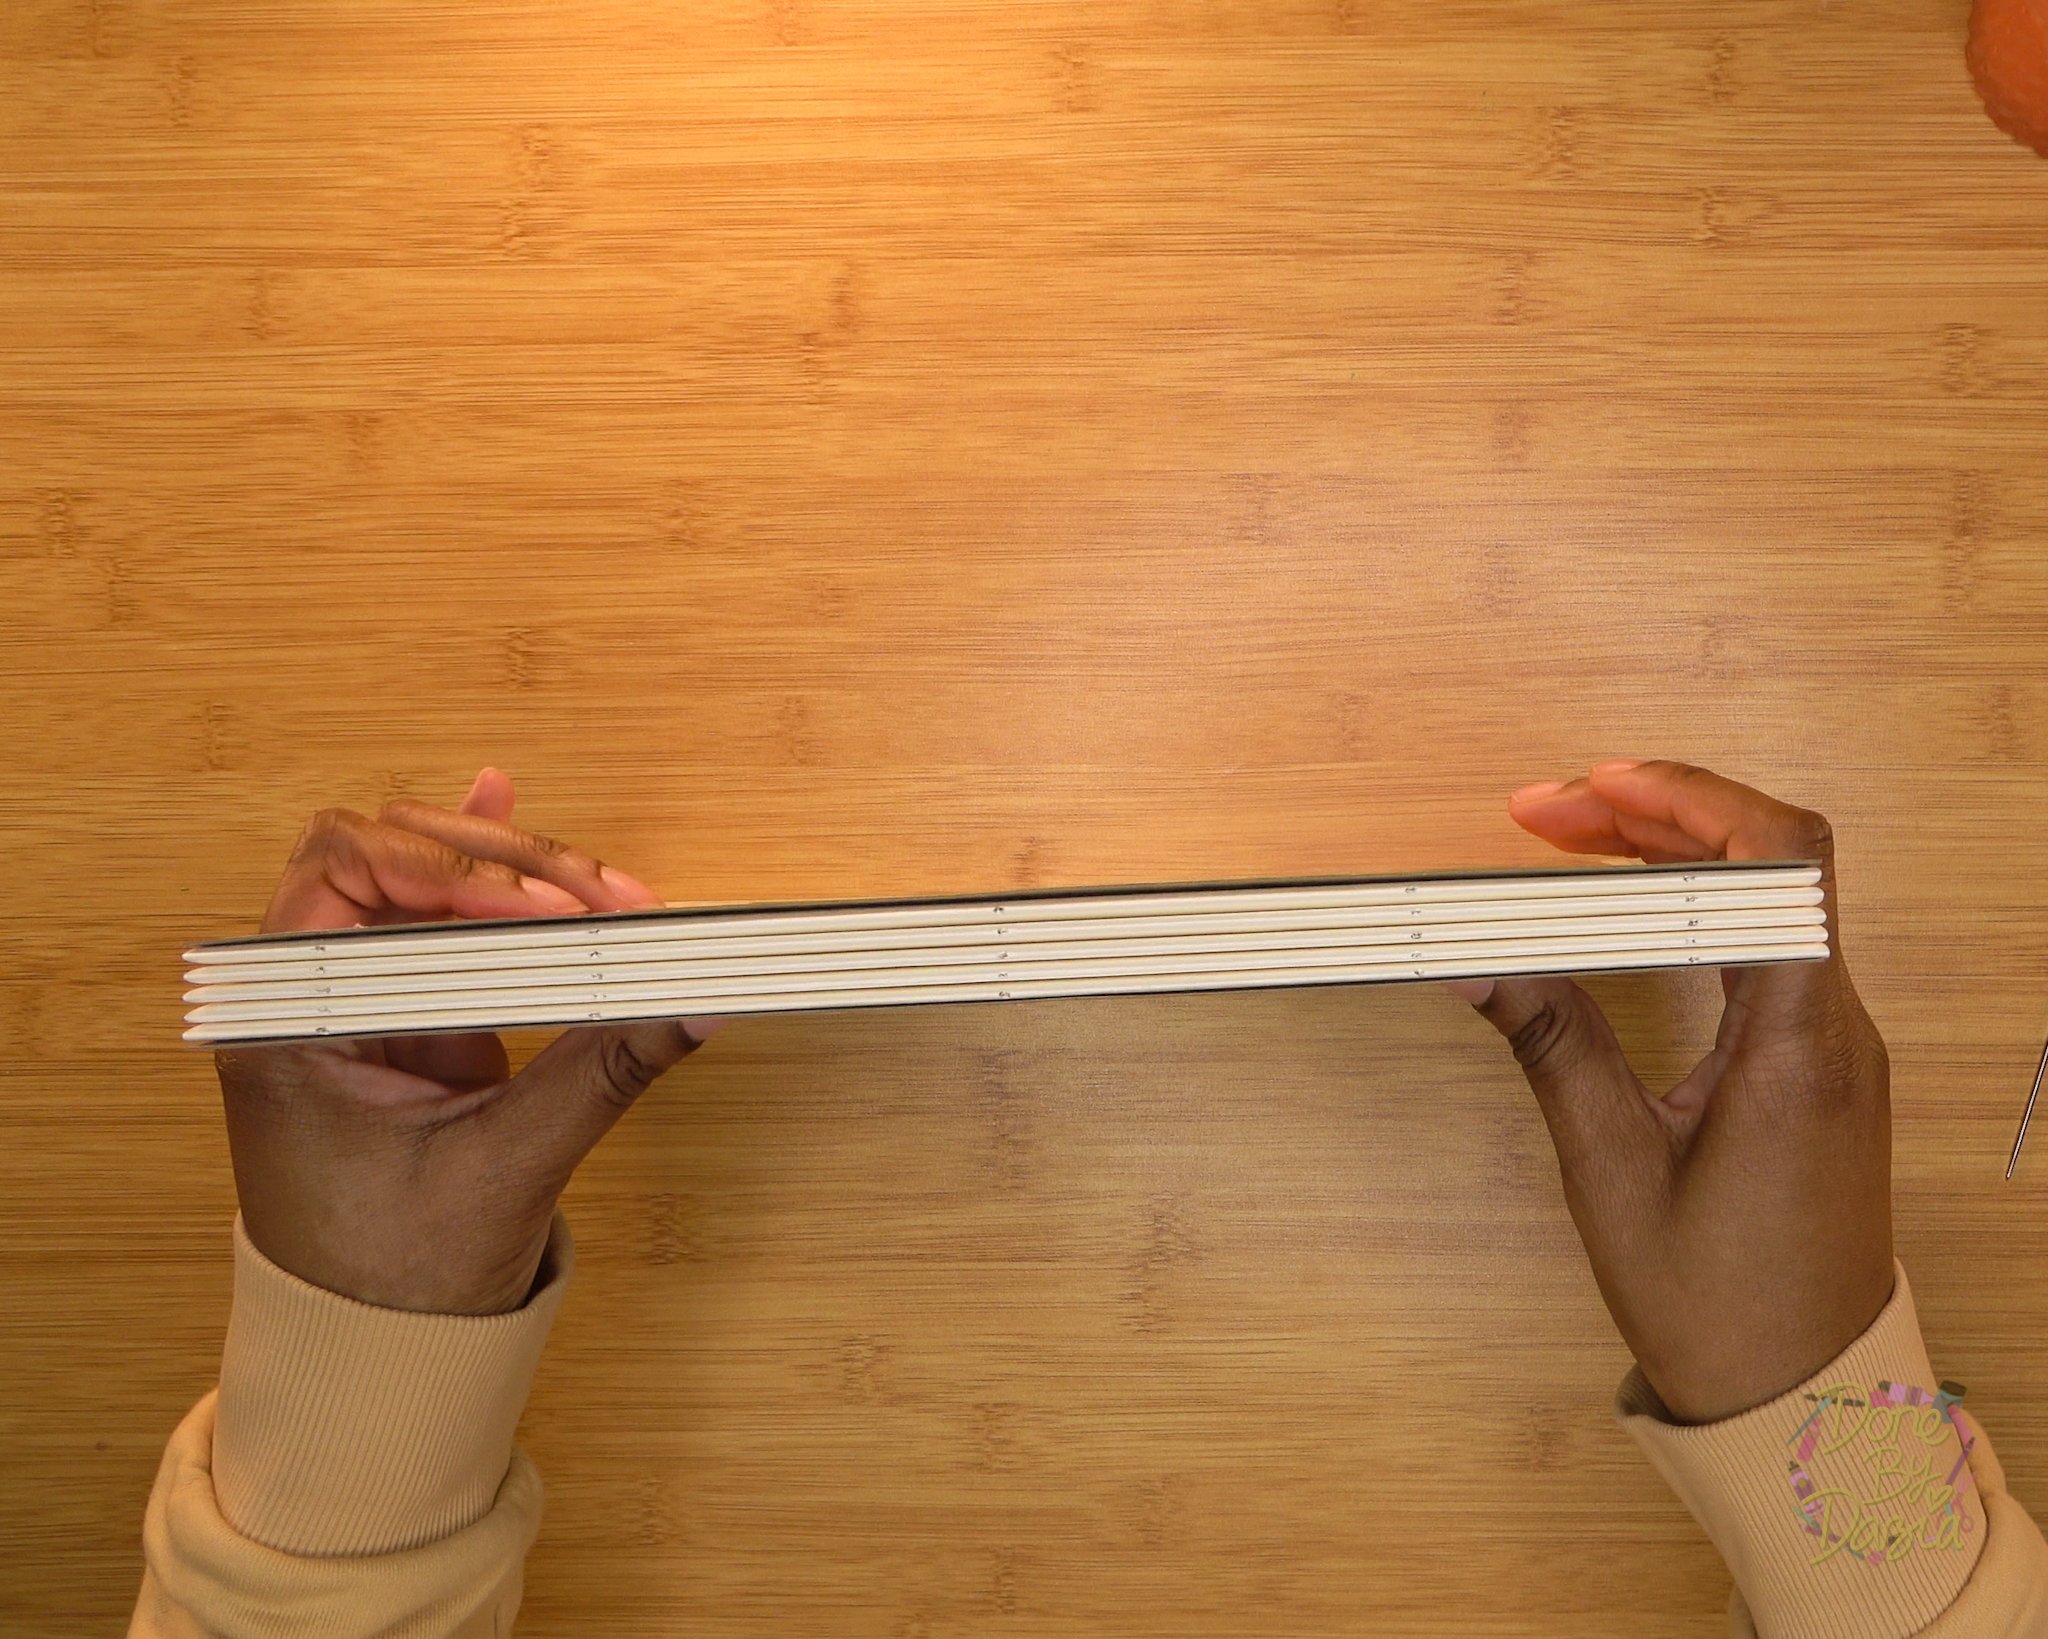
The last step before the latter half of this process, stitching the book together is poking holes in the signatures and the sketchbook's covers.
To do this we first need to mark where the holes will go. We’re going to start with the signatures. You’ll need to stack them on top of one another so that you can mark them all at the same time.
Lay them down and line up your ruler with the long edge on the folded side of the signatures, lining a corner up with the starting line on your ruler. We’re going to make five marks in total with our pencil.

The first two marks will be made 1 inch in from both ends of your signature. With your signatures stacked and lying on their side, drag your pencil up and across the folded edges of all your signatures in a single line. Do this on the folded edges one inch from the bottom of the signature and one inch from the top of the signature.
Make sure the line has left a small mark on each signature, this is where you’ll be poking holes, and later, where the signatures will be sewn together.
The next mark you need to make is in the middle of the signatures folded edge. Use your ruler to find where the middle is for your signatures and make a mark up and across the folded edge of all the signatures. Don’t worry if it’s not EXACTLY in the middle, it’ll still look cool once stitched together.
For your last two marks, use your ruler and pencil to mark the halfway points between your outer and middle marks, or you can use your ruler to make the marks 1-2 inches from your outer marks (depending on how long your sketchbook is).

Now we need to make marks for the cover holes. Decide which will be the front cover and back cover for your sketchbook. Put them together (image sides out) and identify the left long side of the front cover and the long right side of the back cover. Those will be the sides you’ll poke holes in and sew into.
Lay one of your covers down in front of you horizontally, no image side up.
Now lay one signature on top with the folded and marked side matched with the cover’s stitching side.

Lining the long edges up, try your best to make sure the signature is centered in the middle of the cover.

Next, scoot back the folded edge of the signature from the edge of the cover about one centimeter.
Now use your pencil to mark spots on the inside of the cover that align with the marks on the signature.

You may want to press hard while marking these spots so that you’re able to see/find them easier.
Repeat the last few steps to mark the stitching side of your other sketchbook cover.
Done with the marking phase, we’re moving on to poking our holes!

We’ll start with the signatures. To punch a hole through your signatures you’re going to open up the signature and hold it, open side down, in your hand. Spread your fingers so that they are splayed open on either side of the inner crease. You will then line your sewing needle up with a mark and poke through ALL the pages in the signature at once, using your hand to brace the paper and create enough tension to poke all the way through.


Repeat this until all holes are punched for your signatures!

Then repeat the same steps to poke the marked holes through your sketchbook covers.


Wow, we’ve actually made it to the halfway mark!

I’ll be honest, while I recorded pretty videos to grab screenshots of the stitching process, I don’t feel confident in my ability to write out the steps in a way that will be easy to follow as I’ve done for the steps so far.
As I mentioned before, when I come back to bookbinding after a while, I typically watch a refresher video. One video in particular, every time. And so, for the last half of this tutorial I’m going to share that video with you to stitch together your sketchbook!
Before I do though, let me walk you through how to double-thread your needle.
To measure how much thread you need, hold the cut end of the thread in one hand and then pull the thread from the spool until the space between my hands reaches about an inch or so more than the length of the long side of one sketchbook cover.

I continue to pull the thread from the spool until I’ve measured the same amount of lengths as I have signatures.


Then I add two more lengths to account for the covers and just to be safe.
Don’t cut the thread yet!
Once you have gotten the full length of the thread measured out you are going to fold the measured thread at the end and line it up with the thread coming from the spool.

You’re going to double the measured length by holding the two folded strands together while using your other hand to pull the thread from the spool until both sides of the folded thread match each other in length.


Once you’ve done that you can cut your thread from the spool.

Now you’re going to take one end of your thread and feed it through the eye of your sewing needle.


You’ll then take both ends of your thread and tie them together!


BOOM! You’ve officially double-threaded your needle, GO YOU!
The video I refer to for a refresher on the coptic stitch bookbinding process was made by the YouTuber Sea Lemon and you can watch the video HERE!
*anxiously waits for you to stop cheating on me and come back*
How did it go?!?! Are you happy with your Snack or Cereal Box Sketchbook?!?!
I hope so! But if not, the offer still stands to blame me!
Well, not to brag but… I feel pretty great about mine!


I’ve been wanting to make a larger-scale sketchbook for a while now and using the mega-size Corn Flakes box made that dream come true!
And if YOUR dream was to make a sexy sketchbook by hand, I hope that dream came true for you!
Be sure to tell me what you think and show me what YOU made!!!
If you’re one of my newsletter besties, you can reply directly to the weekly emails I send you about the week's hobby experiment. If you aren’t already a newsletter bestie, go ahead and fill out the form at the bottom of any page on my website to join the exclusive club! You can also tag me on Instagram (@KadaziaSparkles) or use the hashtag (#DoneWithDazia) so I can come bear witness to your hobby greatness!
Next week will be the last of the New Year, New Hobby 2024 Series! Stay tuned in your email to find out what hobby experiment we’ll be diving into…
Until then, Hobby-On Fam!