Junk Mail Collage and Sculpture | New Year, New Hobby 2024
Over the summer I saw something going around Art YouTube called the Junk Mail Challenge. From my research, it appears the challenge was started by @Epapere.
The rules she gave herself were simple:
She would pick something from her mail that day and make some sort of collage ephemera with it.
I loved the concept and enjoyed watching other Art YouTubers give it a try.
It is this Junk Mail Challenge that inspired this week's hobby experiment:
Junk Mail Collage & Sculpture!
The tutorial I’m going to focus on in this post will specifically be for a Junk Mail Collage and not a Sculpture. Just know that YOU don’t have to think in 2D. If something inside you screams “ADD ANOTHER DIMENSION!!!” Go for it! The sky is the limit so reach as far as you can!
I want us to really have fun with this one! Well, I want us to have fun with all the hobby experiments... But this specific hobby is going to push you to be imaginative, try new things, get a lil messy, and let go of the fear of being creative the “wrong” way more so than the others.
TUTORIAL
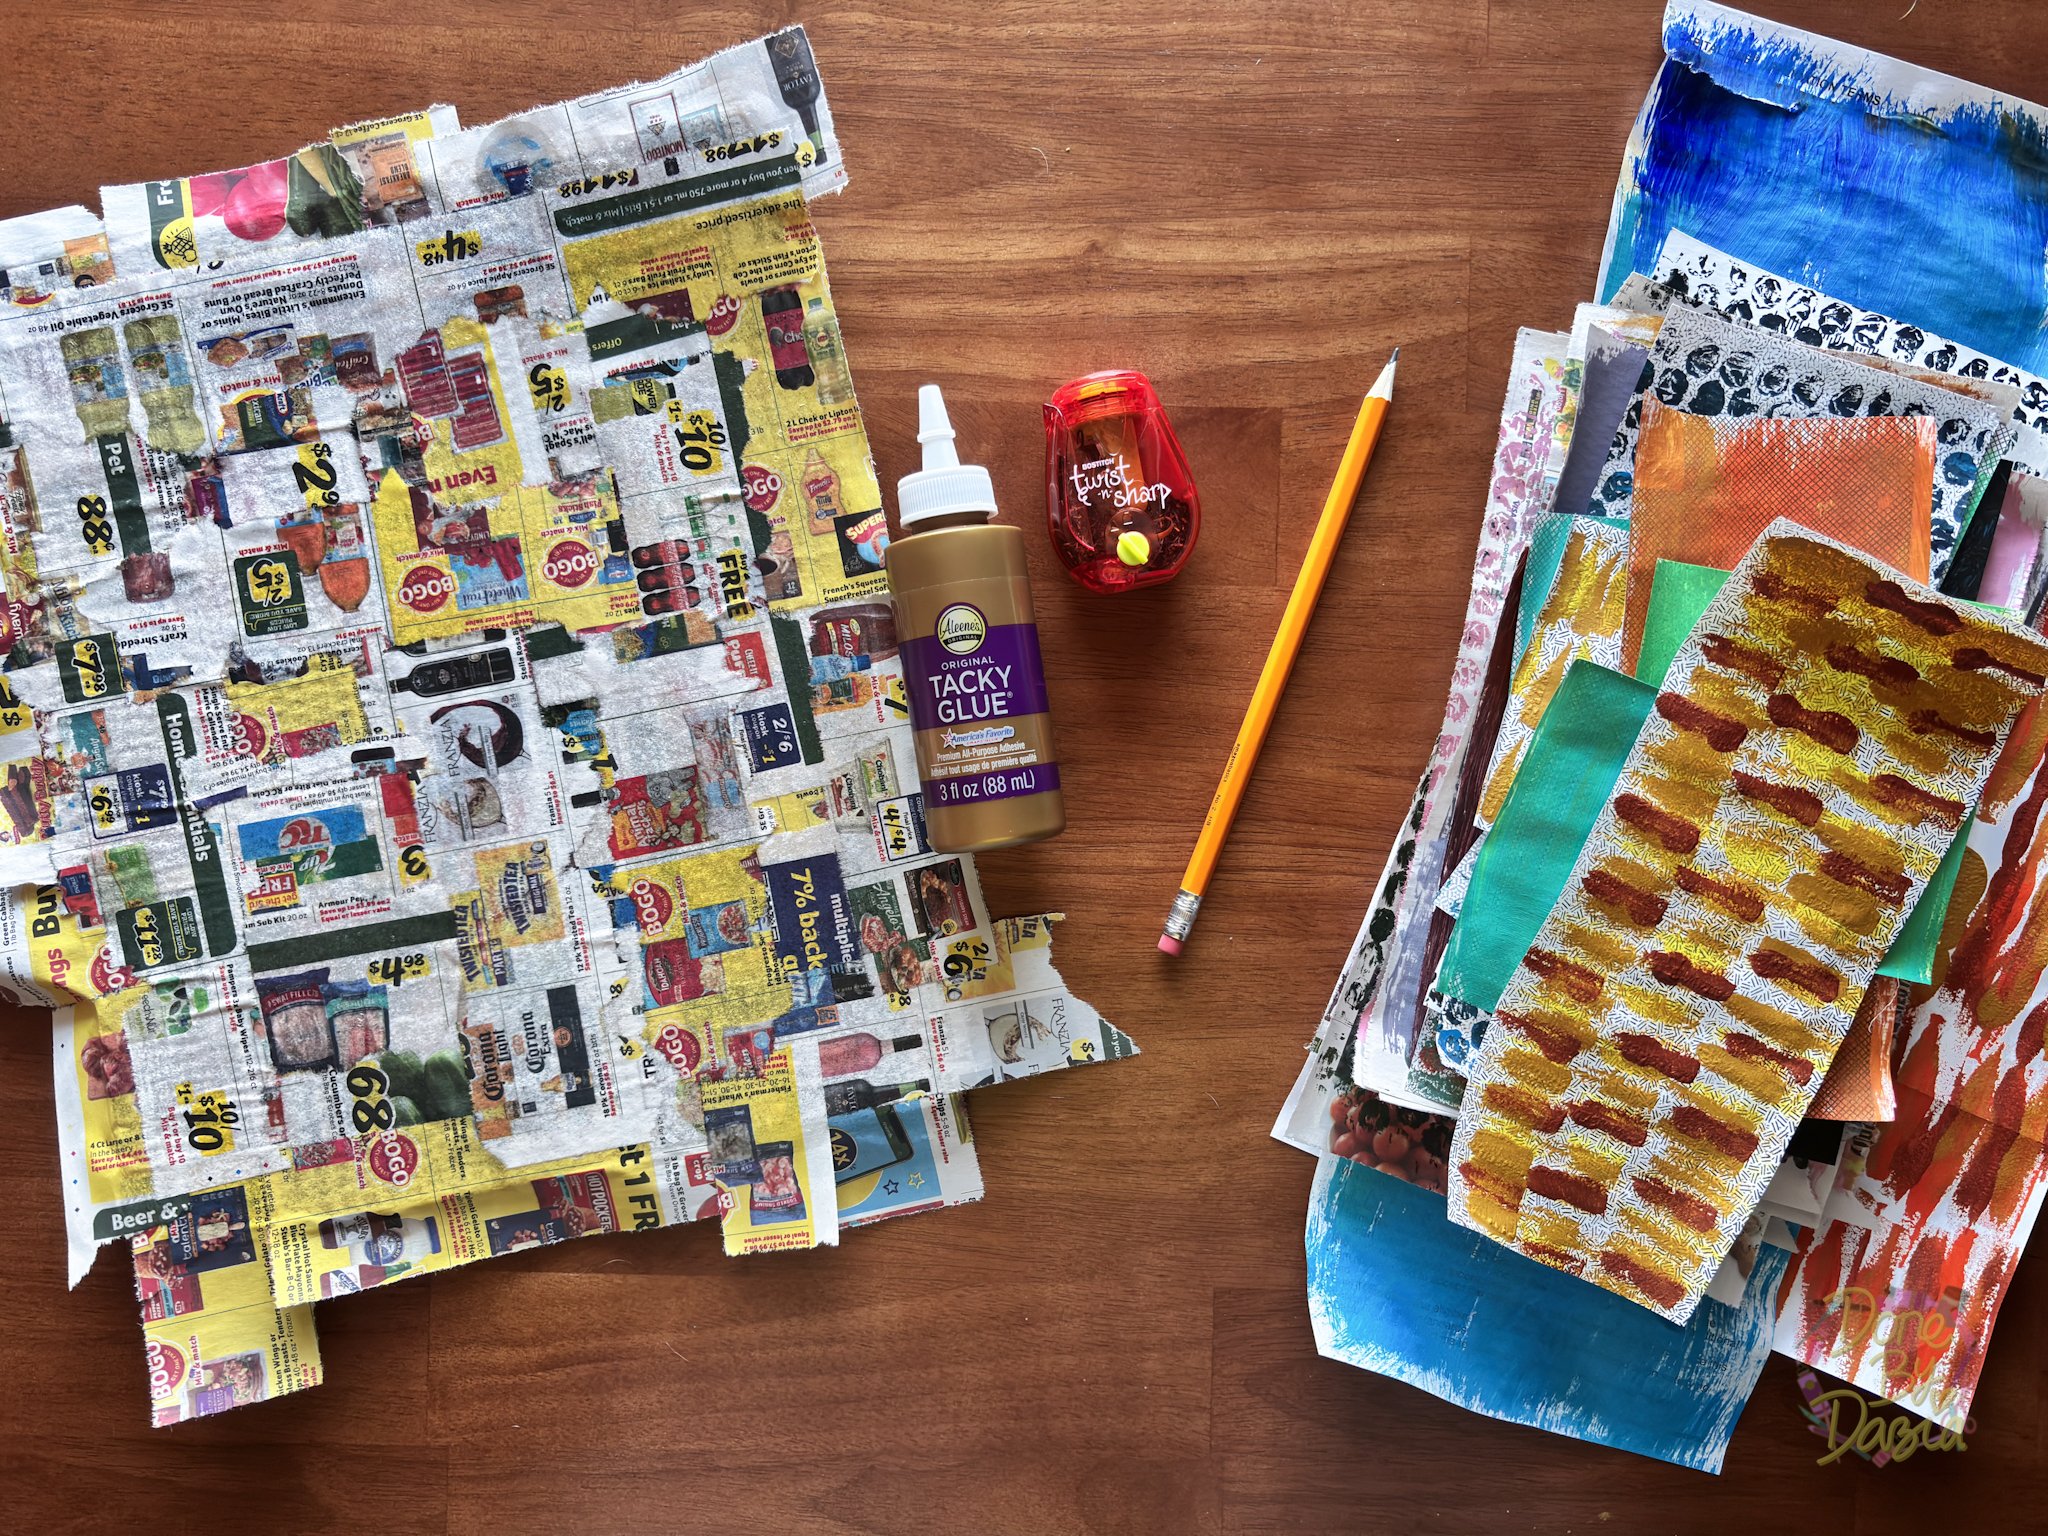
The supplies you’ll need for Junk Mail Collage & Sculpture making are:
Junk Mail
Sheets of Cardboard
Scissors
Glue
Coloring Supplies (optional)
Paints (optional)
Paintbrushes (optional)
I wanted to make sure the junk mail was a focal point in this collage. Rather than saying “I can’t believe it’s junk mail!” I want the reaction to be, “Oh wow, junk mail can look so cool!”
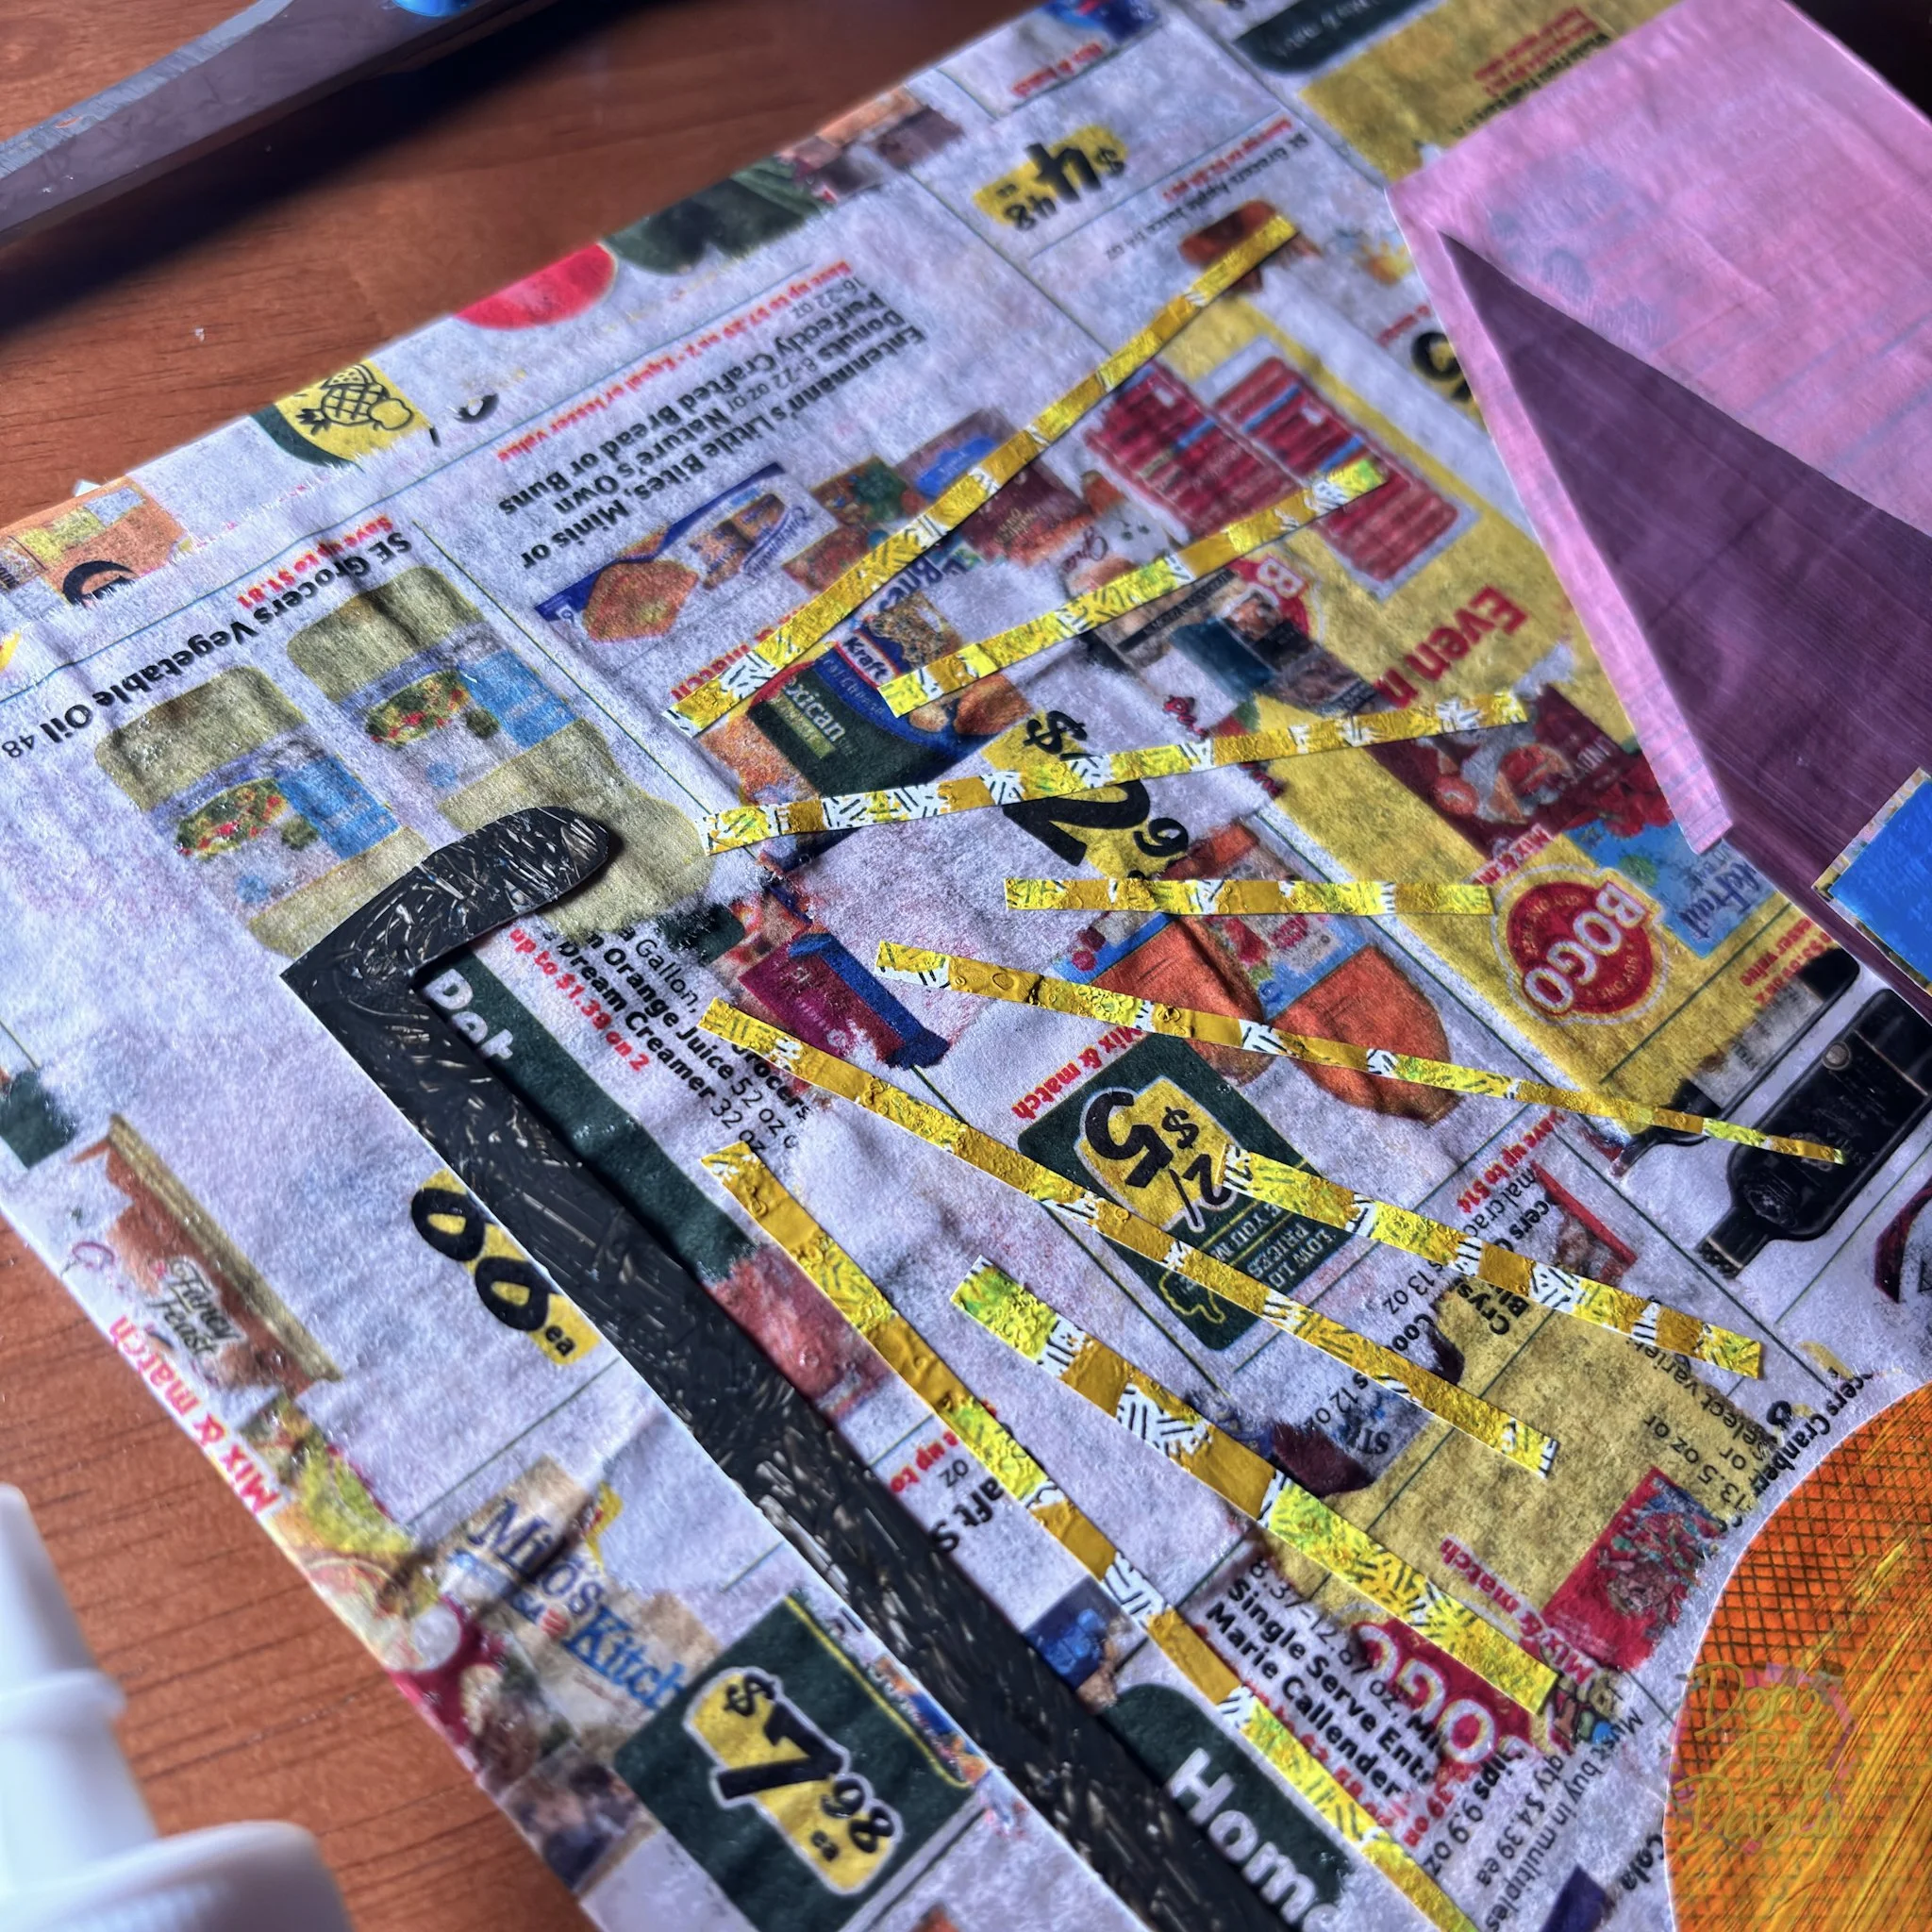
I decided to design the background of my collage using unpainted grocery store fliers!
I ripped the store fliers into strips and glued them down in a very random fashion instead of just gluing a full sheet to my cardboard canvas.
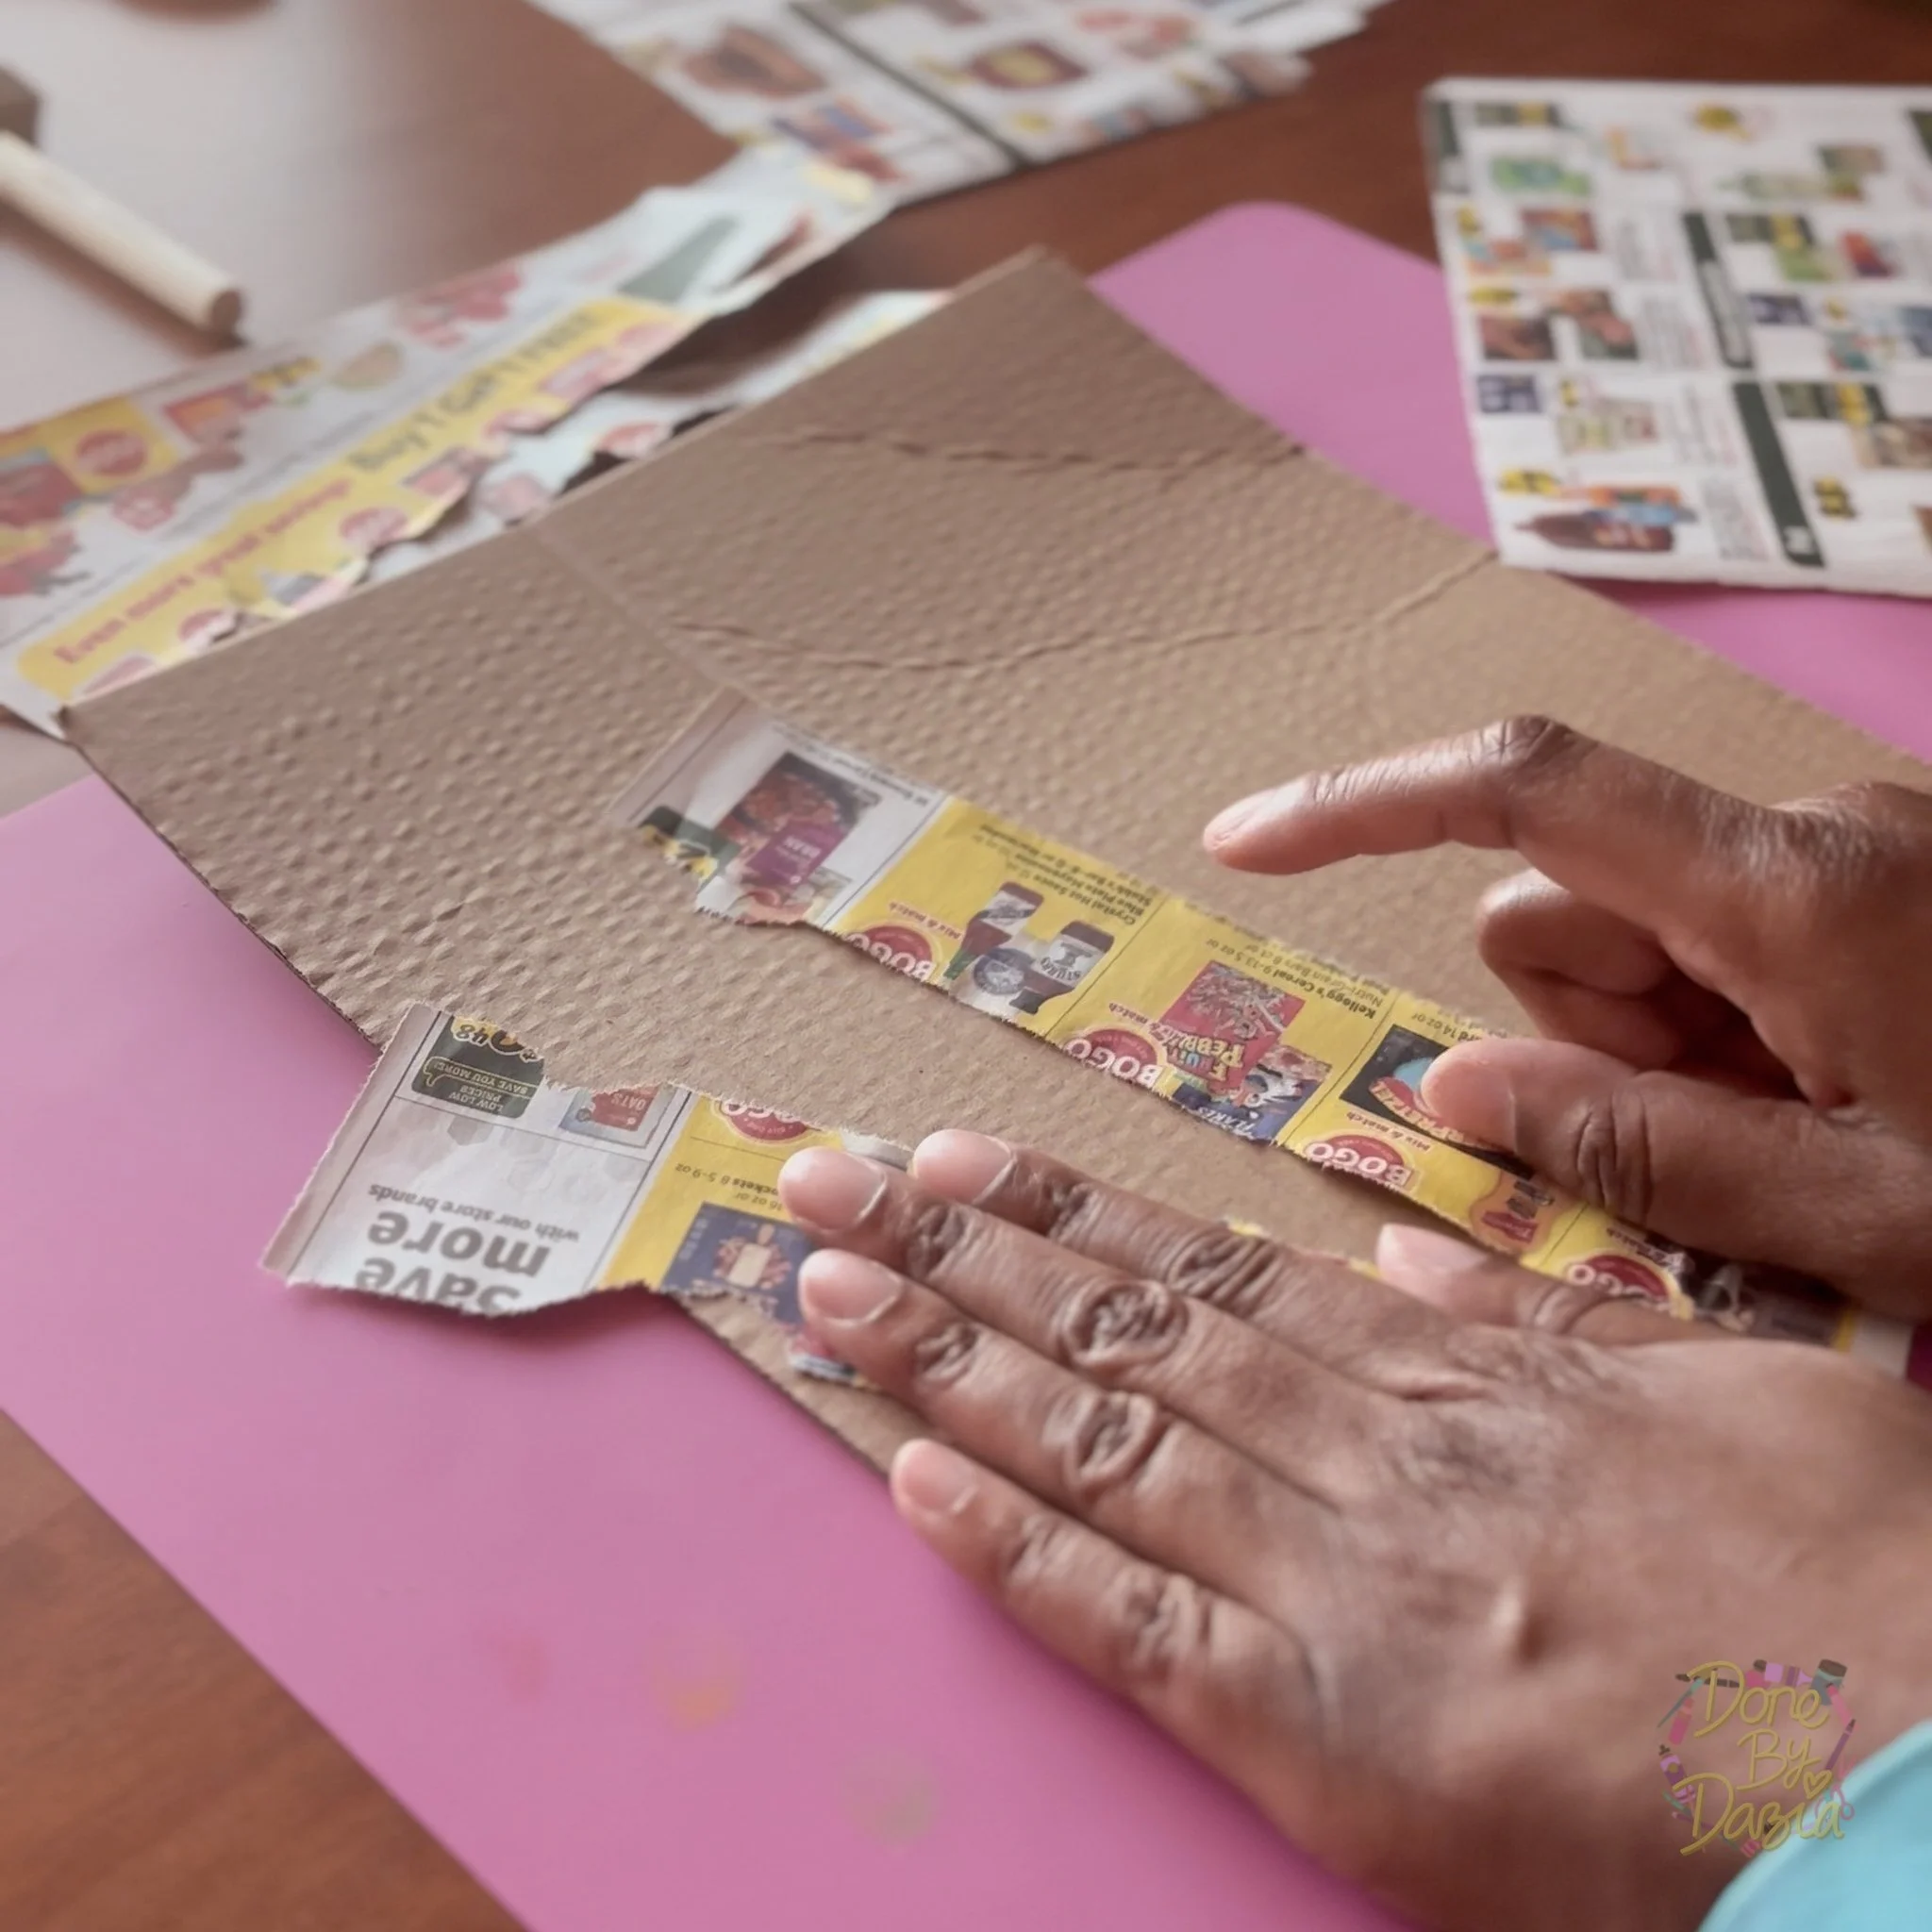
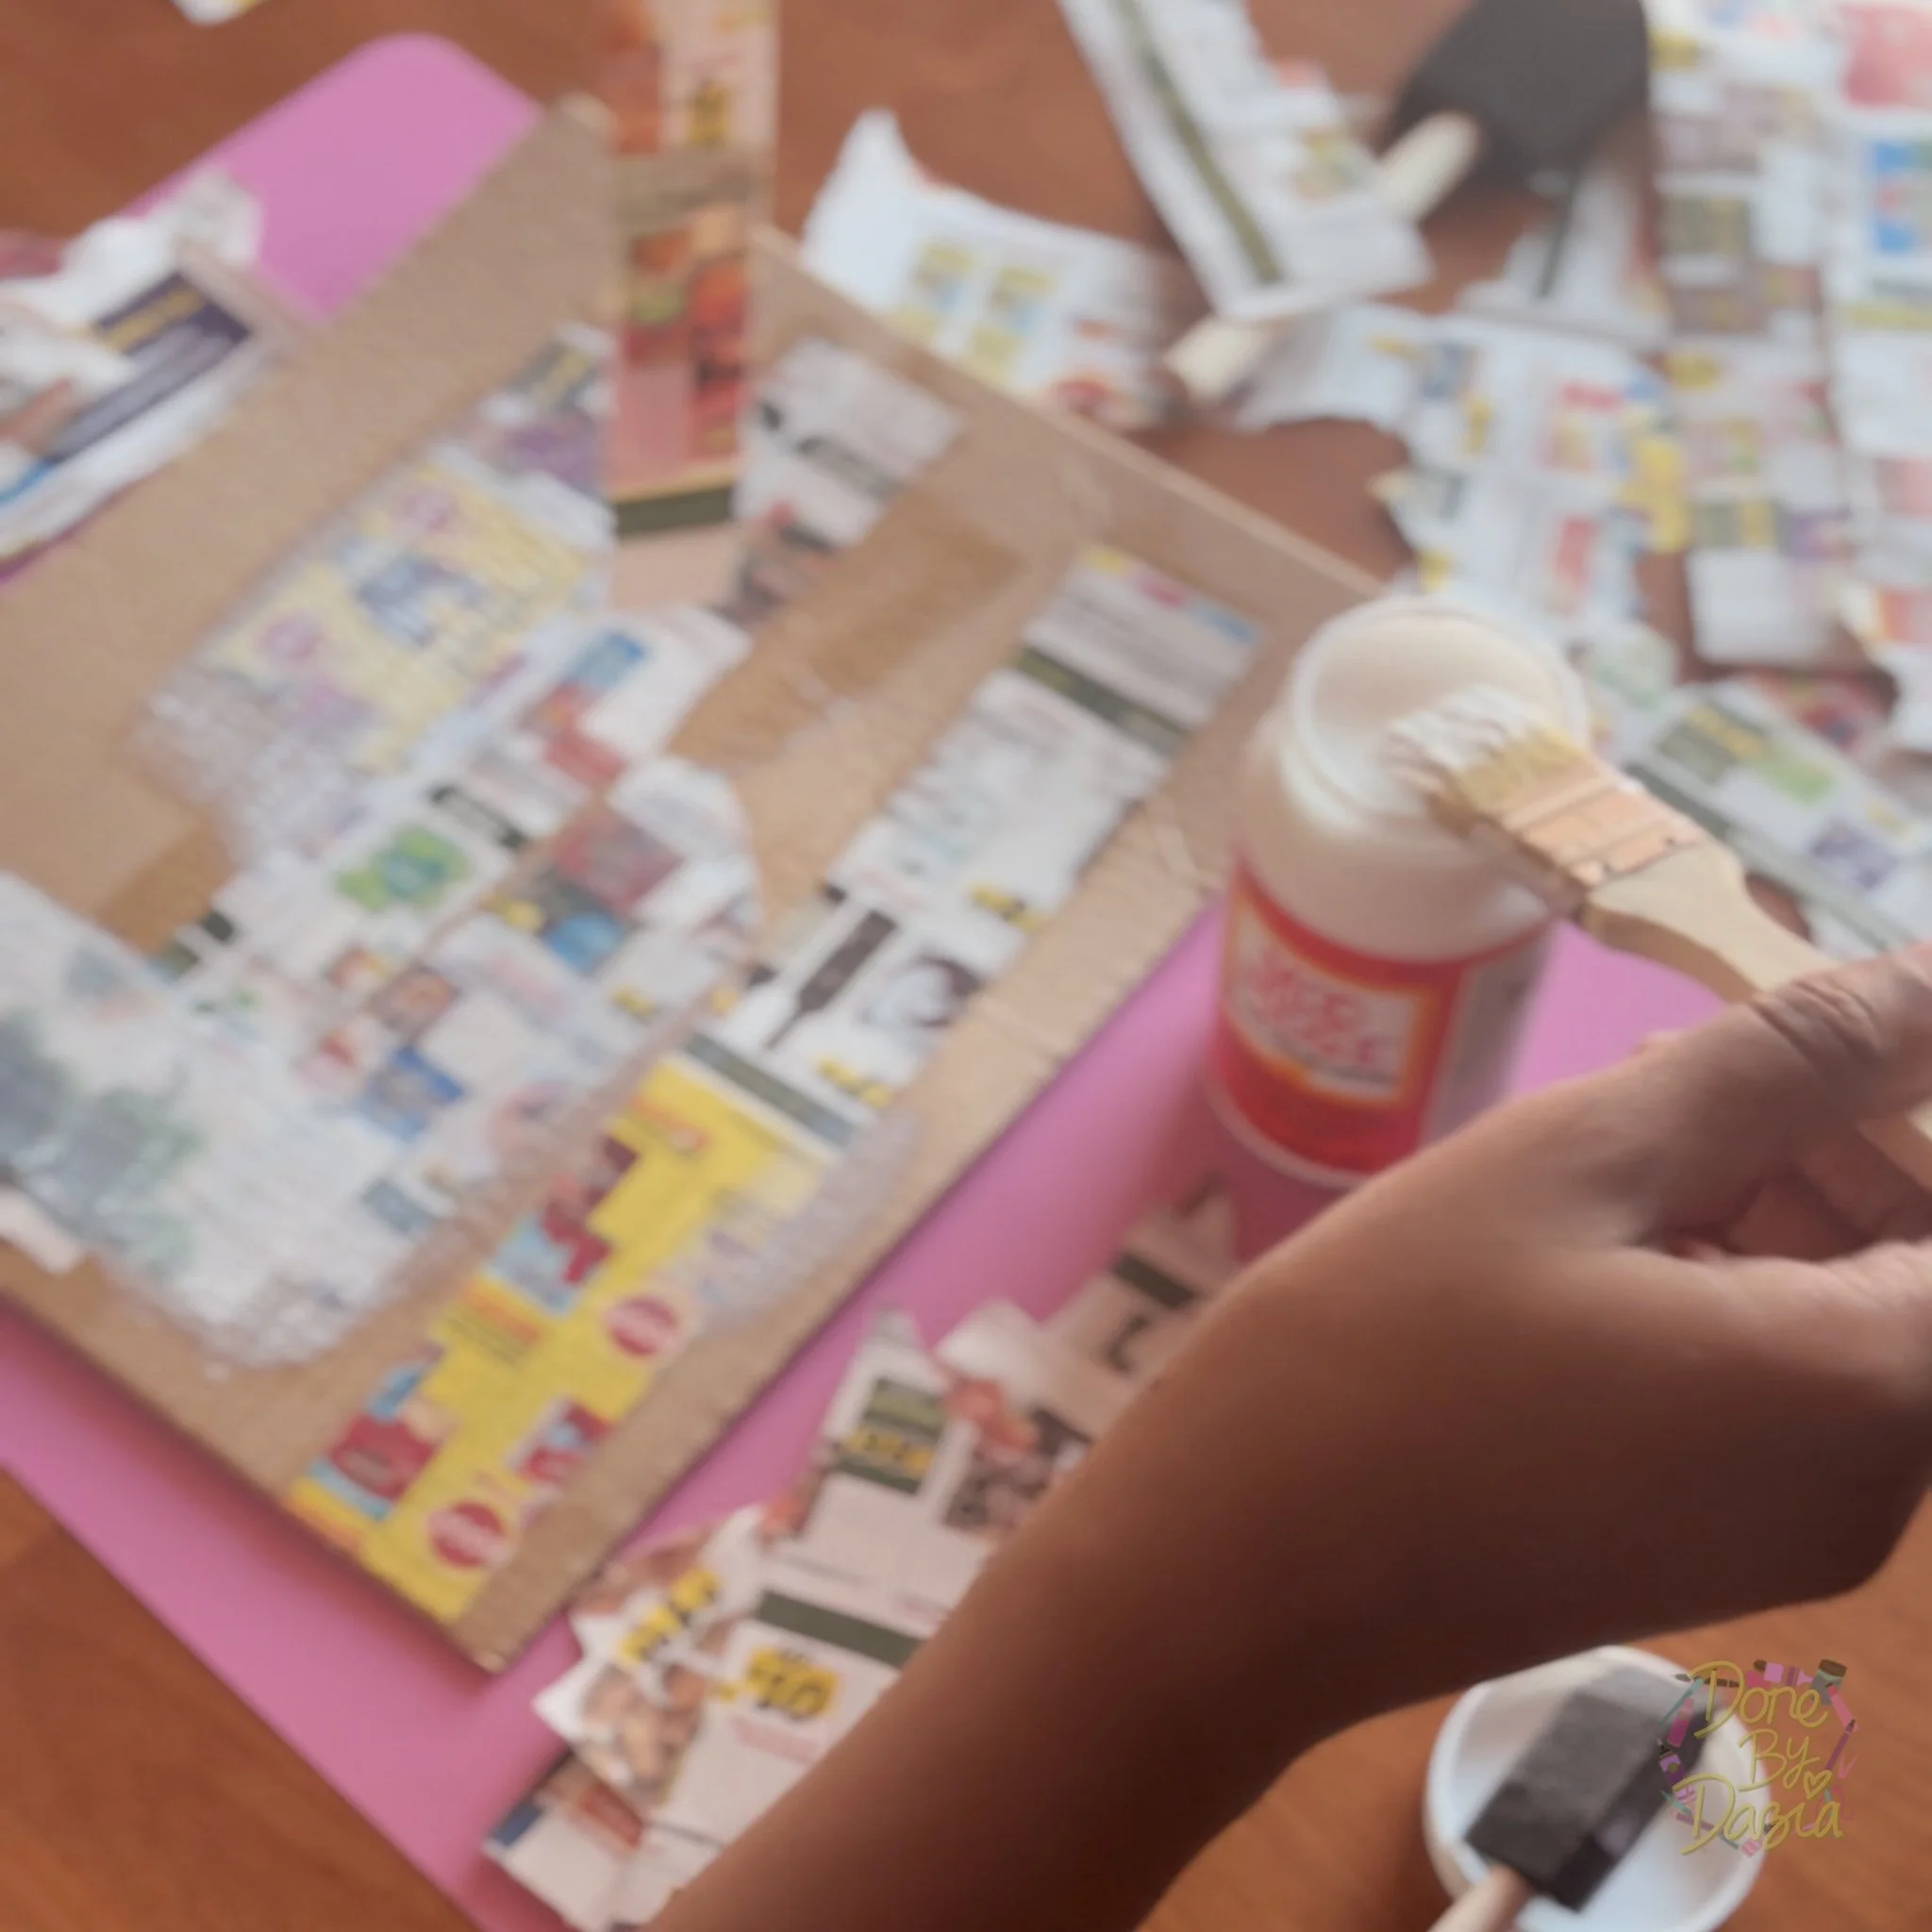
After I had my strips, I used a foam brush and some watered-down mod podge to glue them down onto my cardboard.

I also wanted the flier strips to wrap around the edges of my cardboard canvas. With that in mind, I let some excess hang off the side whenever I glued a strip near the edge.

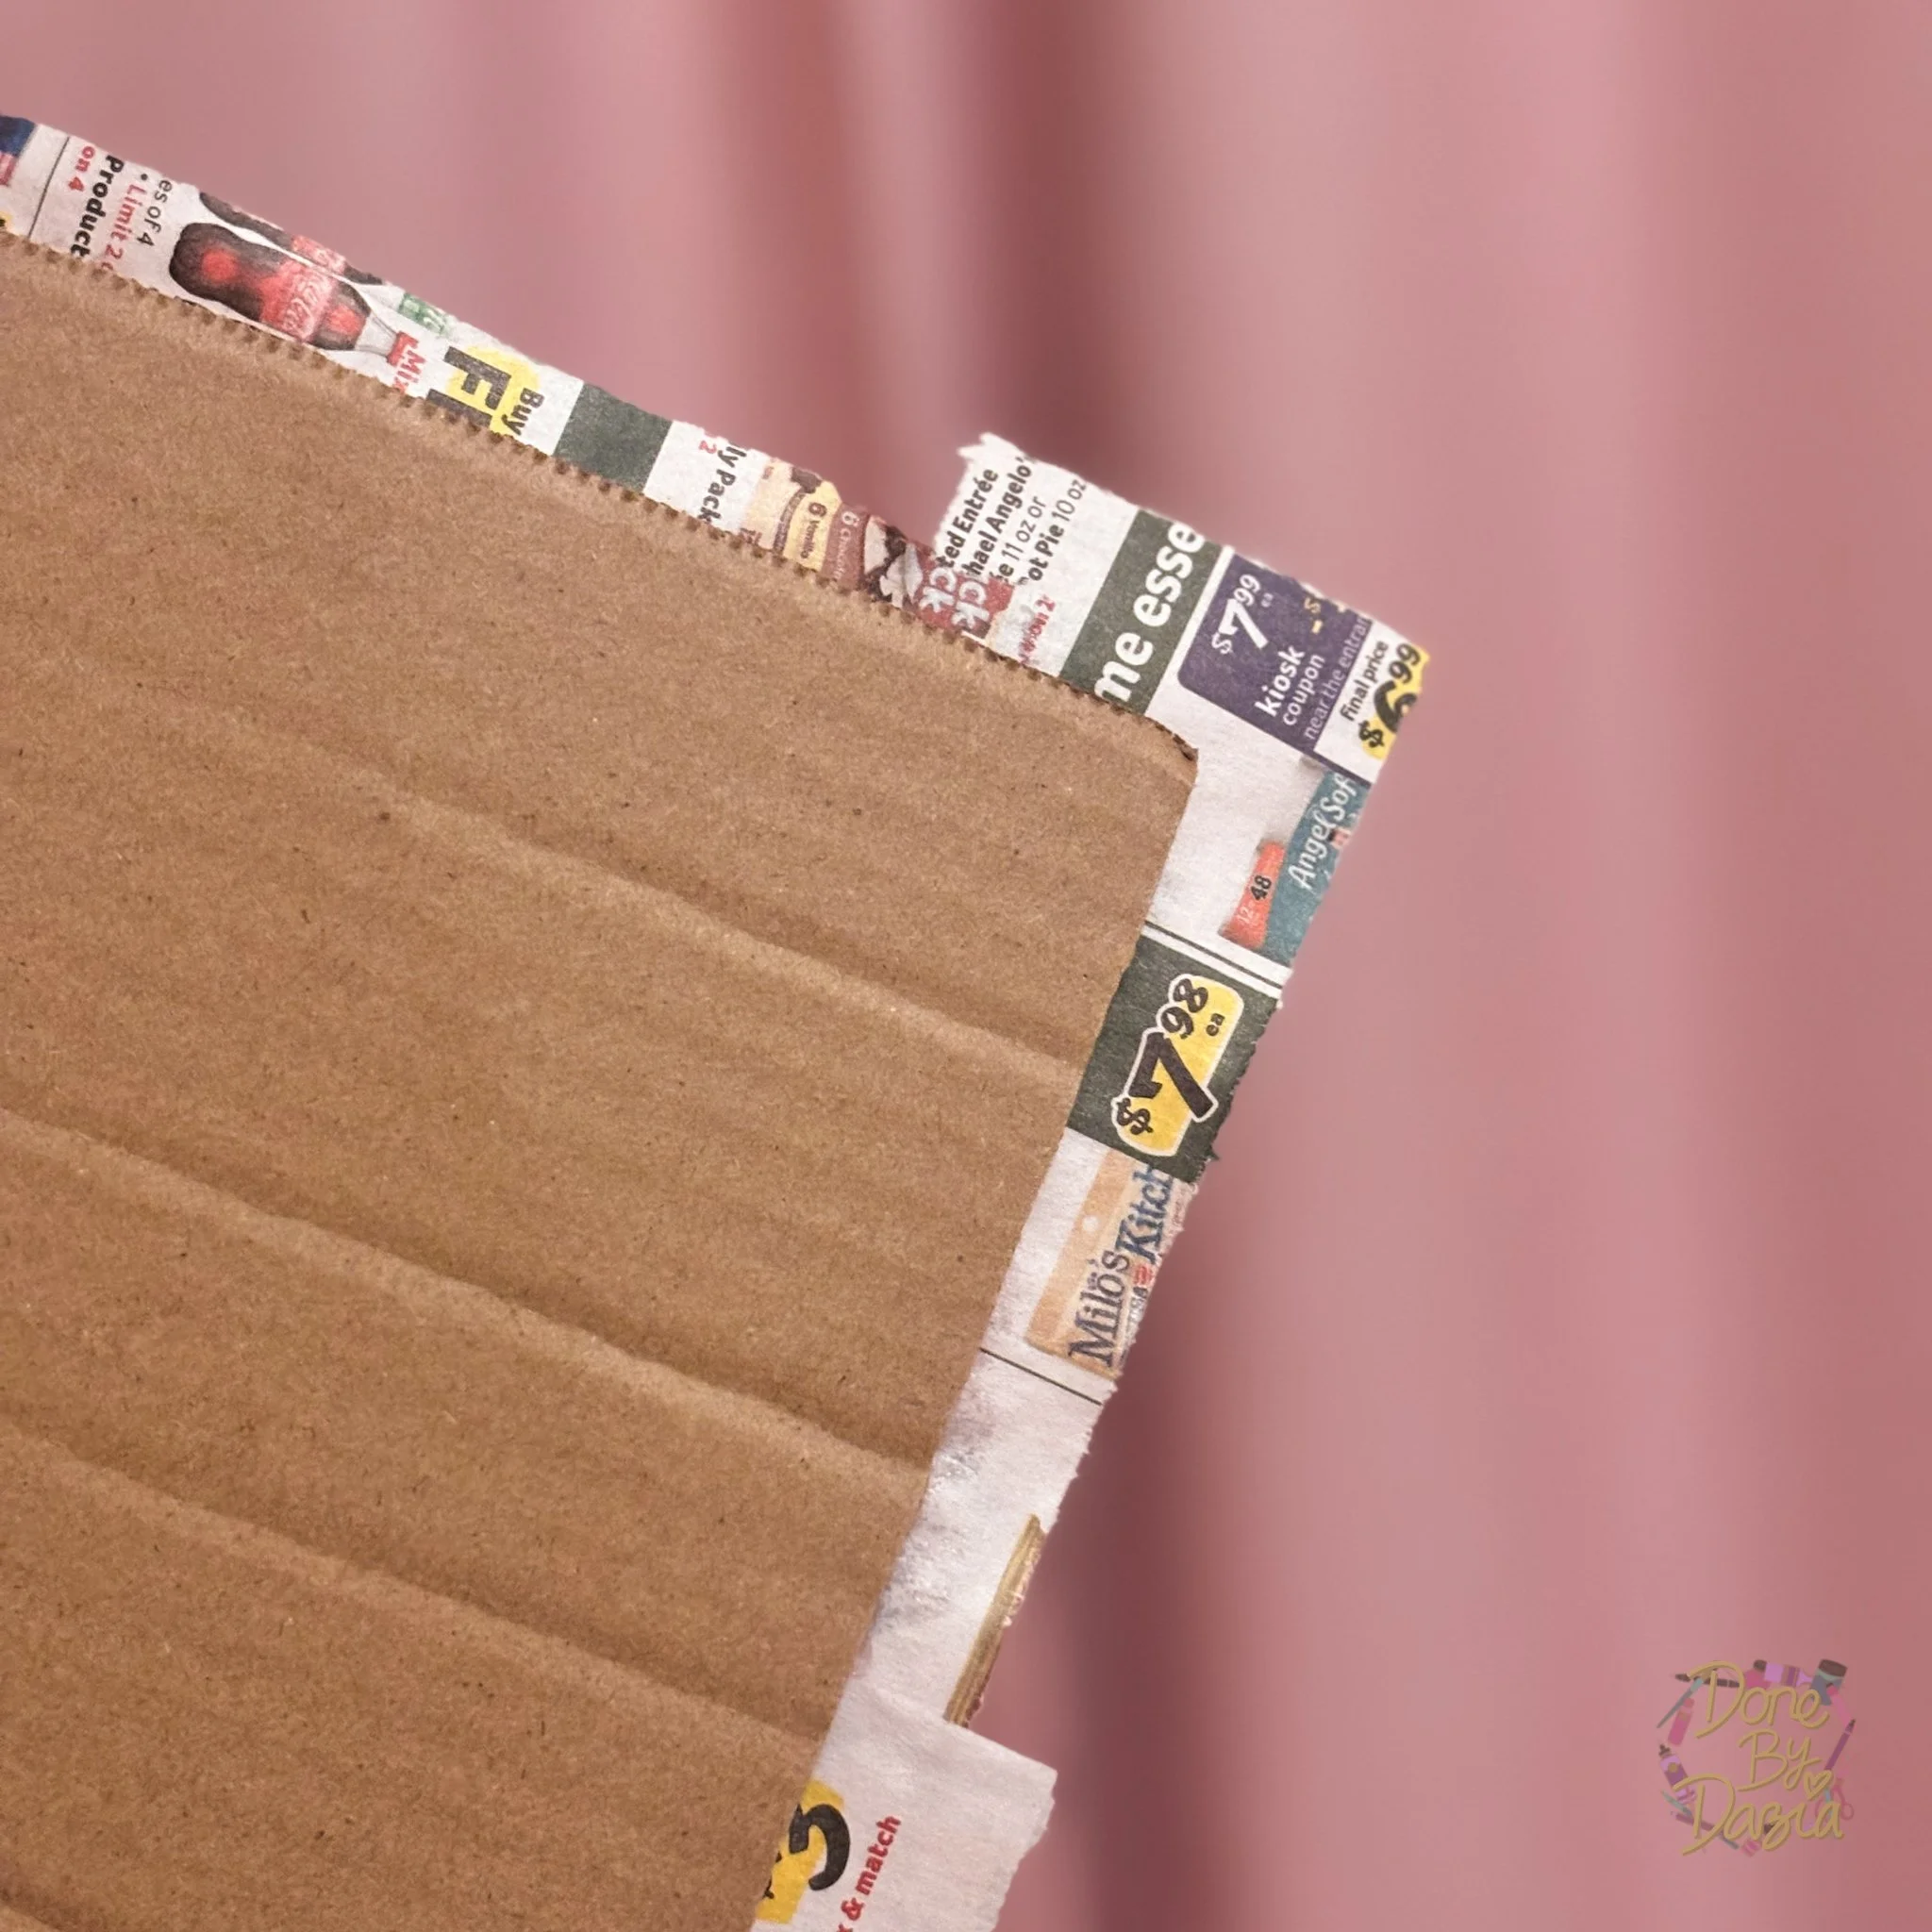
Once all the strips were properly glued down, I set my cardboard canvas aside to dry and then under my go-to heavy book to flatten out.

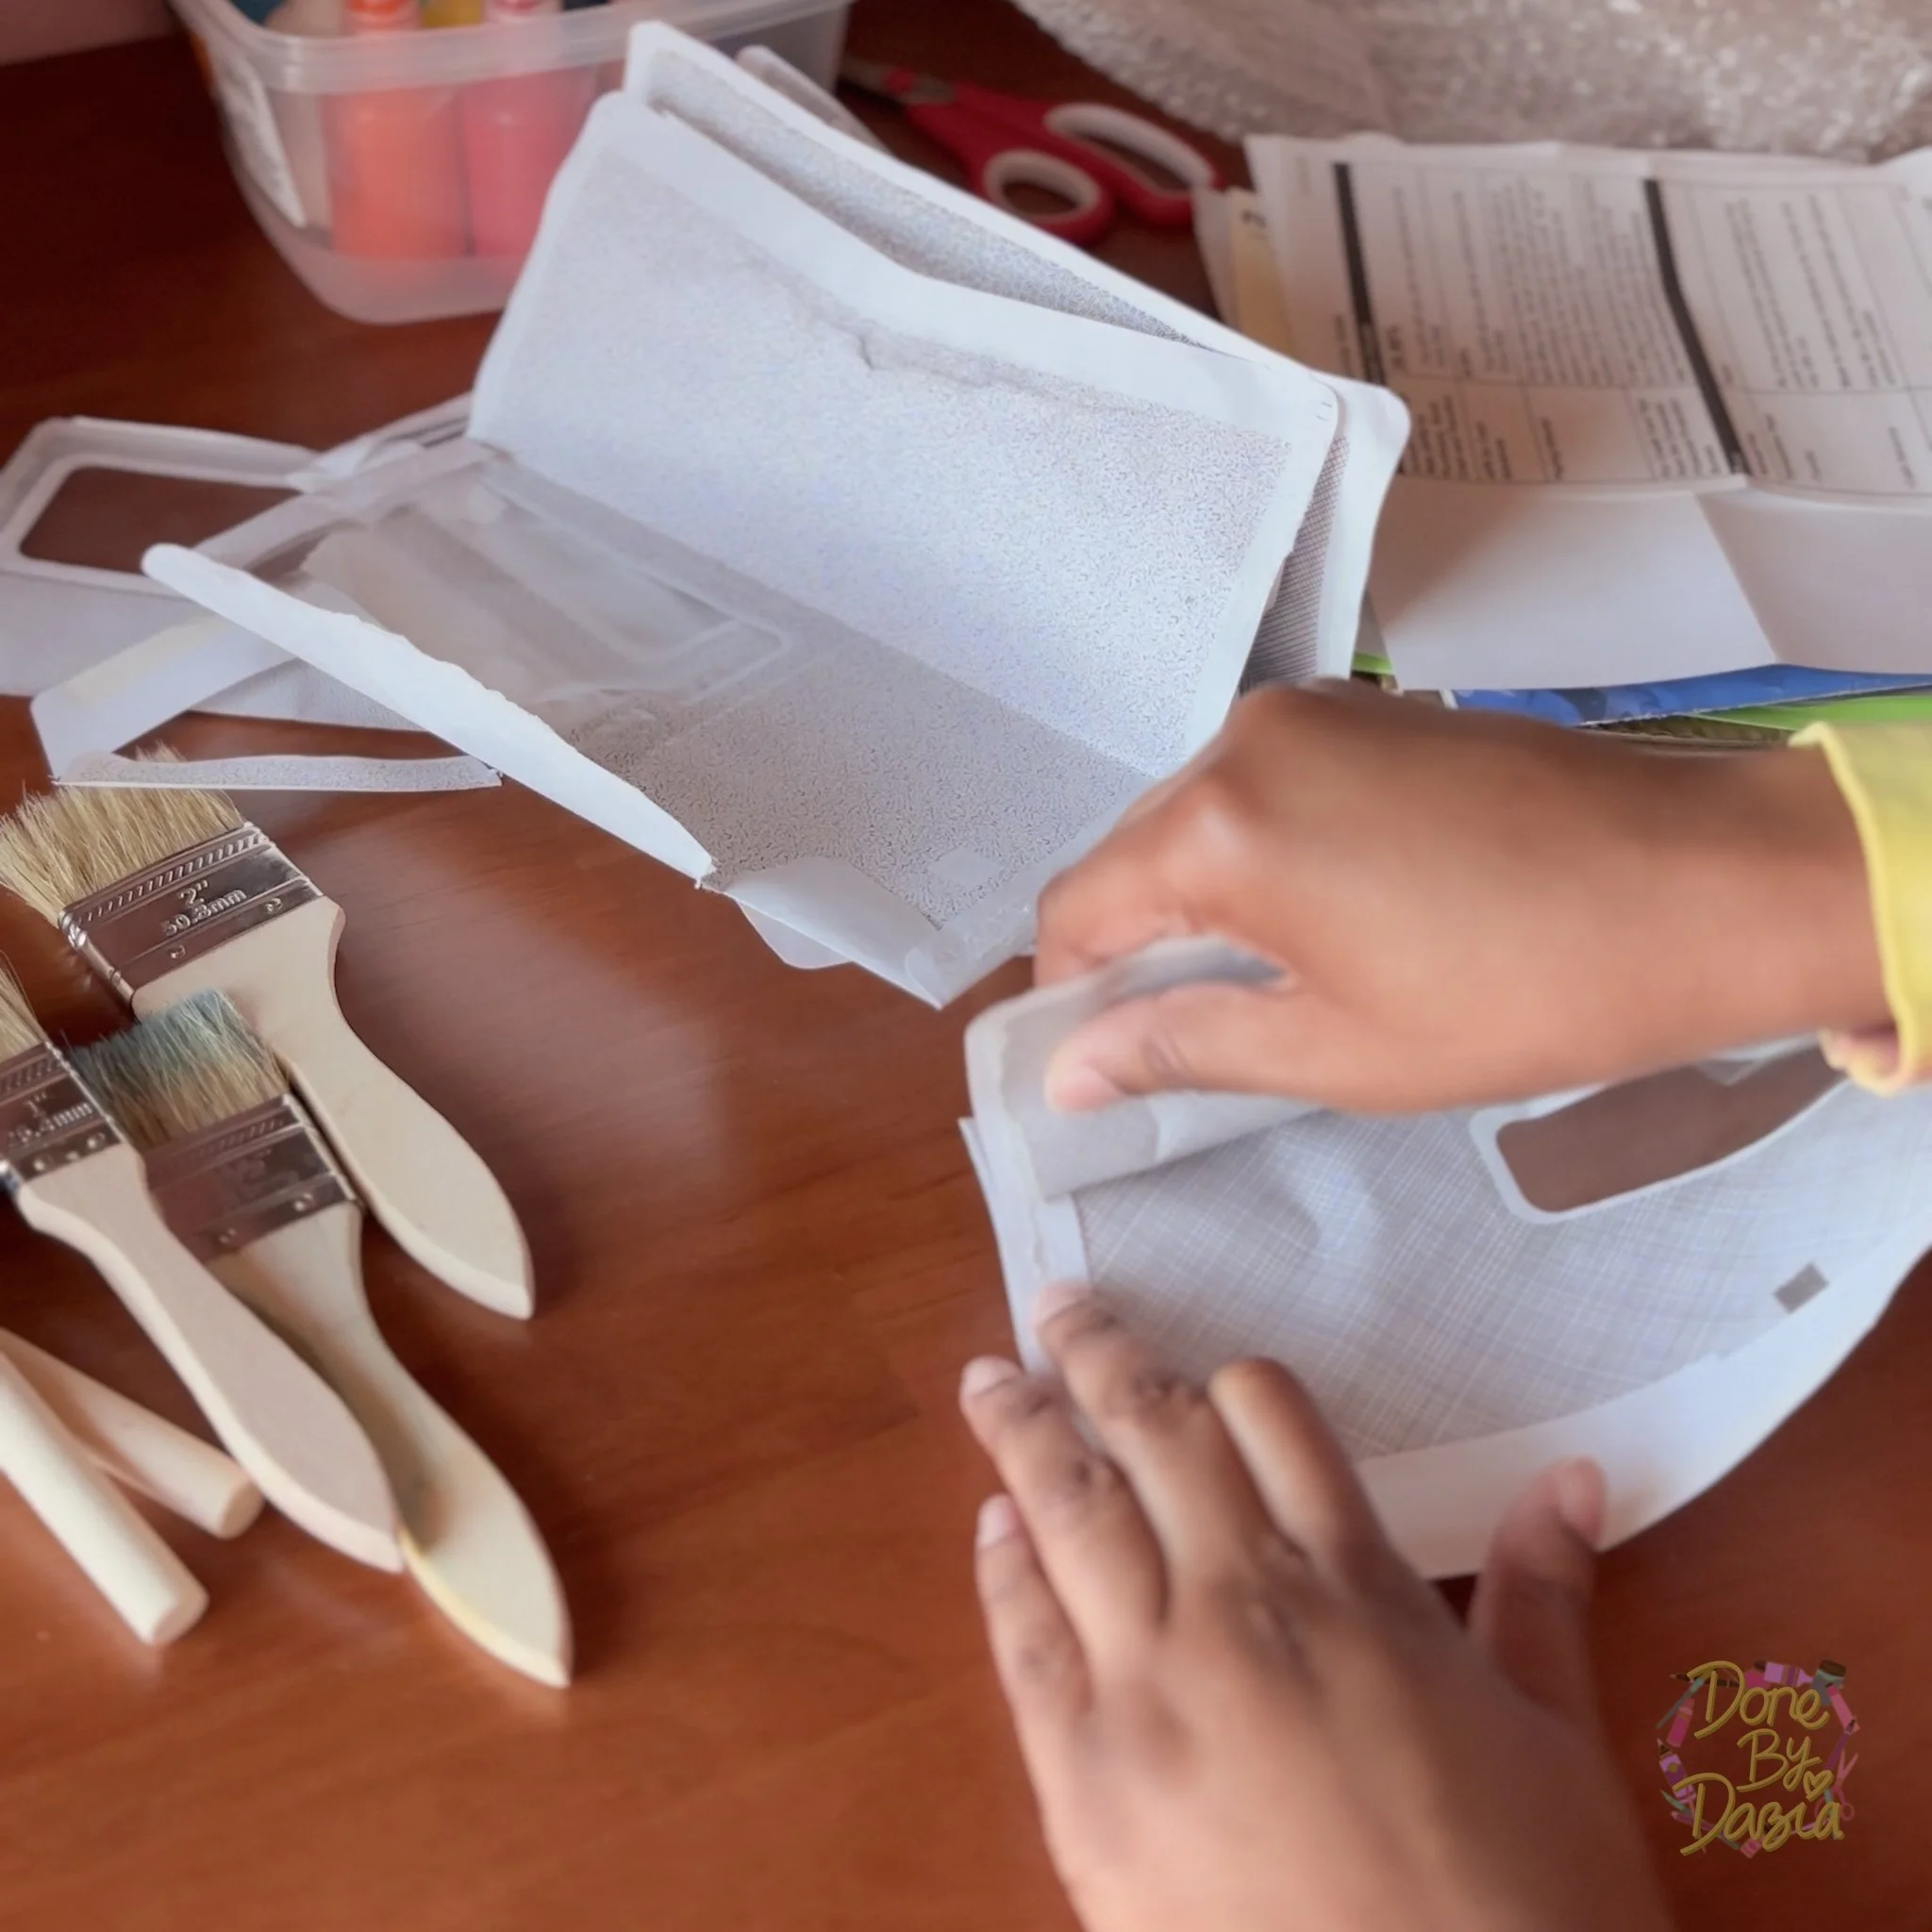
During the drying and flattening was the perfect time for me to start preparing my collage papers.
Going through my array of envelopes, fliers, and excess papers from my junk mail, I cut bigger pieces down to workable sizes and cut off bits of plastic that would have been difficult to work with.
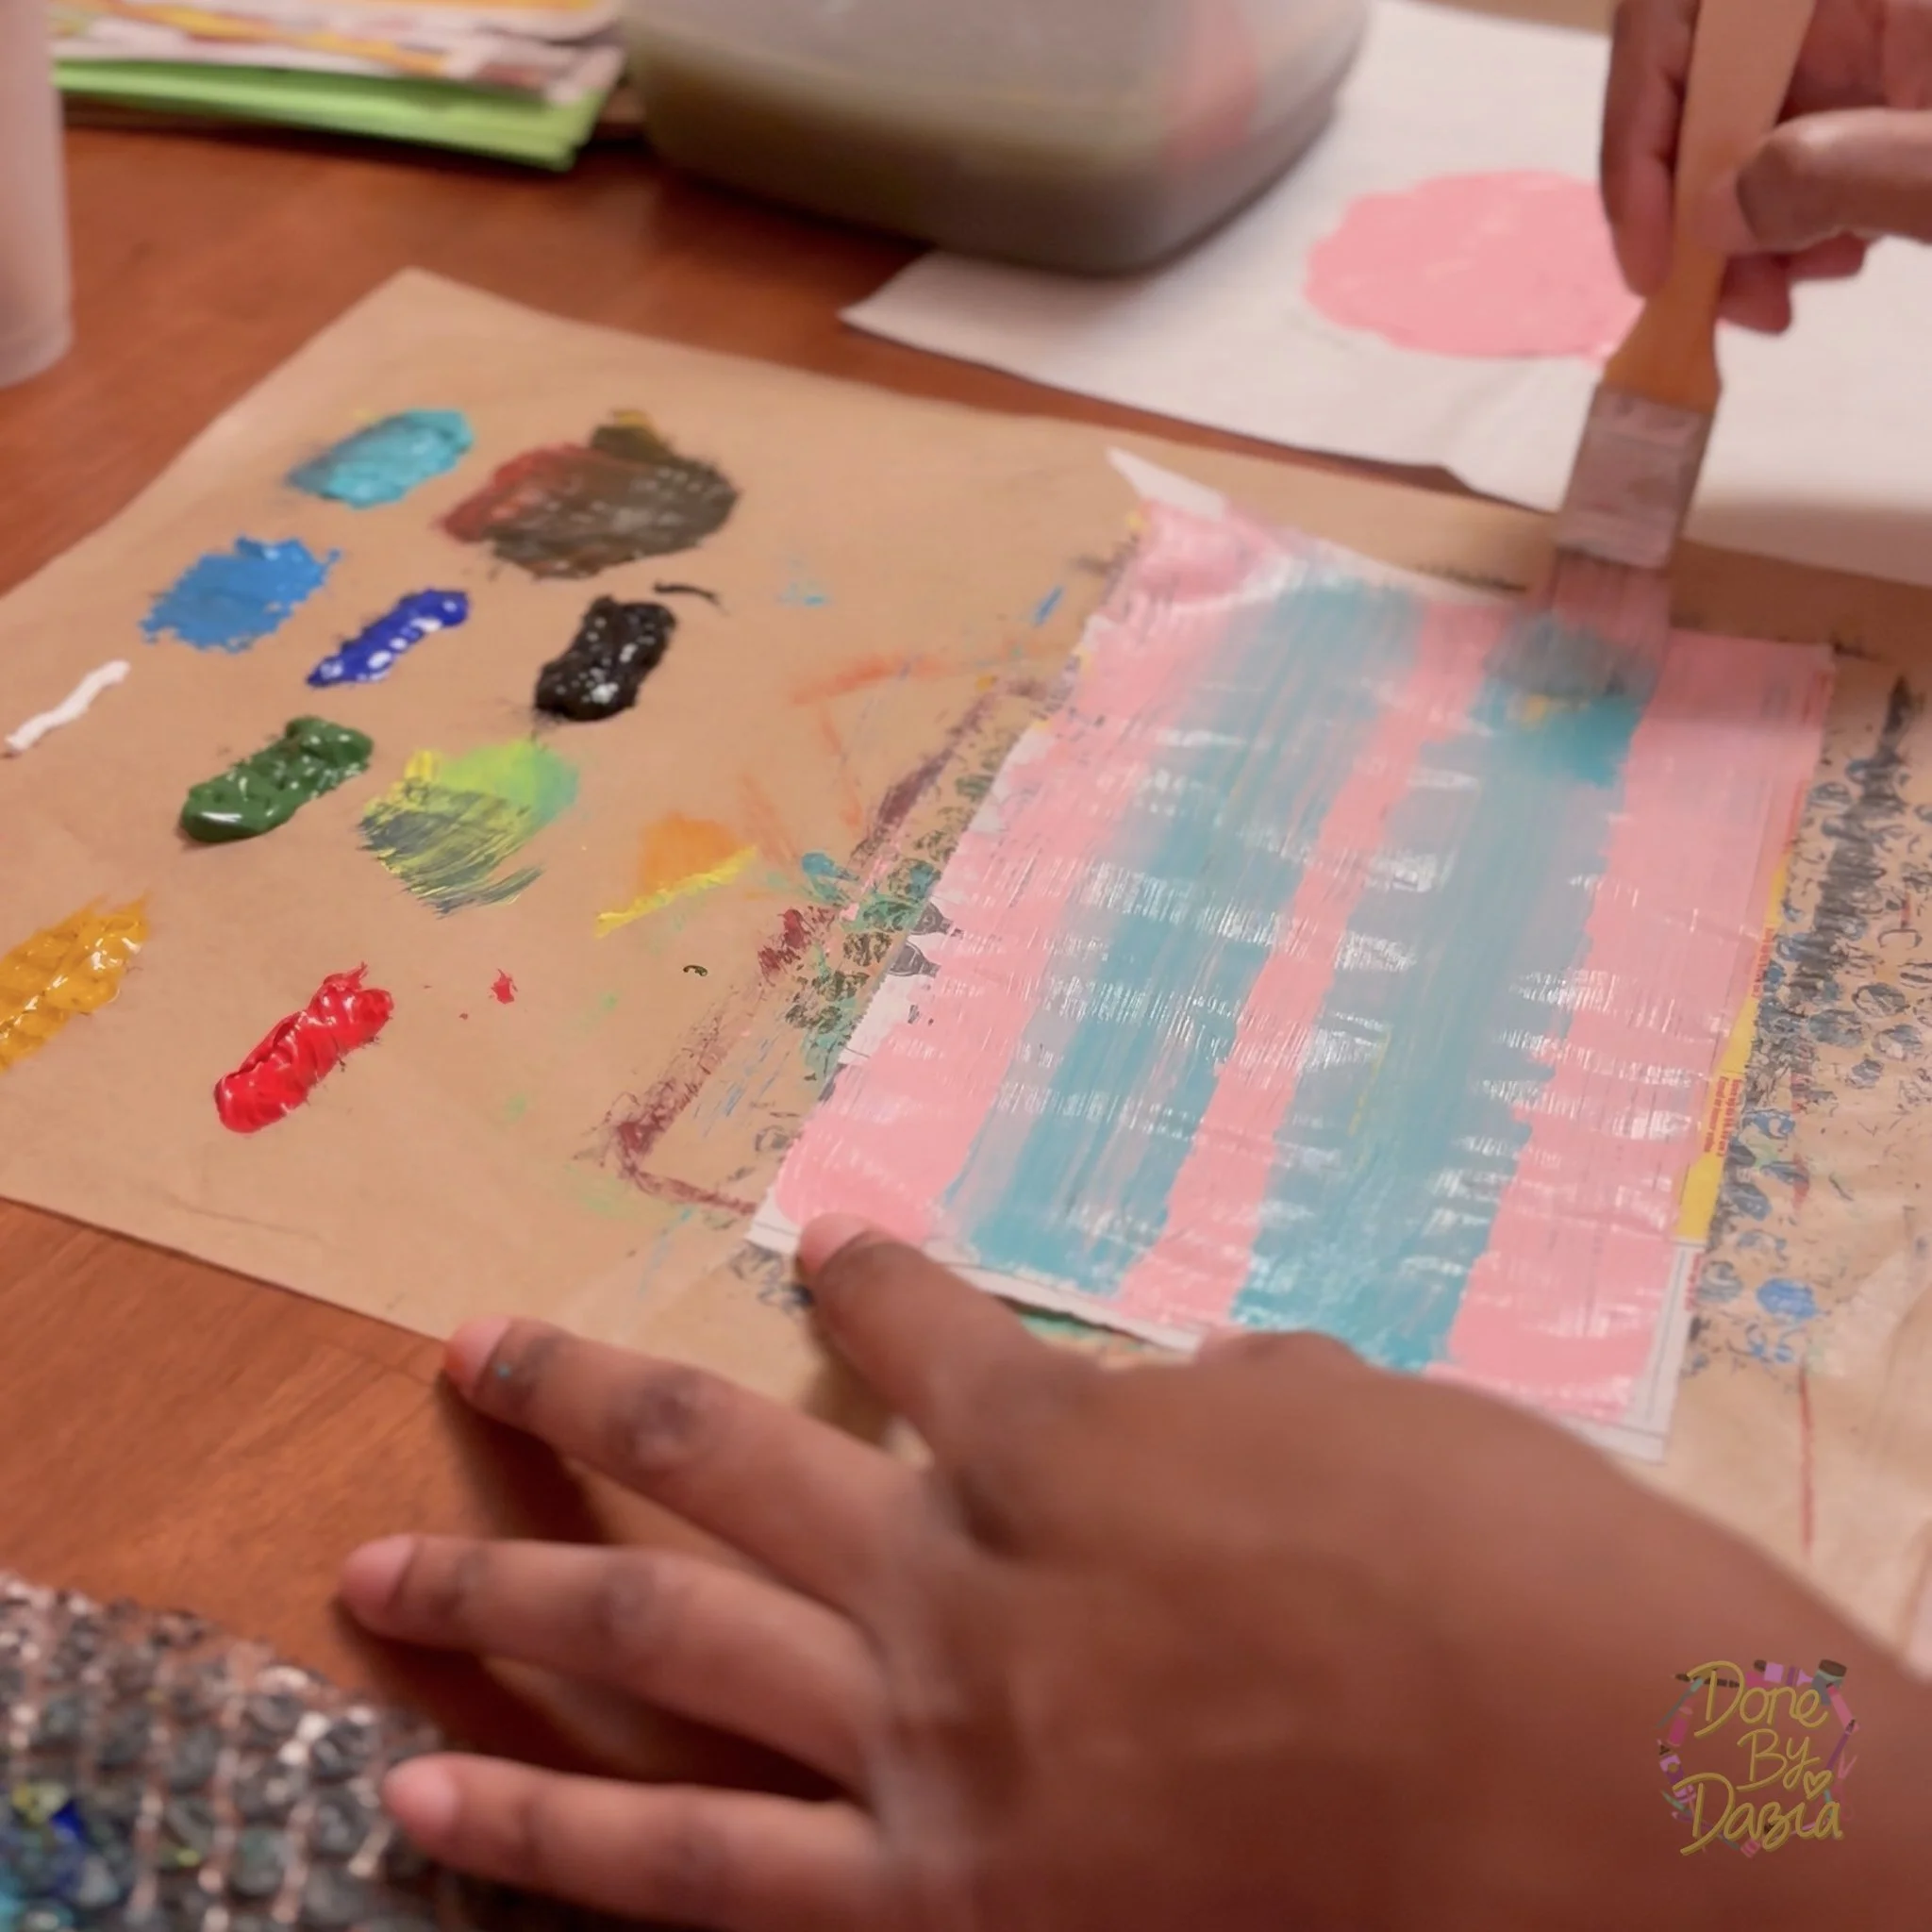
After prepping the papers it was time to paint them!
To be honest, at this point, I didn’t have the slightest clue of what I wanted my collage to look like so I went ahead and used as many colors as I could.
Sometimes I just painted with regular brush strokes.

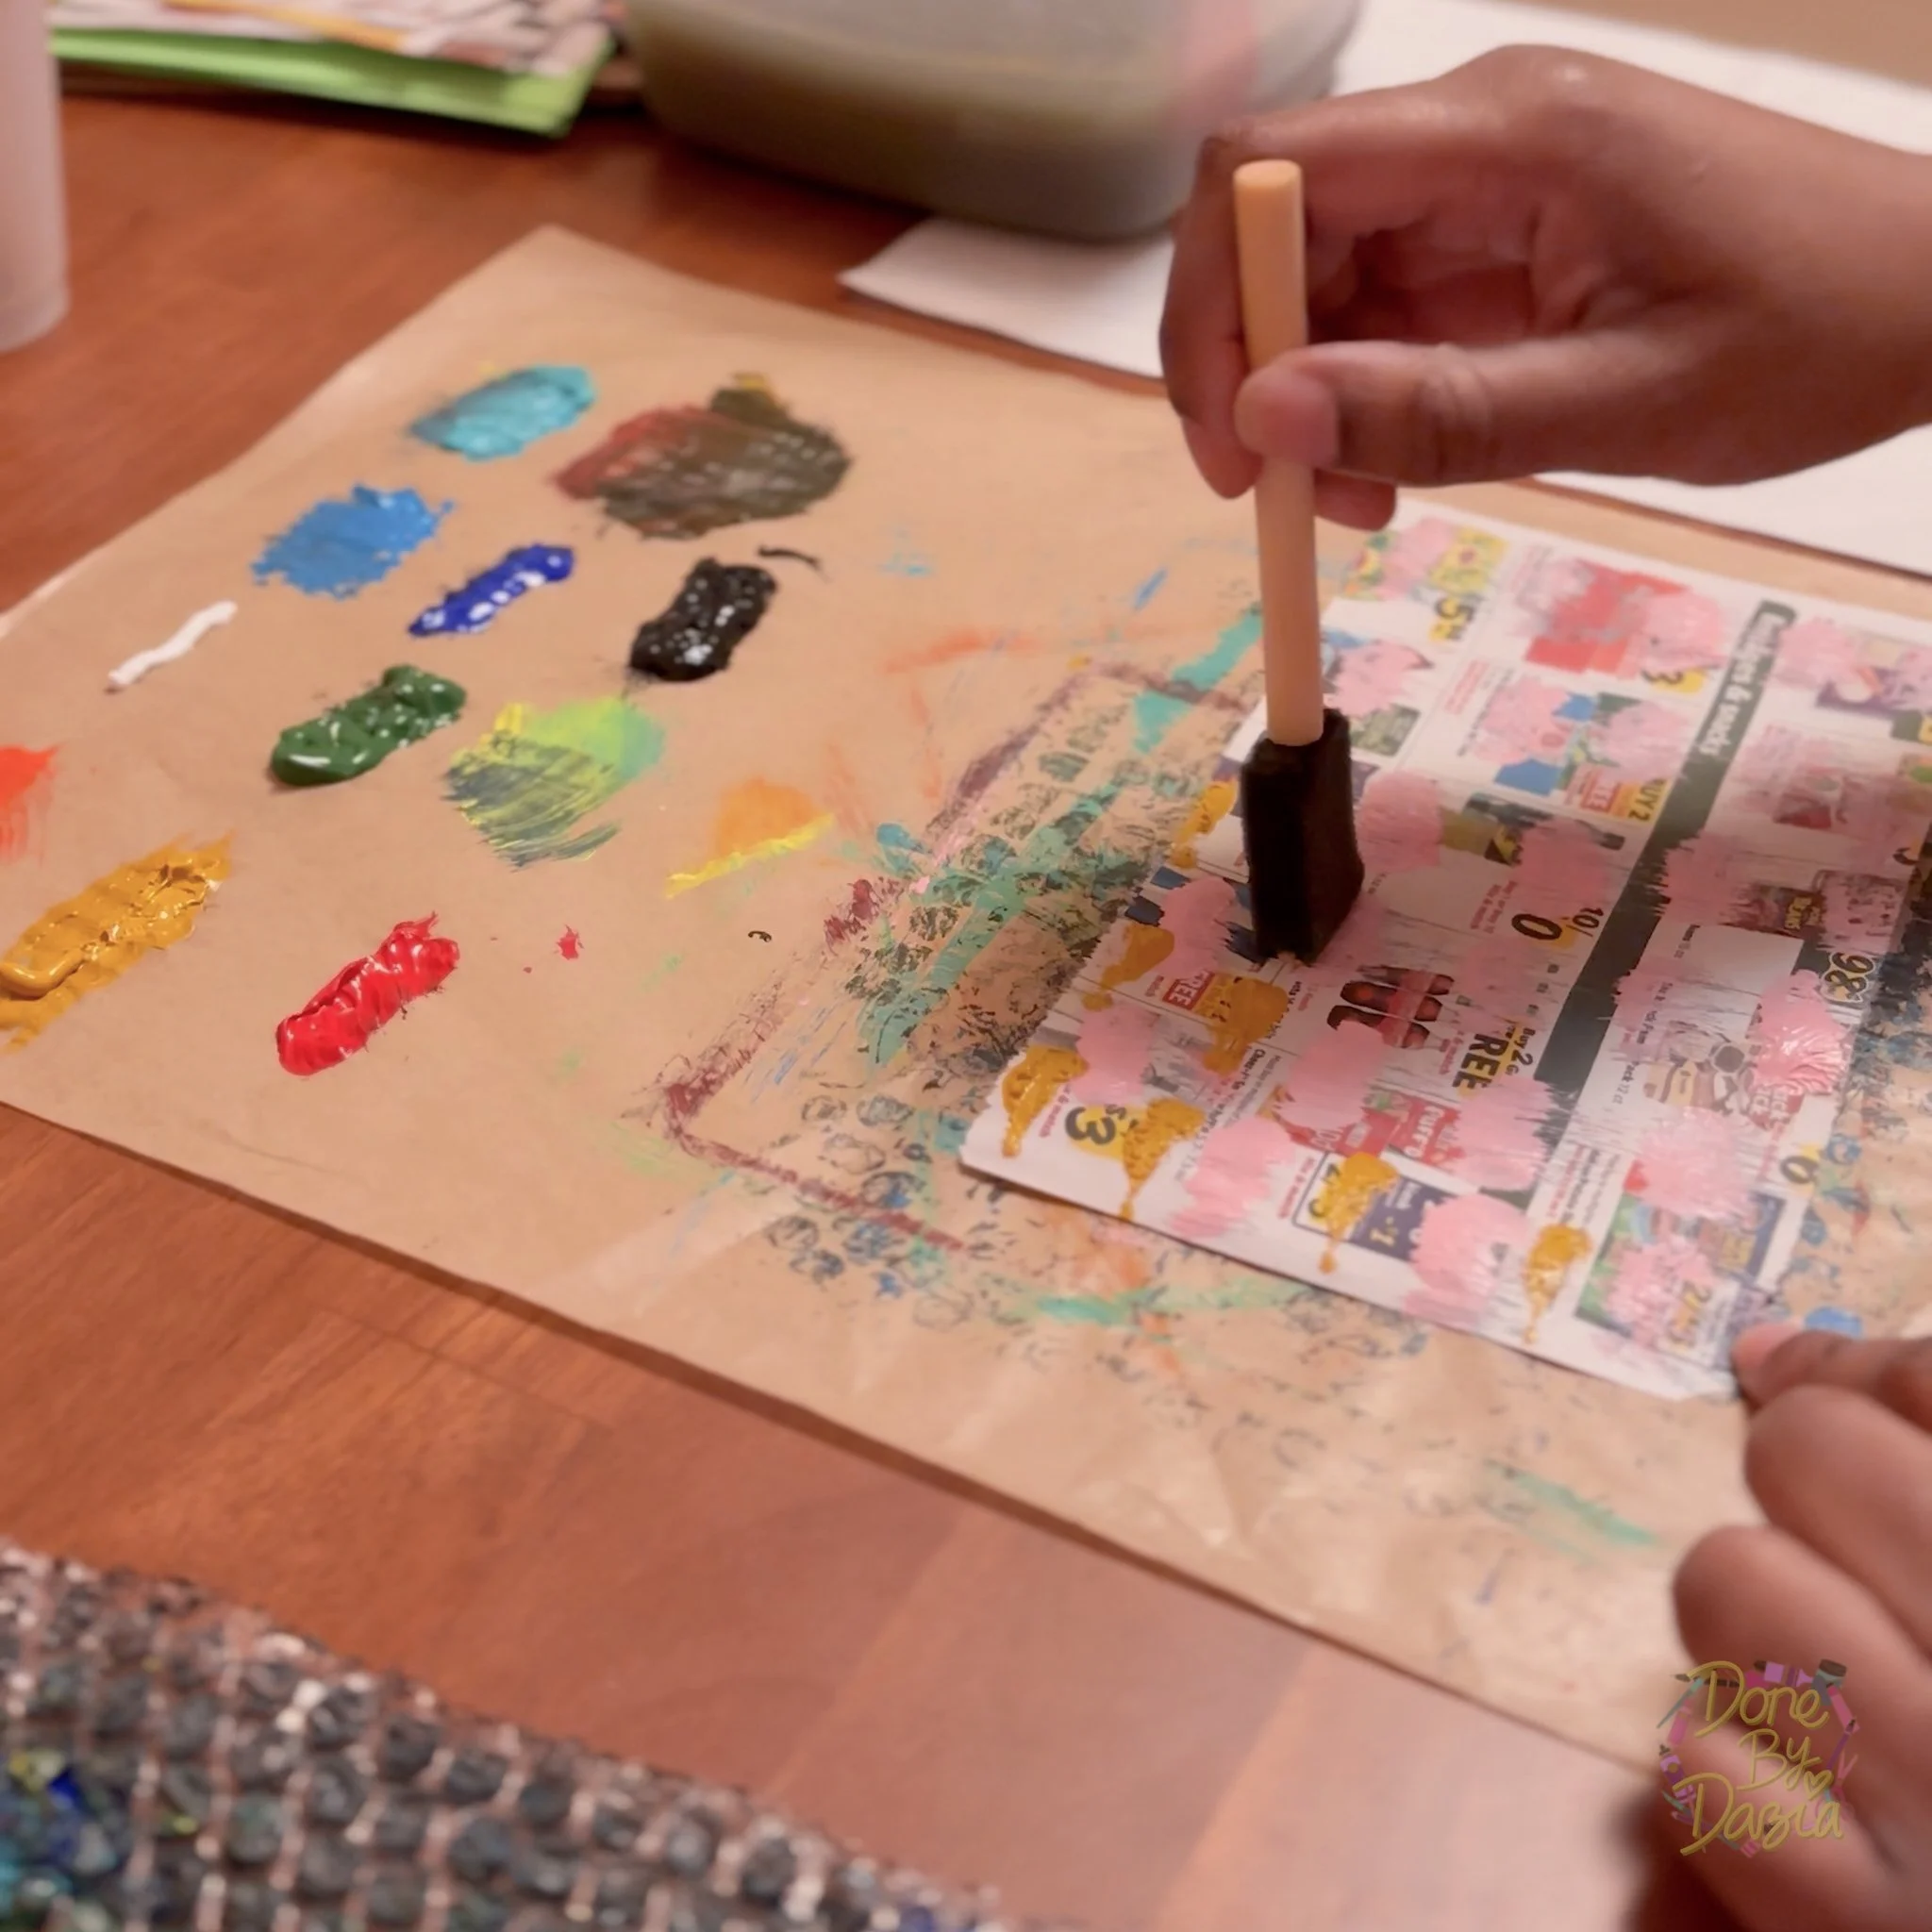
Other times I used my foam brush for sporadic mark-making.

And there were times I painted some stray bubble wrap and used it like a stamp!

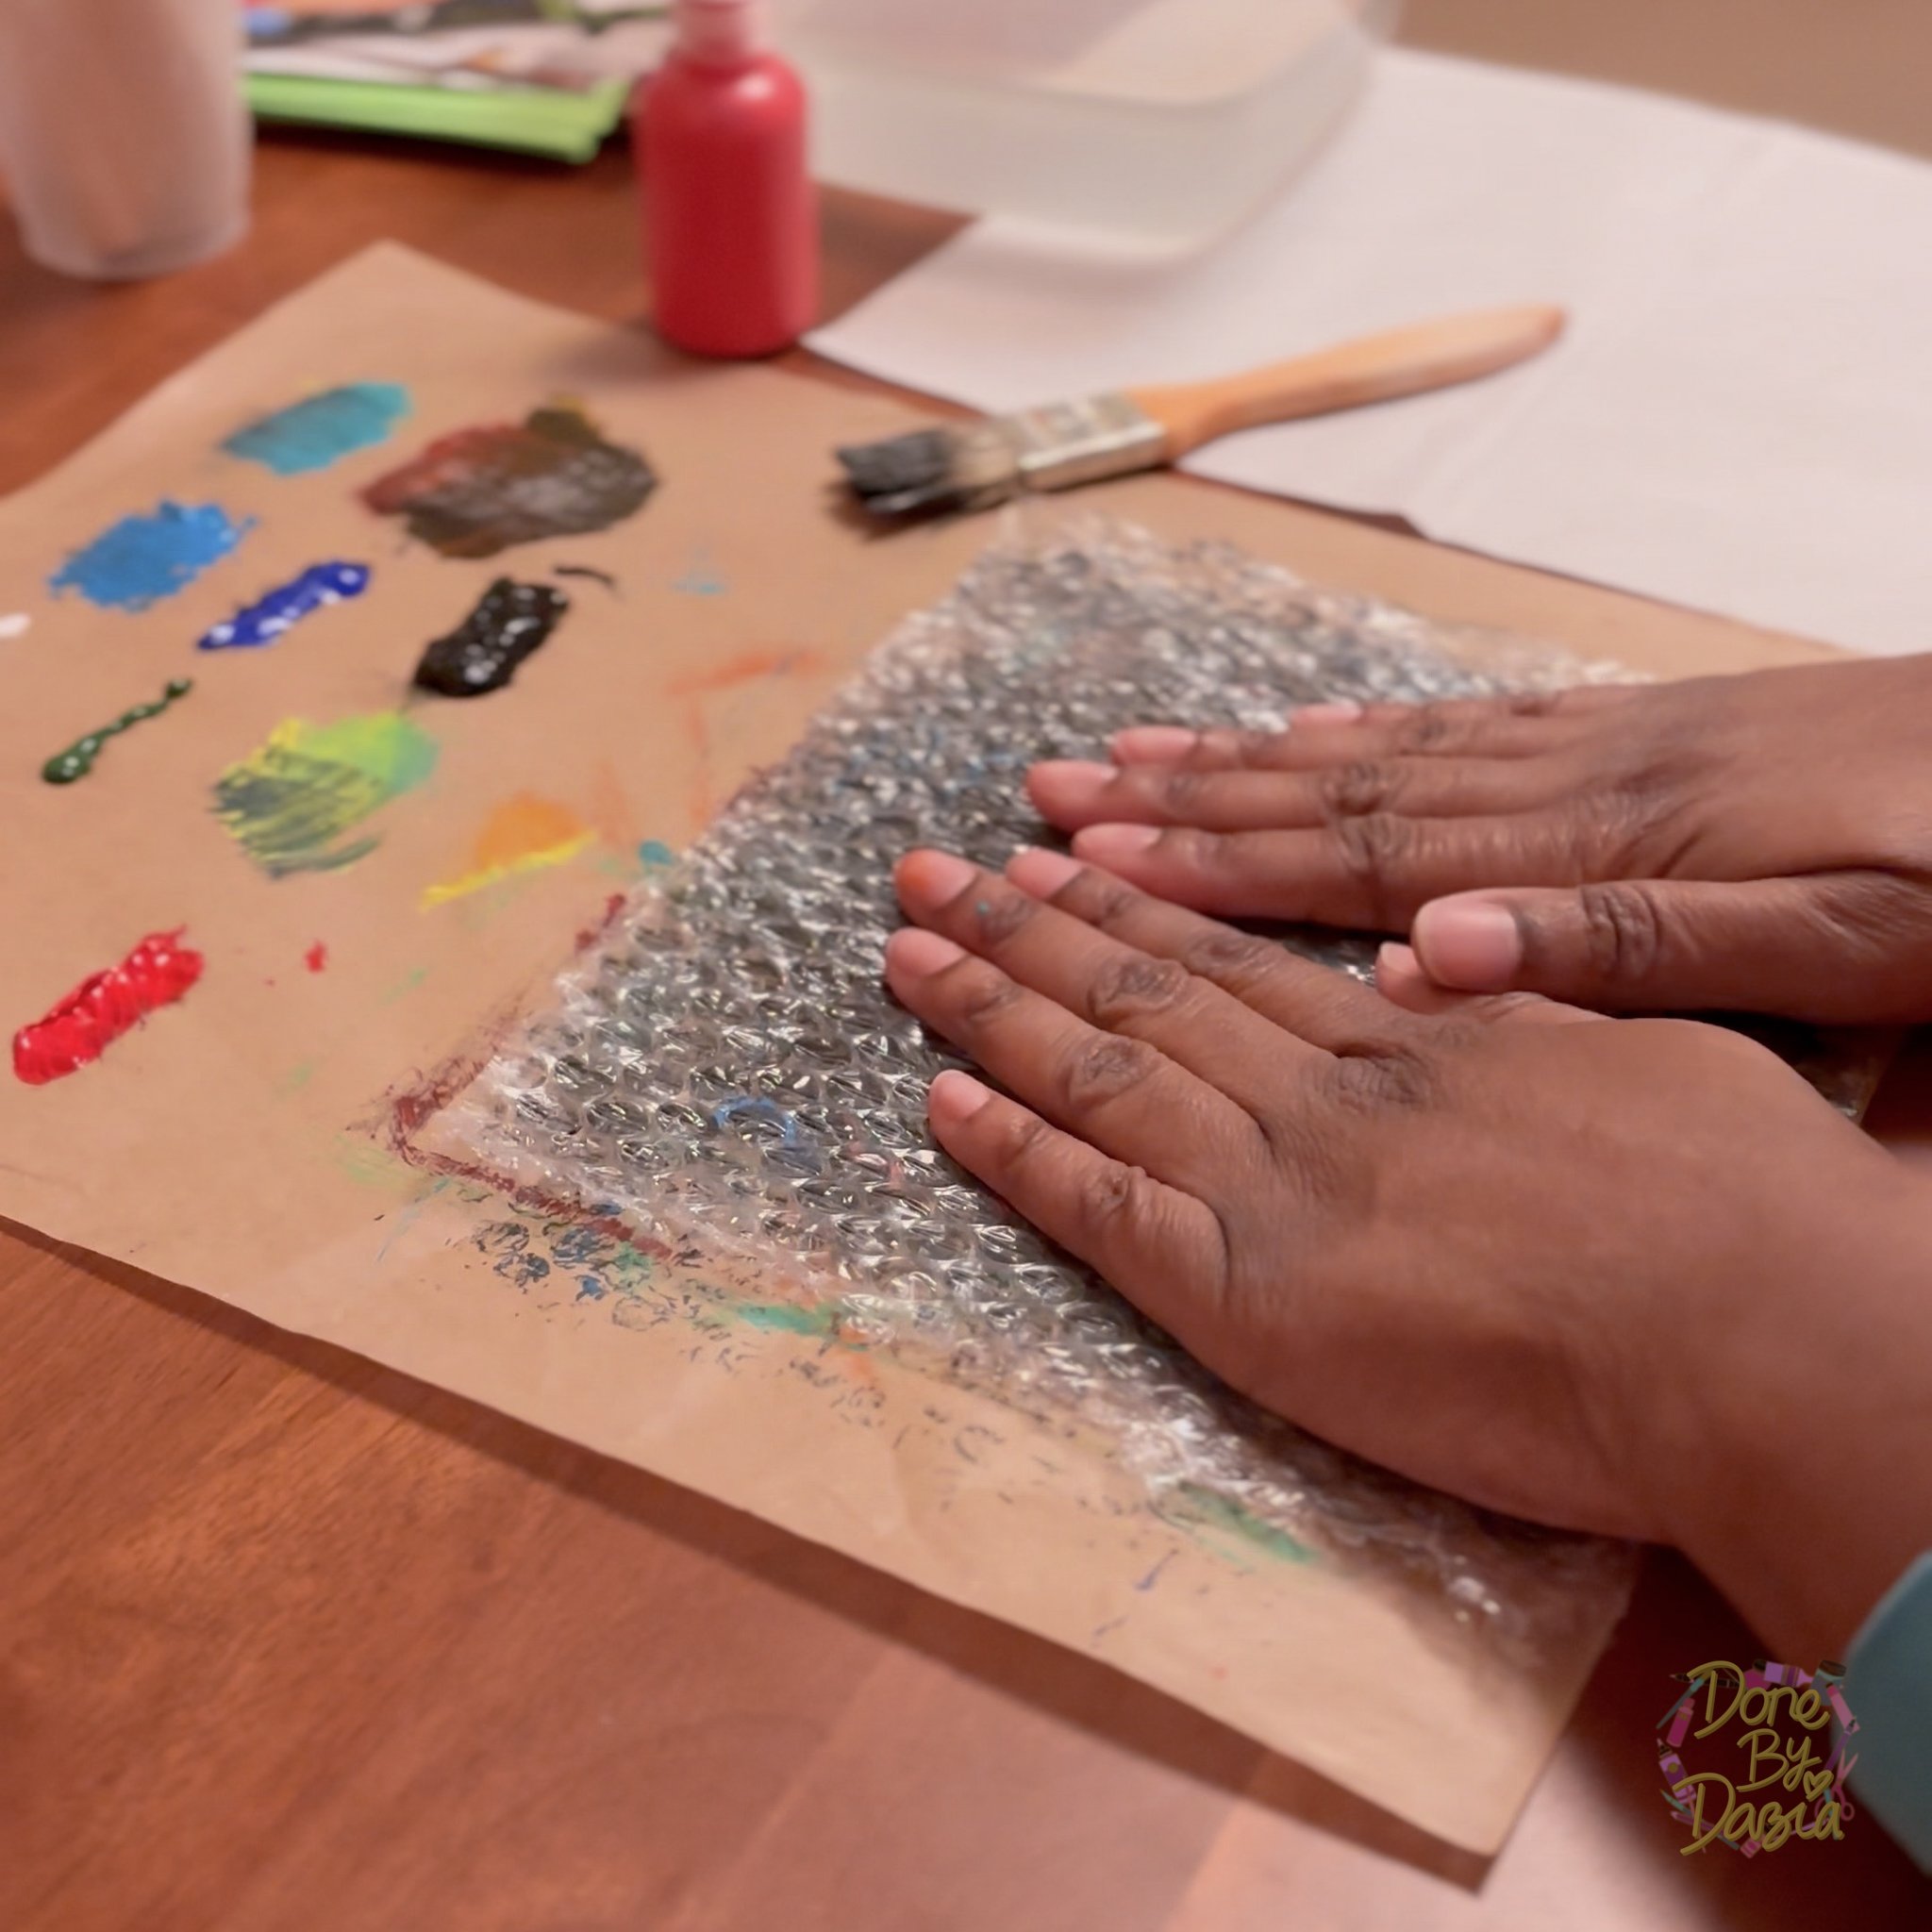
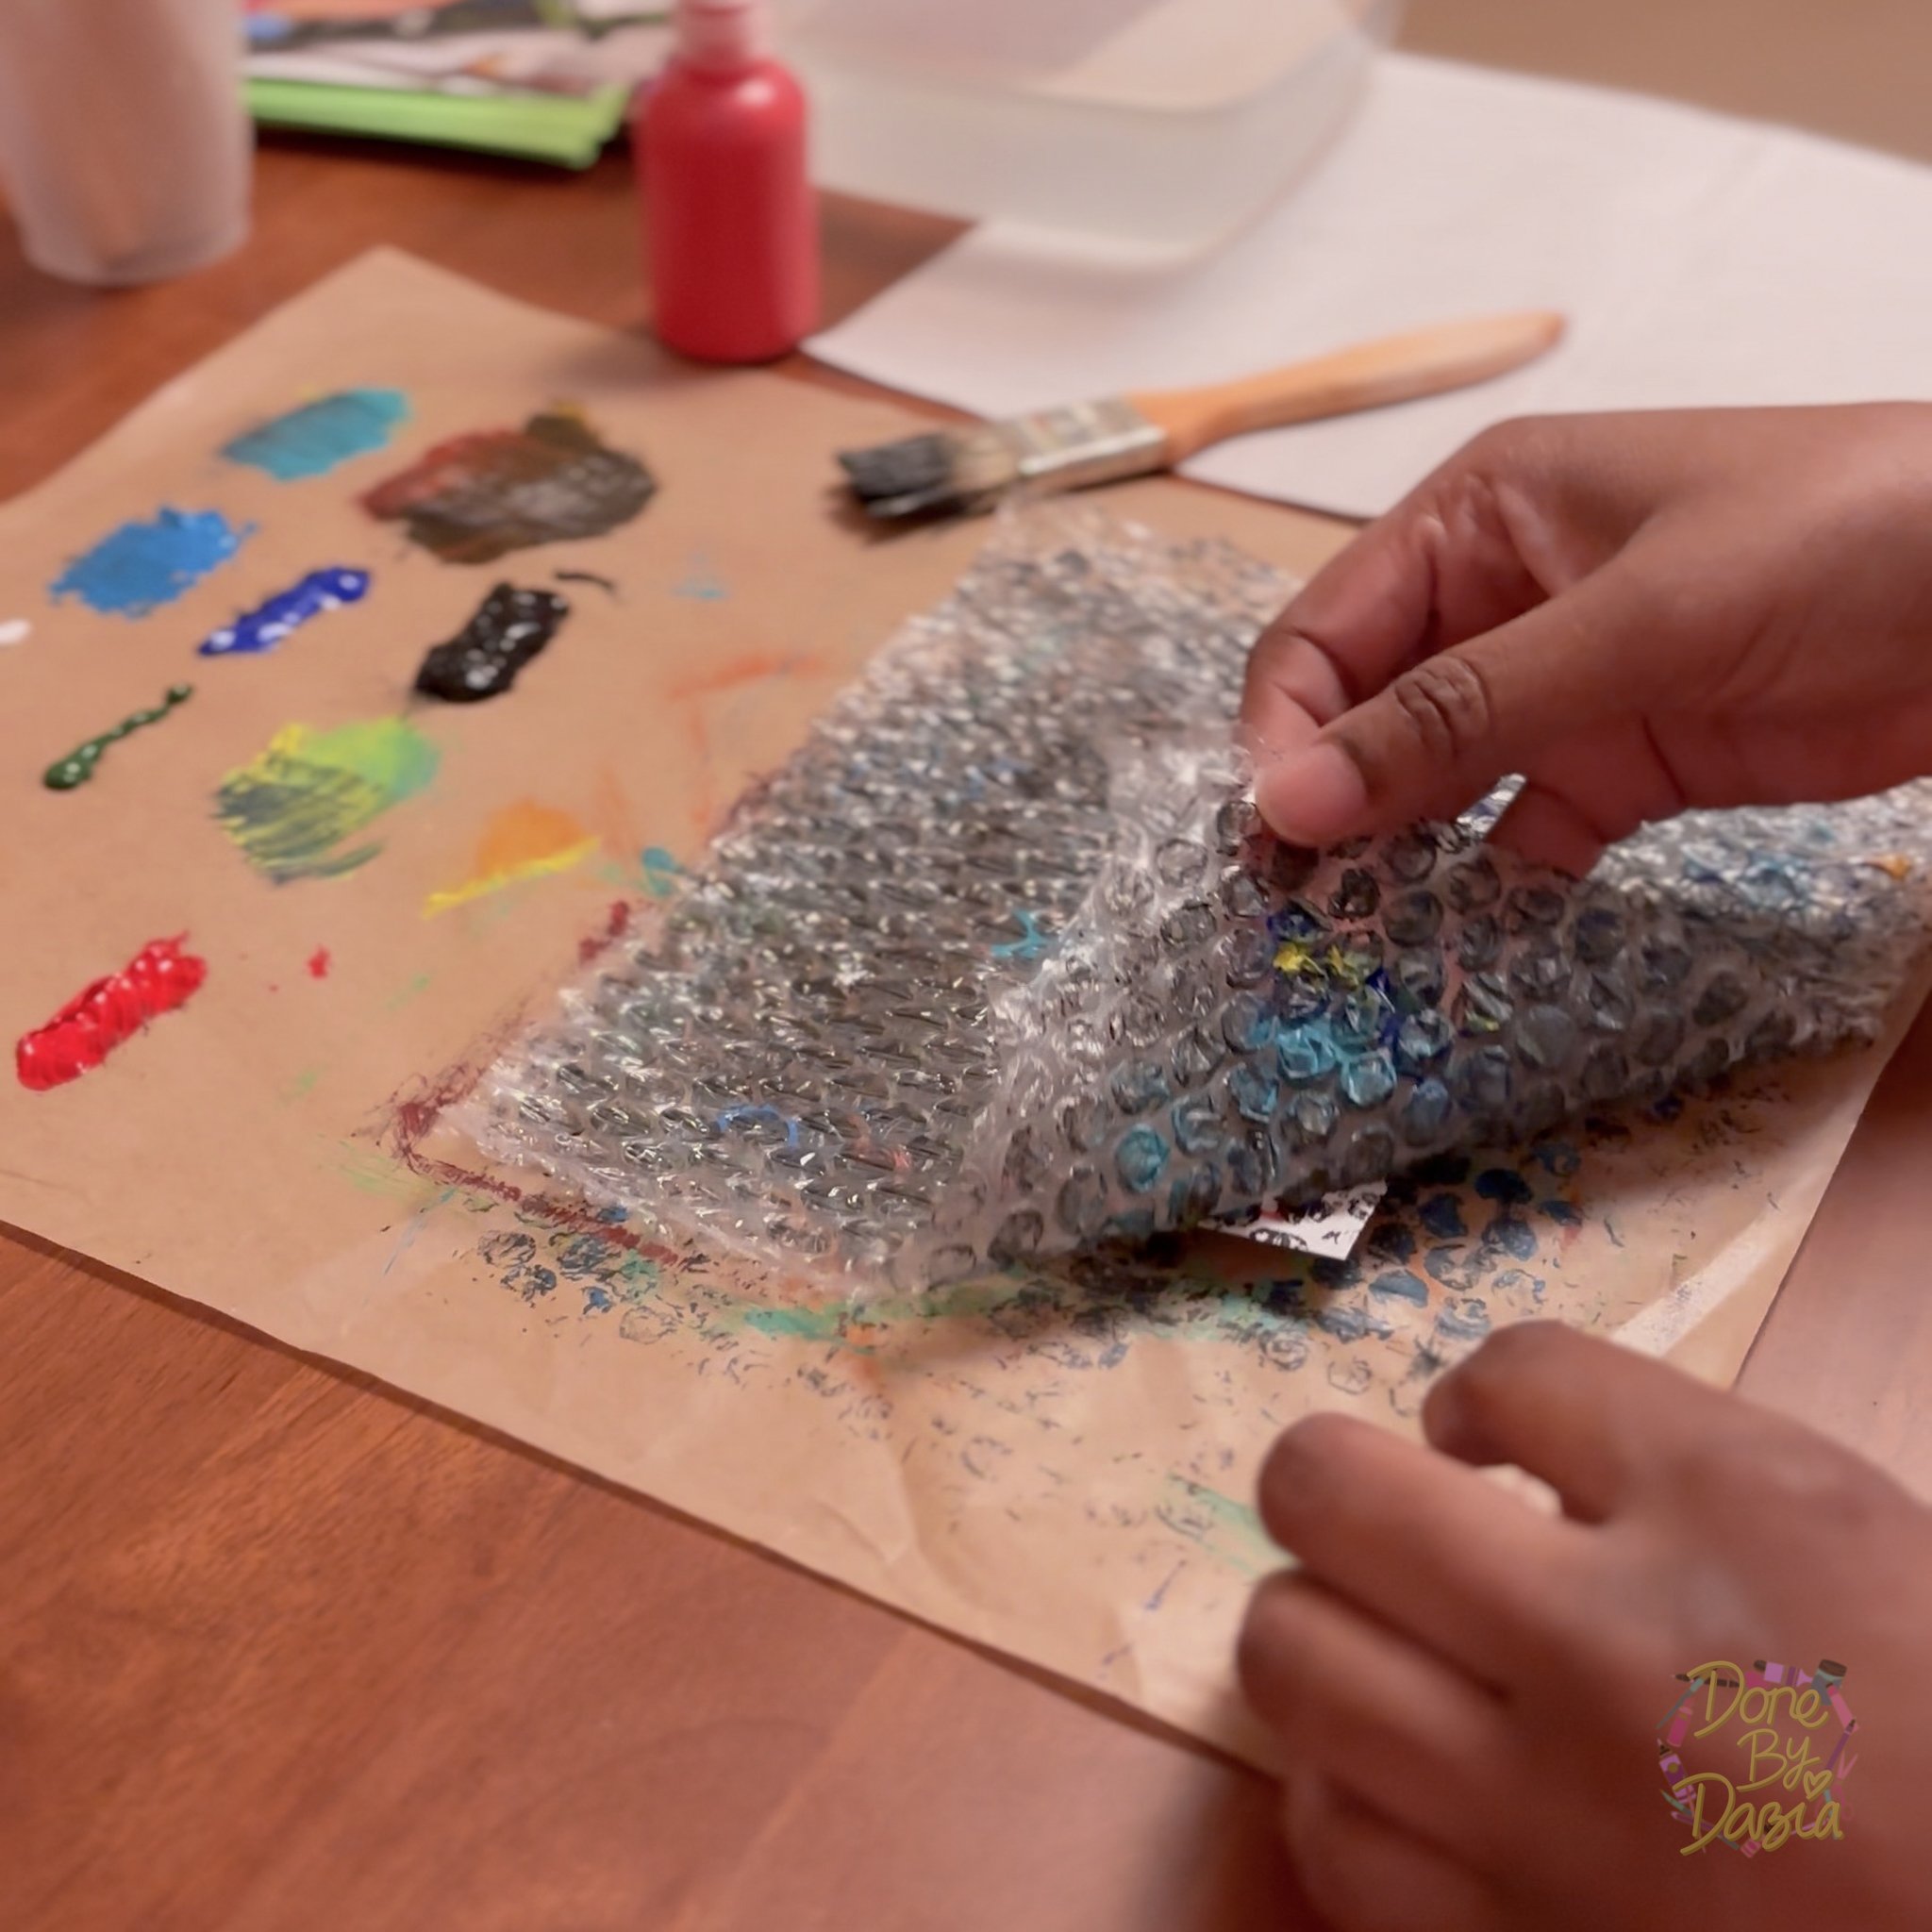

This is one of my favorite textures to make and work with.
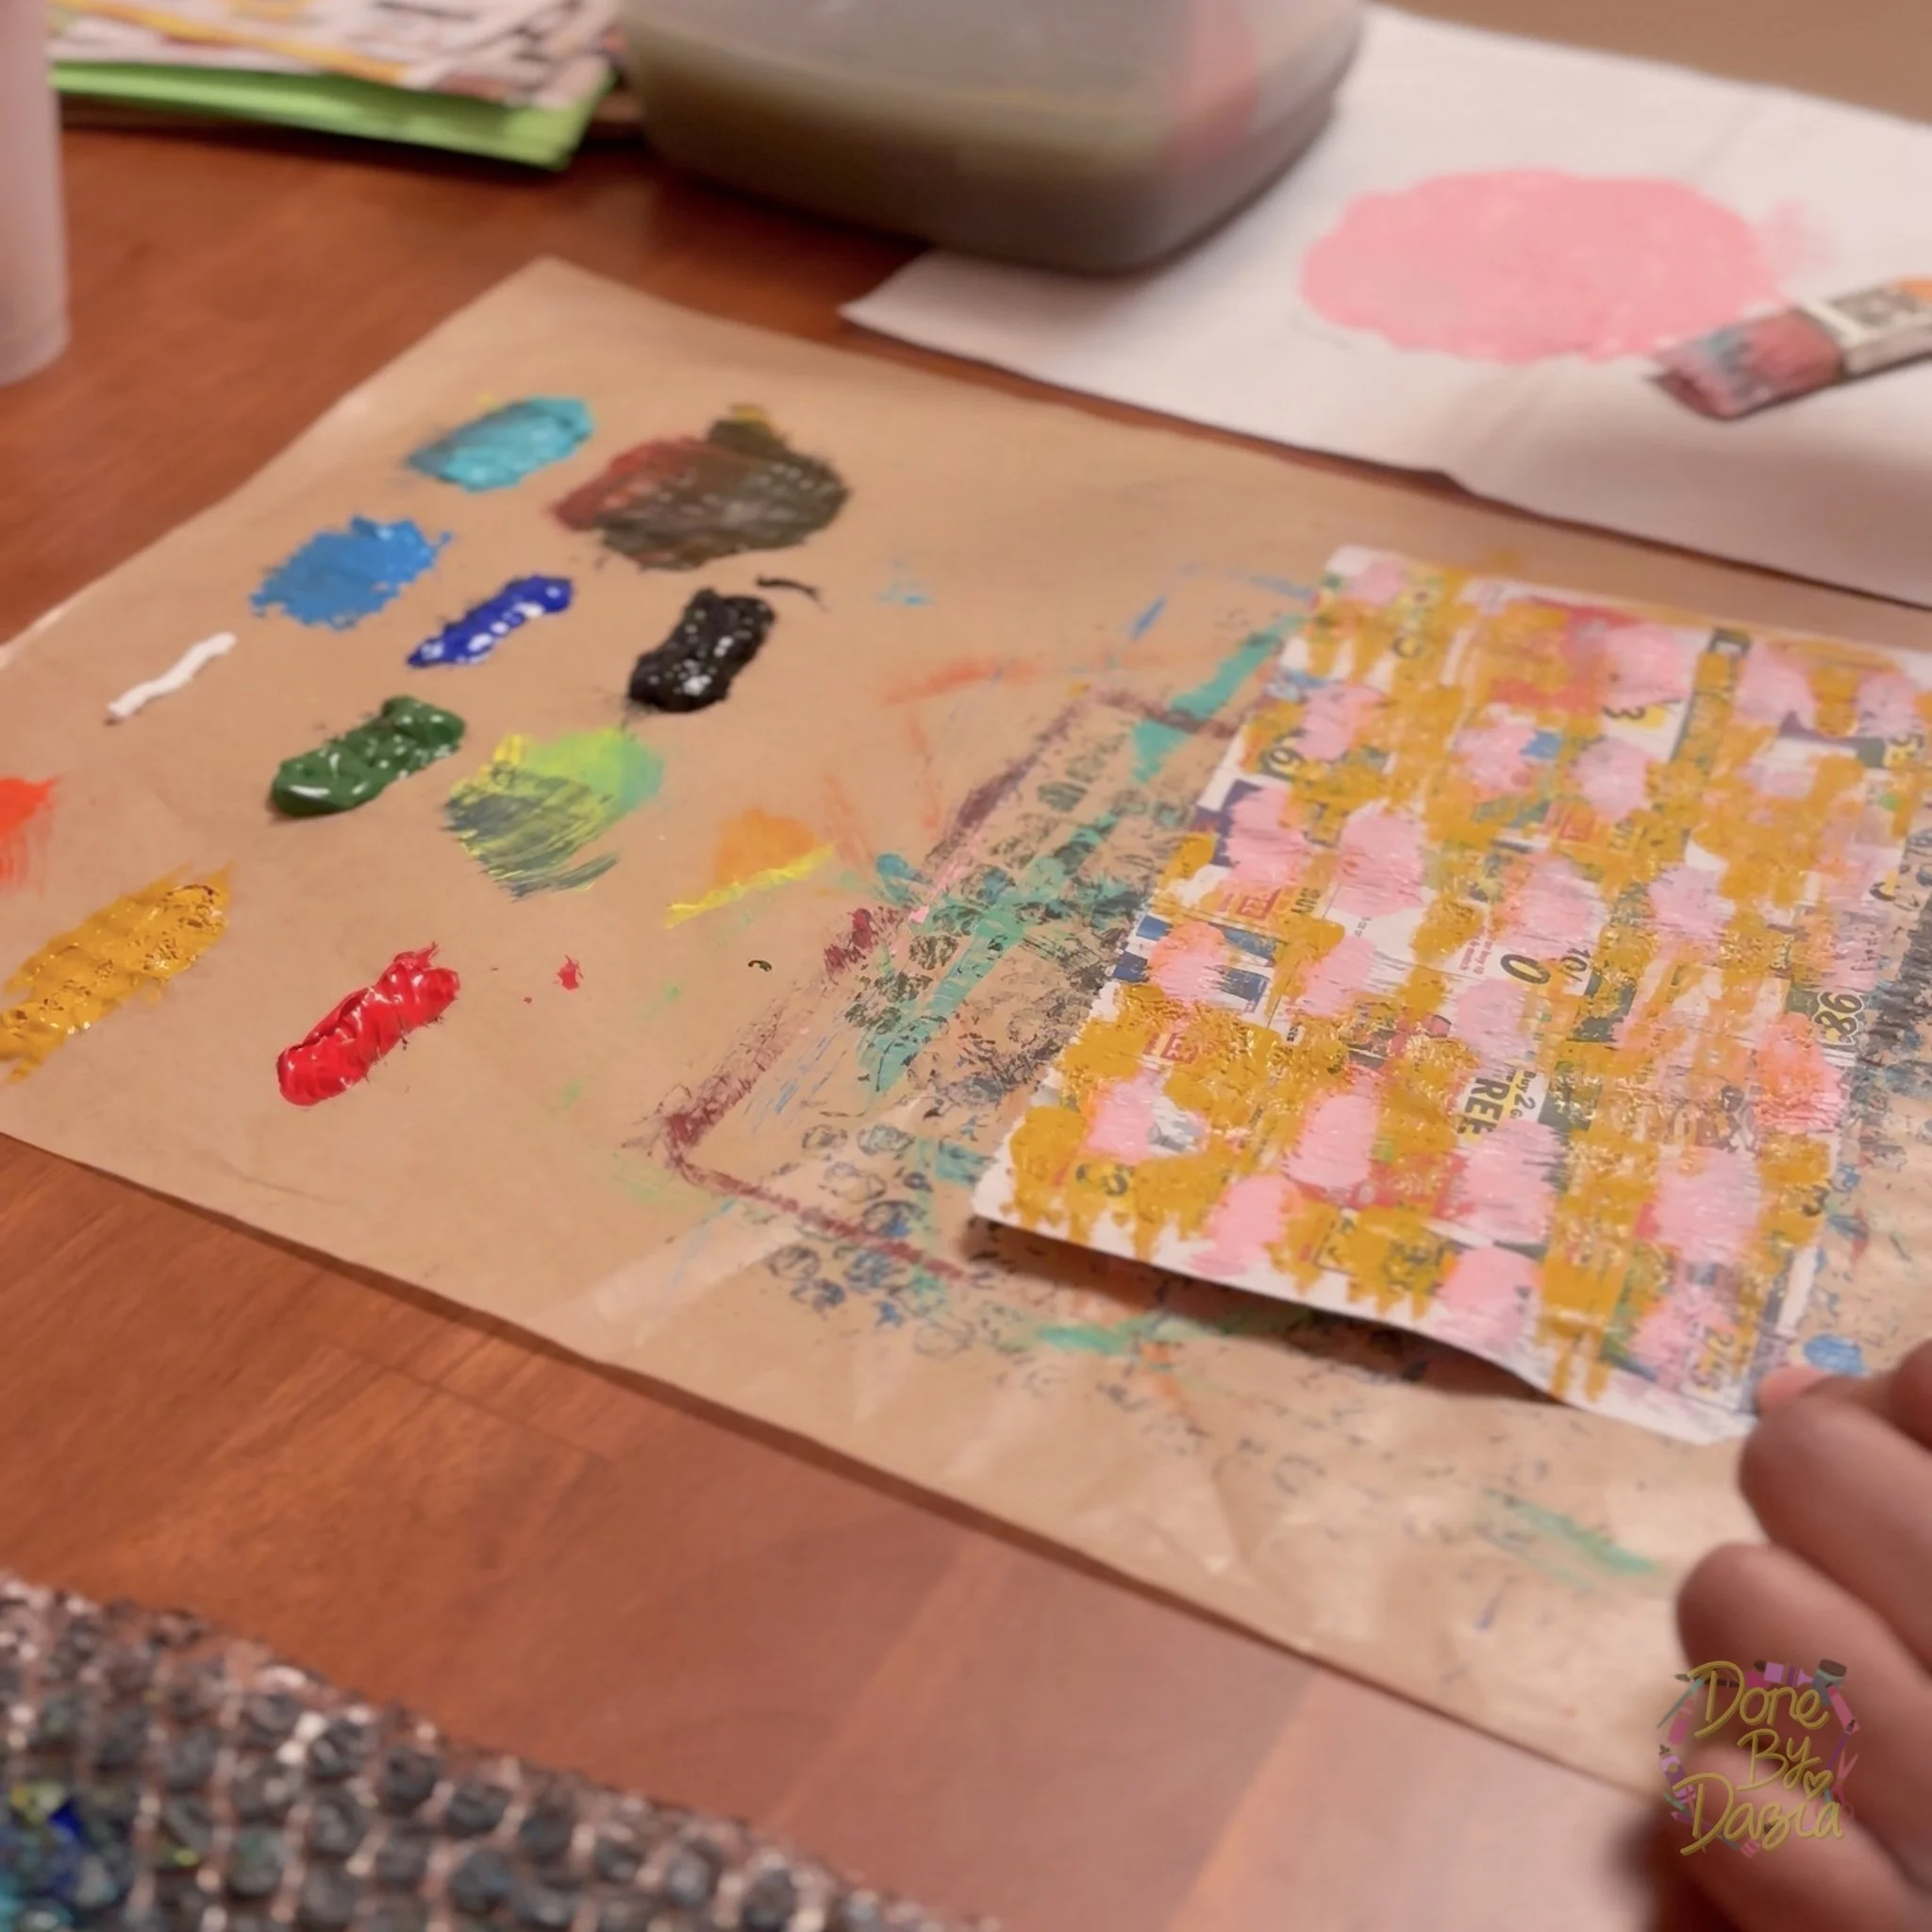
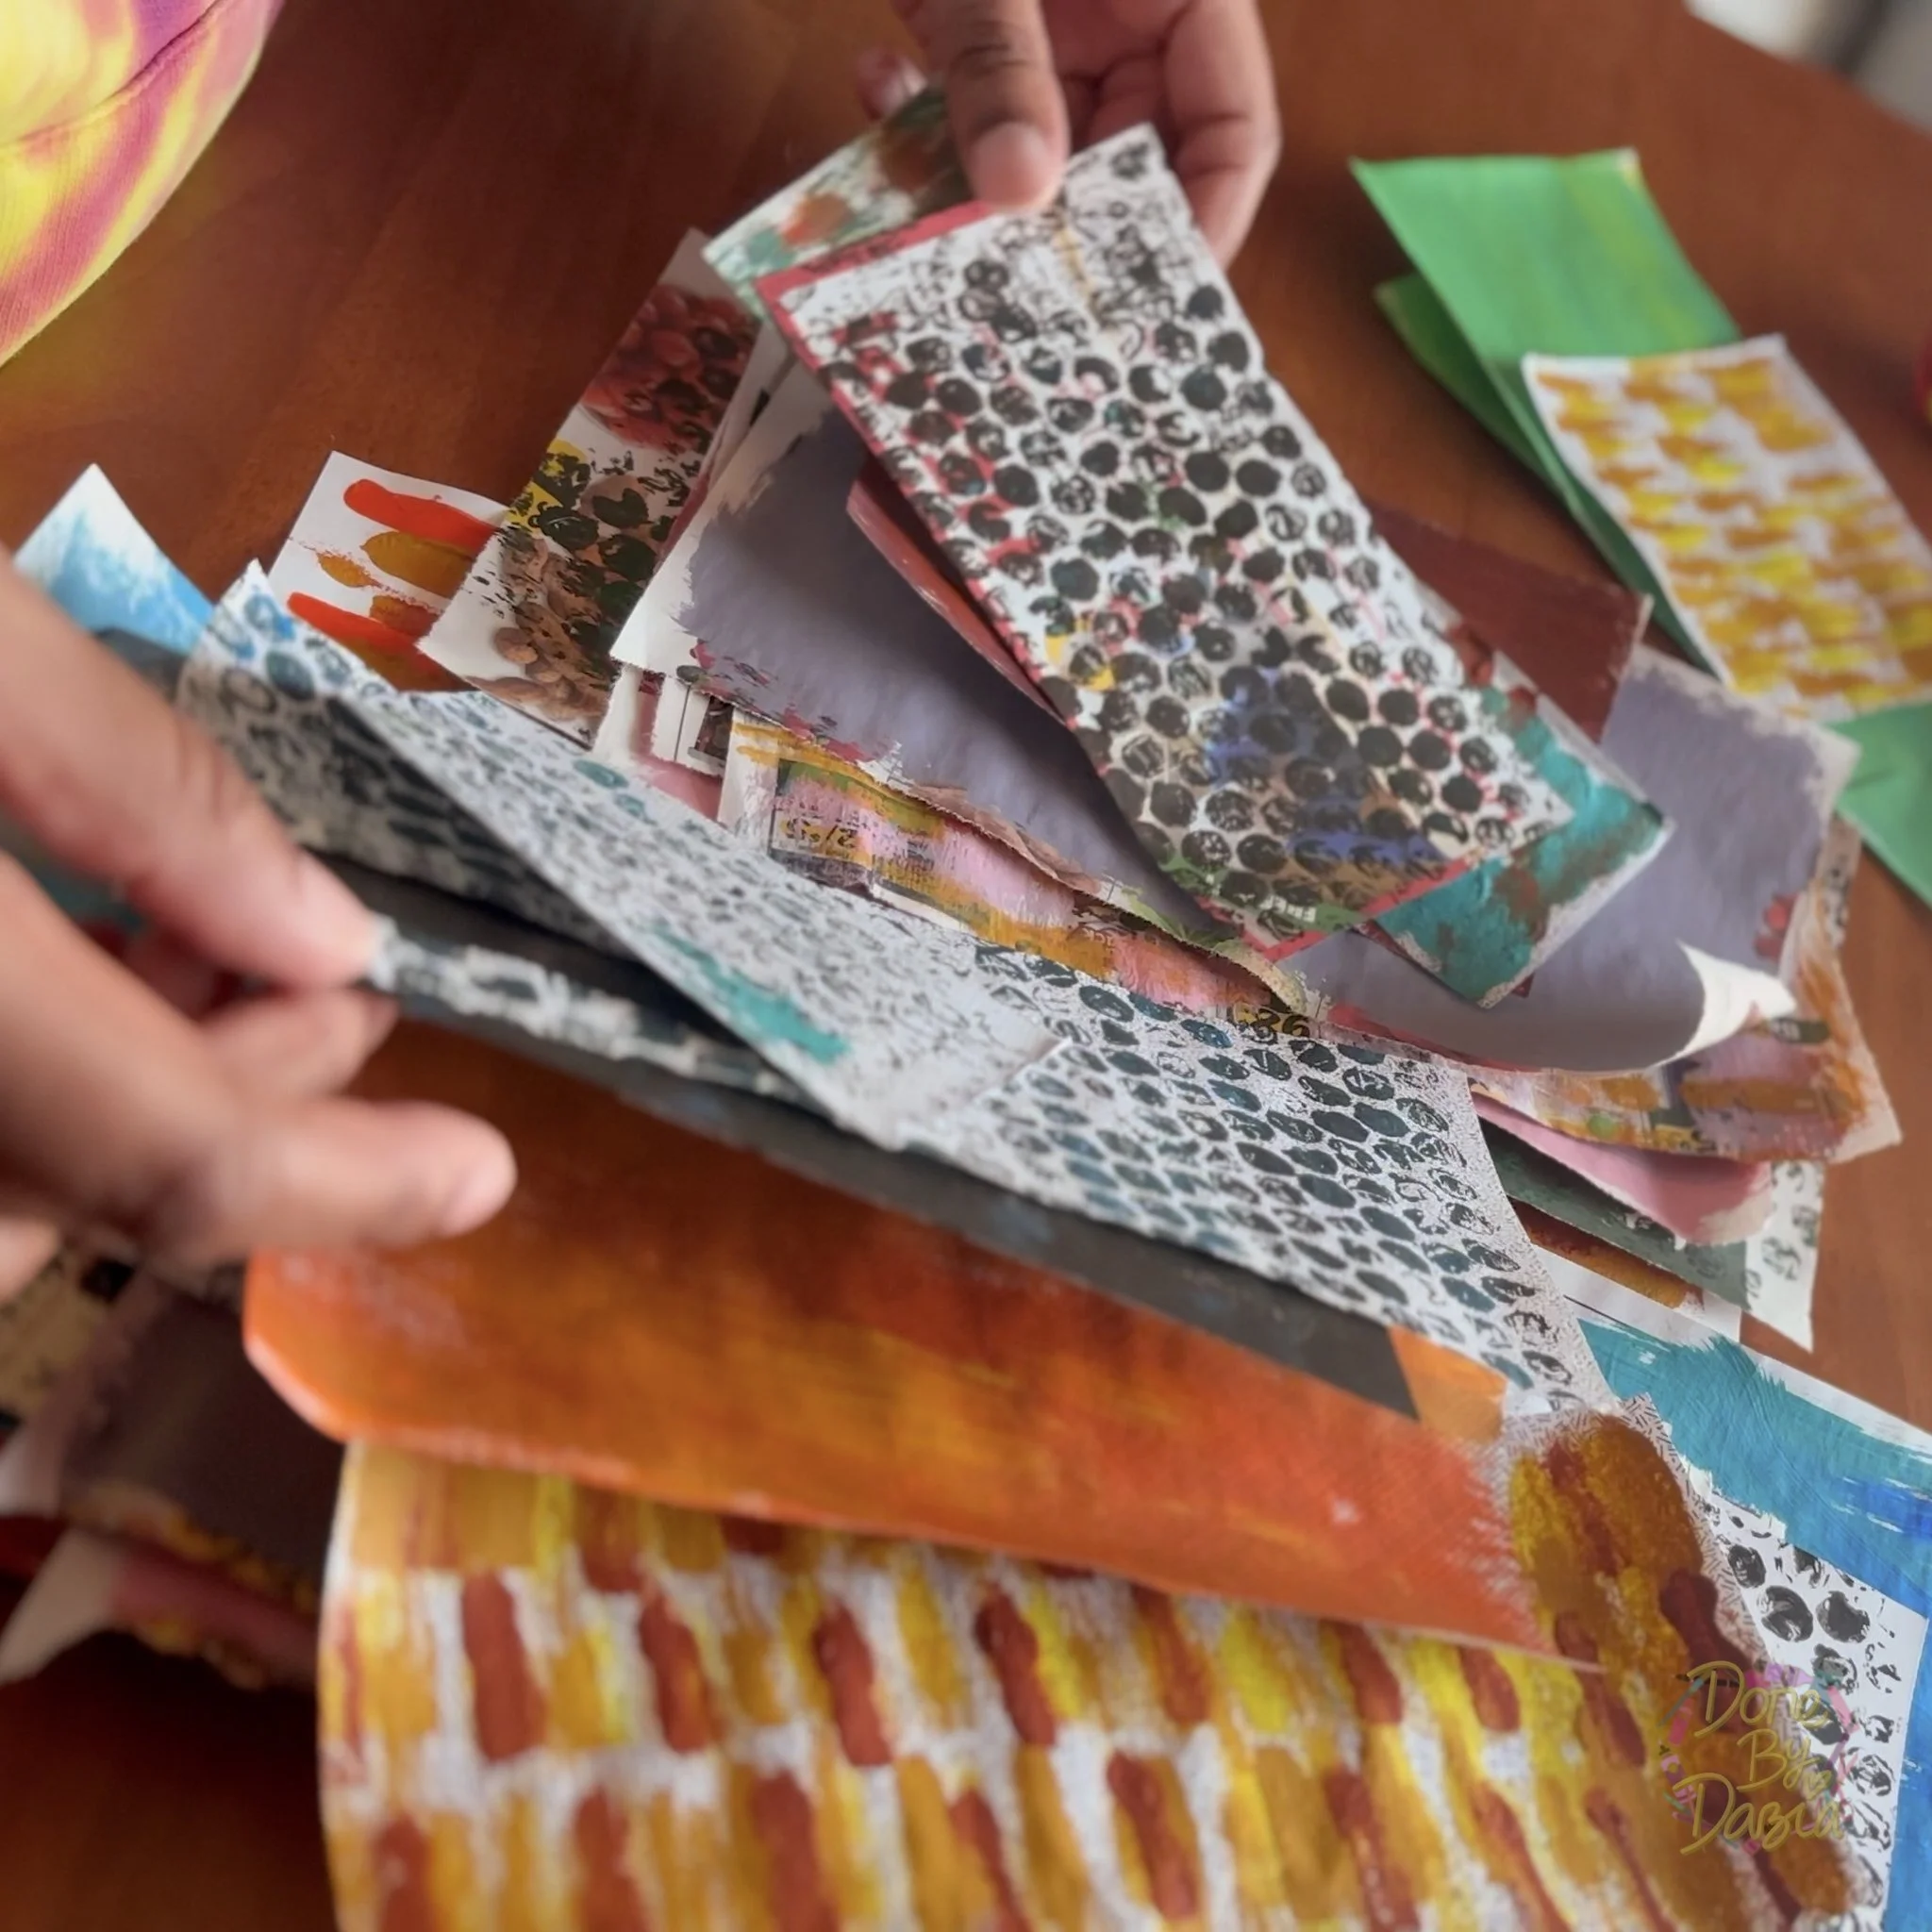
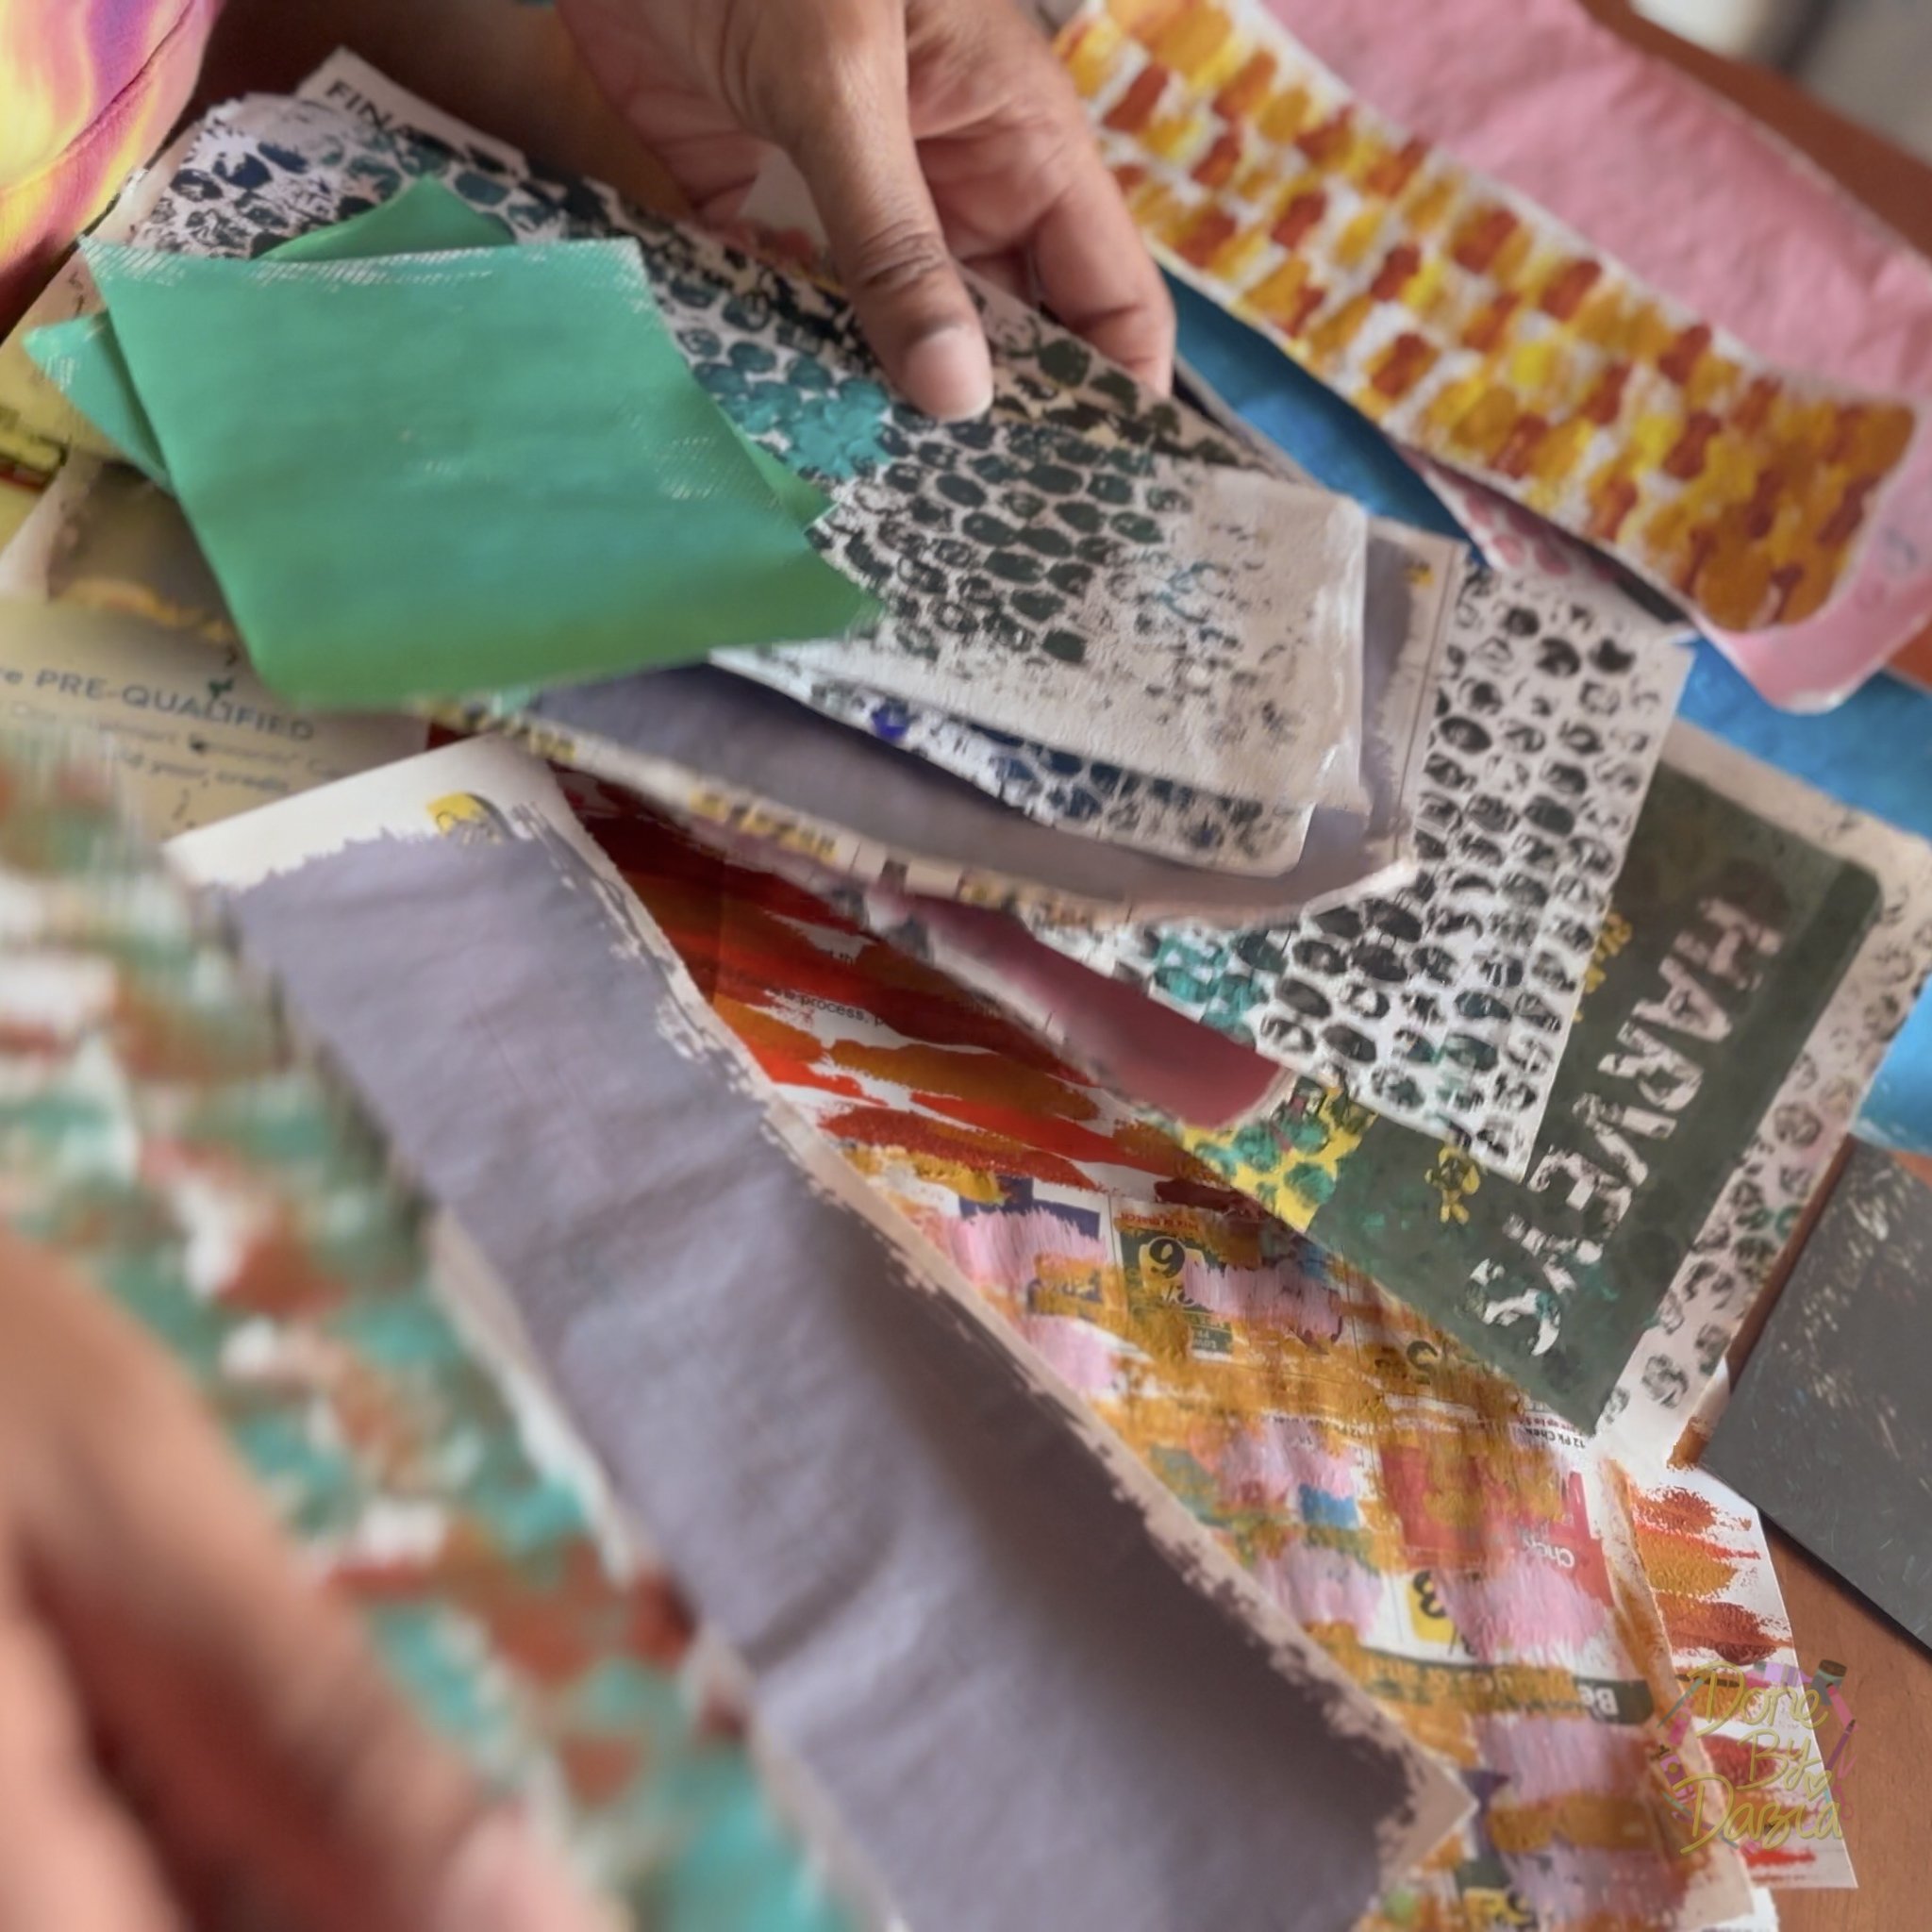
When the painting process was done I had a lot of really different and fun papers to work with. Think about all the marks you can make. The more you experiment the more you’ll have to work with for your collage! Make sure that you have fun while you paint your papers, if you decide to paint them. Paint is definitely optional! If you opt to not get or use paint just look for as many colors as you can in your junk mail. Collect your grocery store fliers, those are typically filled with it. And they’re a great thin texture to collage with.

Pro Tip: If you don’t get grocery fliers to your mailbox visit a grocery store or post office near you, both are chock-full of them.
Speaking of the collage… Once all my ingredients were dried and flattened, it was time to put mine together!
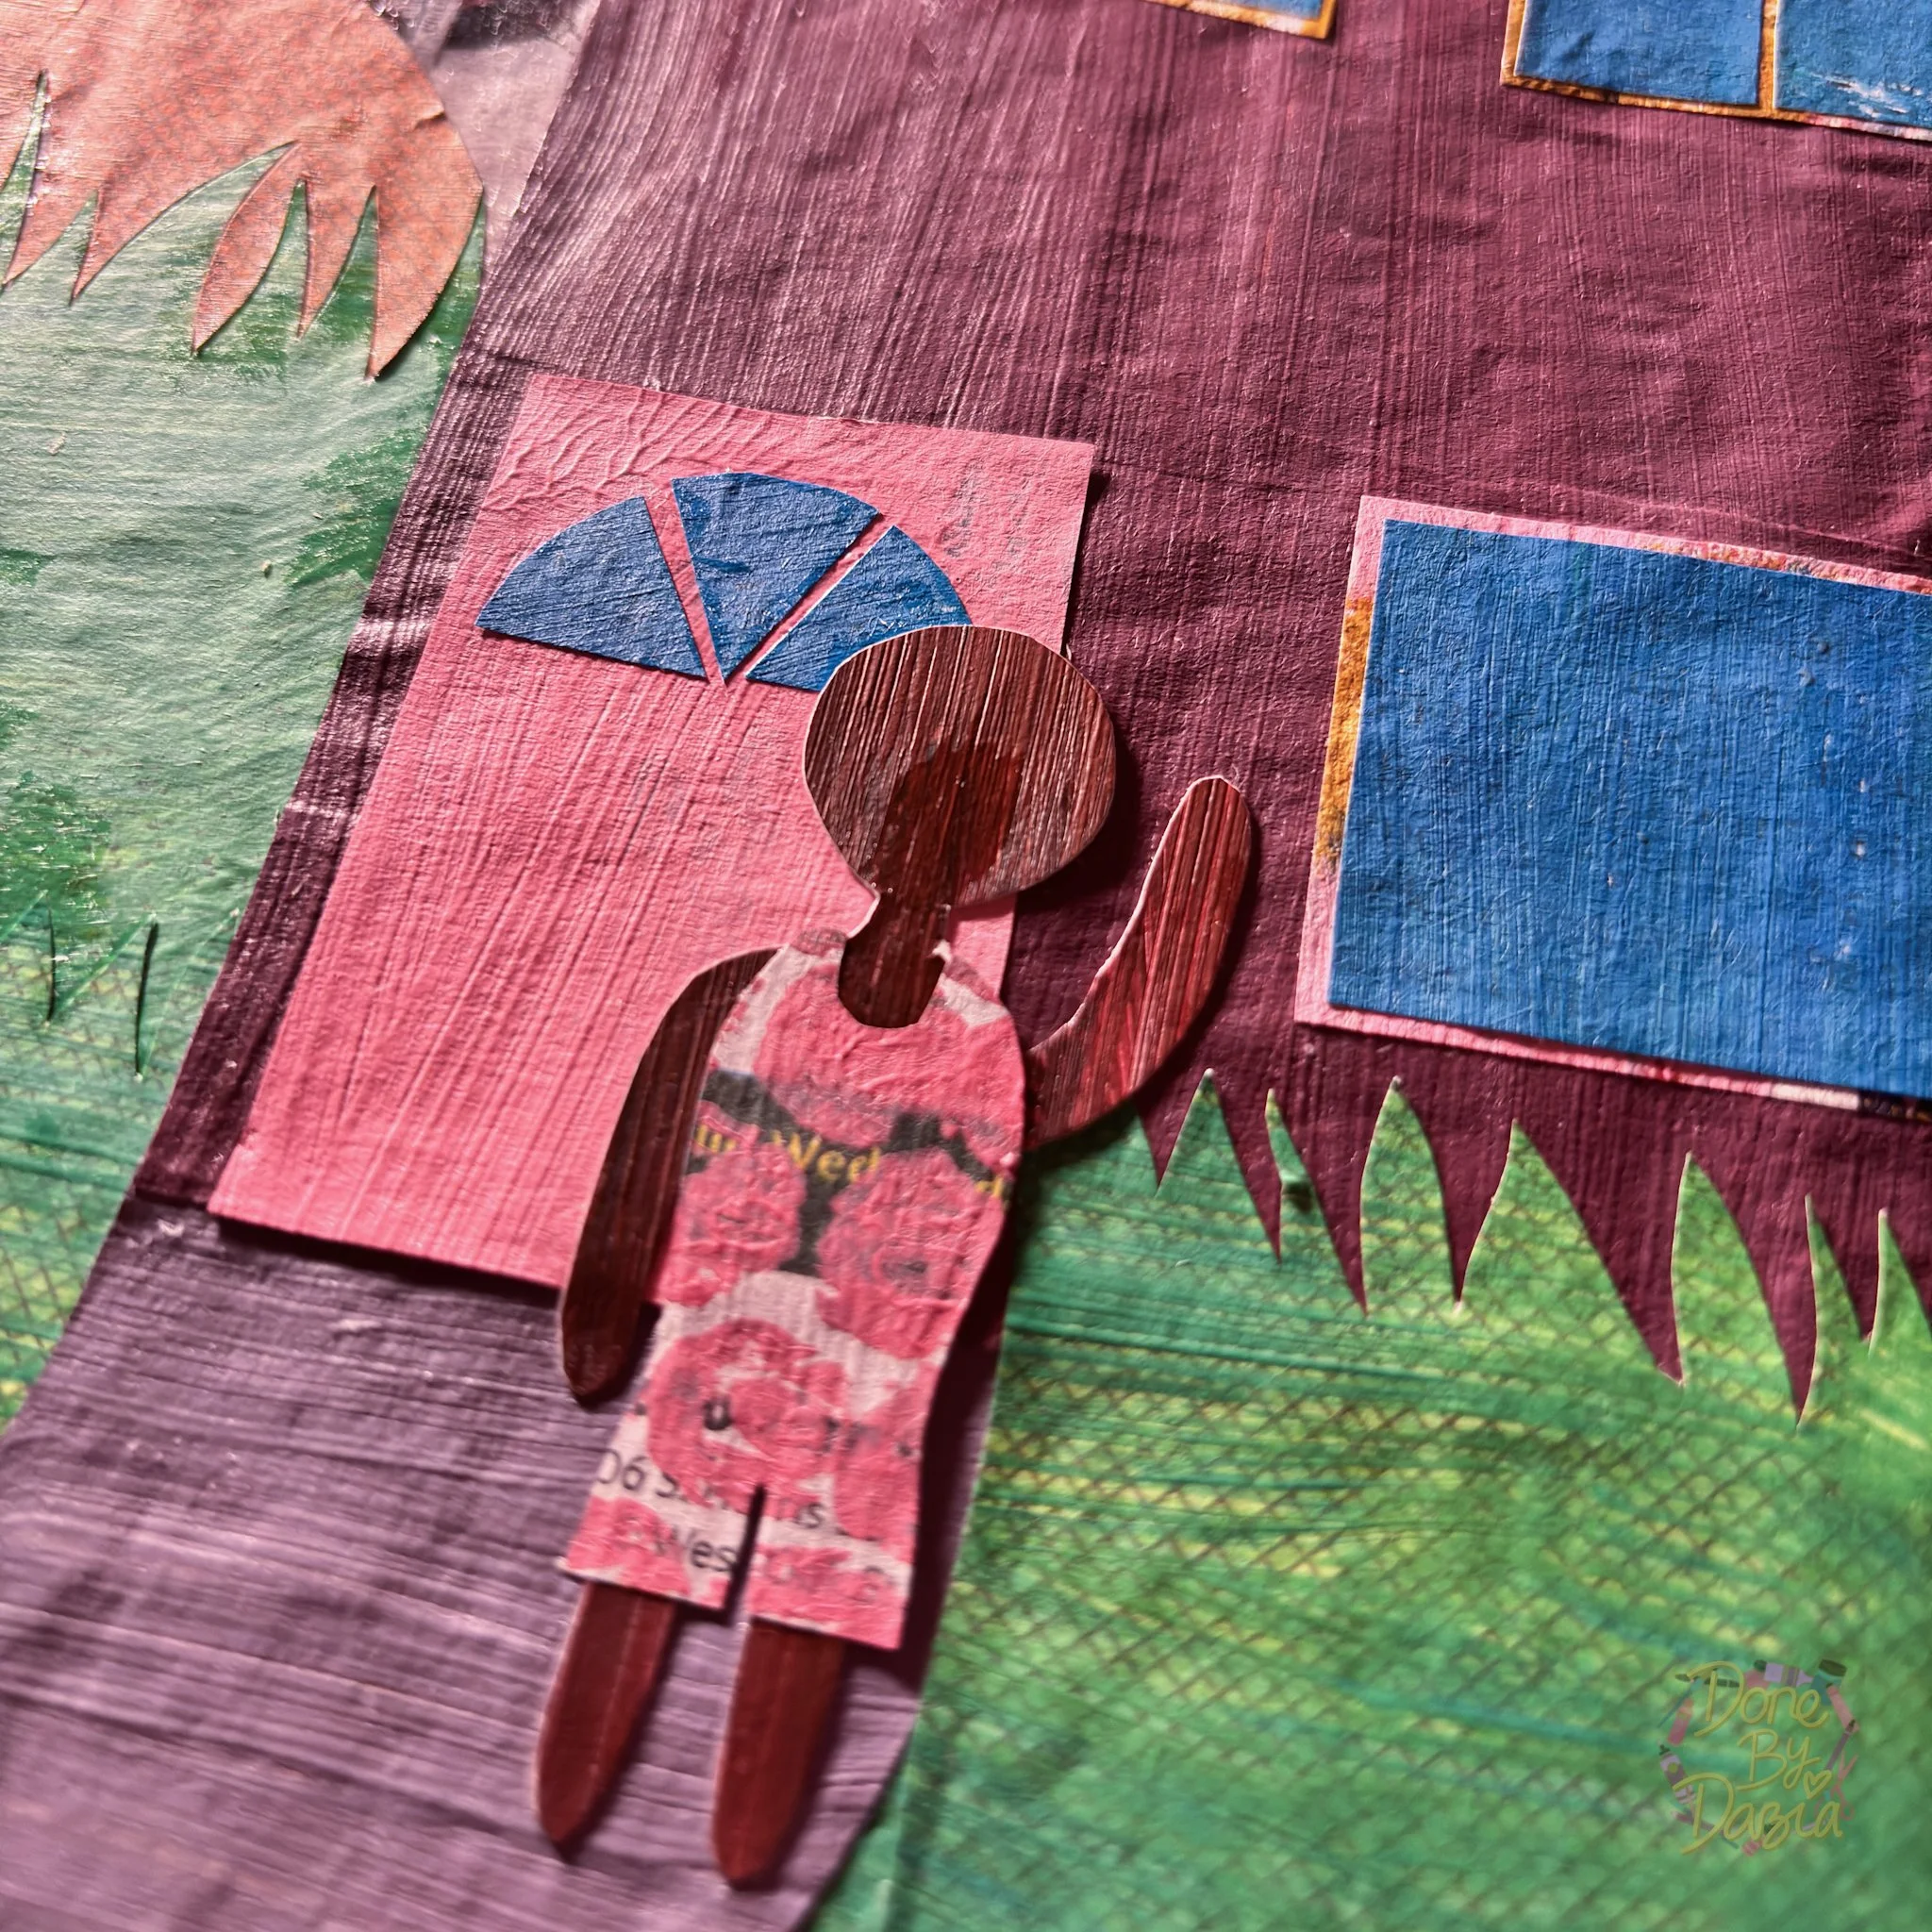
This week I called my 4-year-old niece, KhaLanee, and gave her a lil creative challenge. She has to create a picture that includes a circle, a square, a triangle, and a person. Lanee gave me a challenge in return, my picture had to have a house, a sun, a lamp, and a person. Kids are great sources for creative prompts!
I started out by picking papers with colors I wanted to use.
Then I drew the different shapes I needed for the collage on the backs of the painted papers.
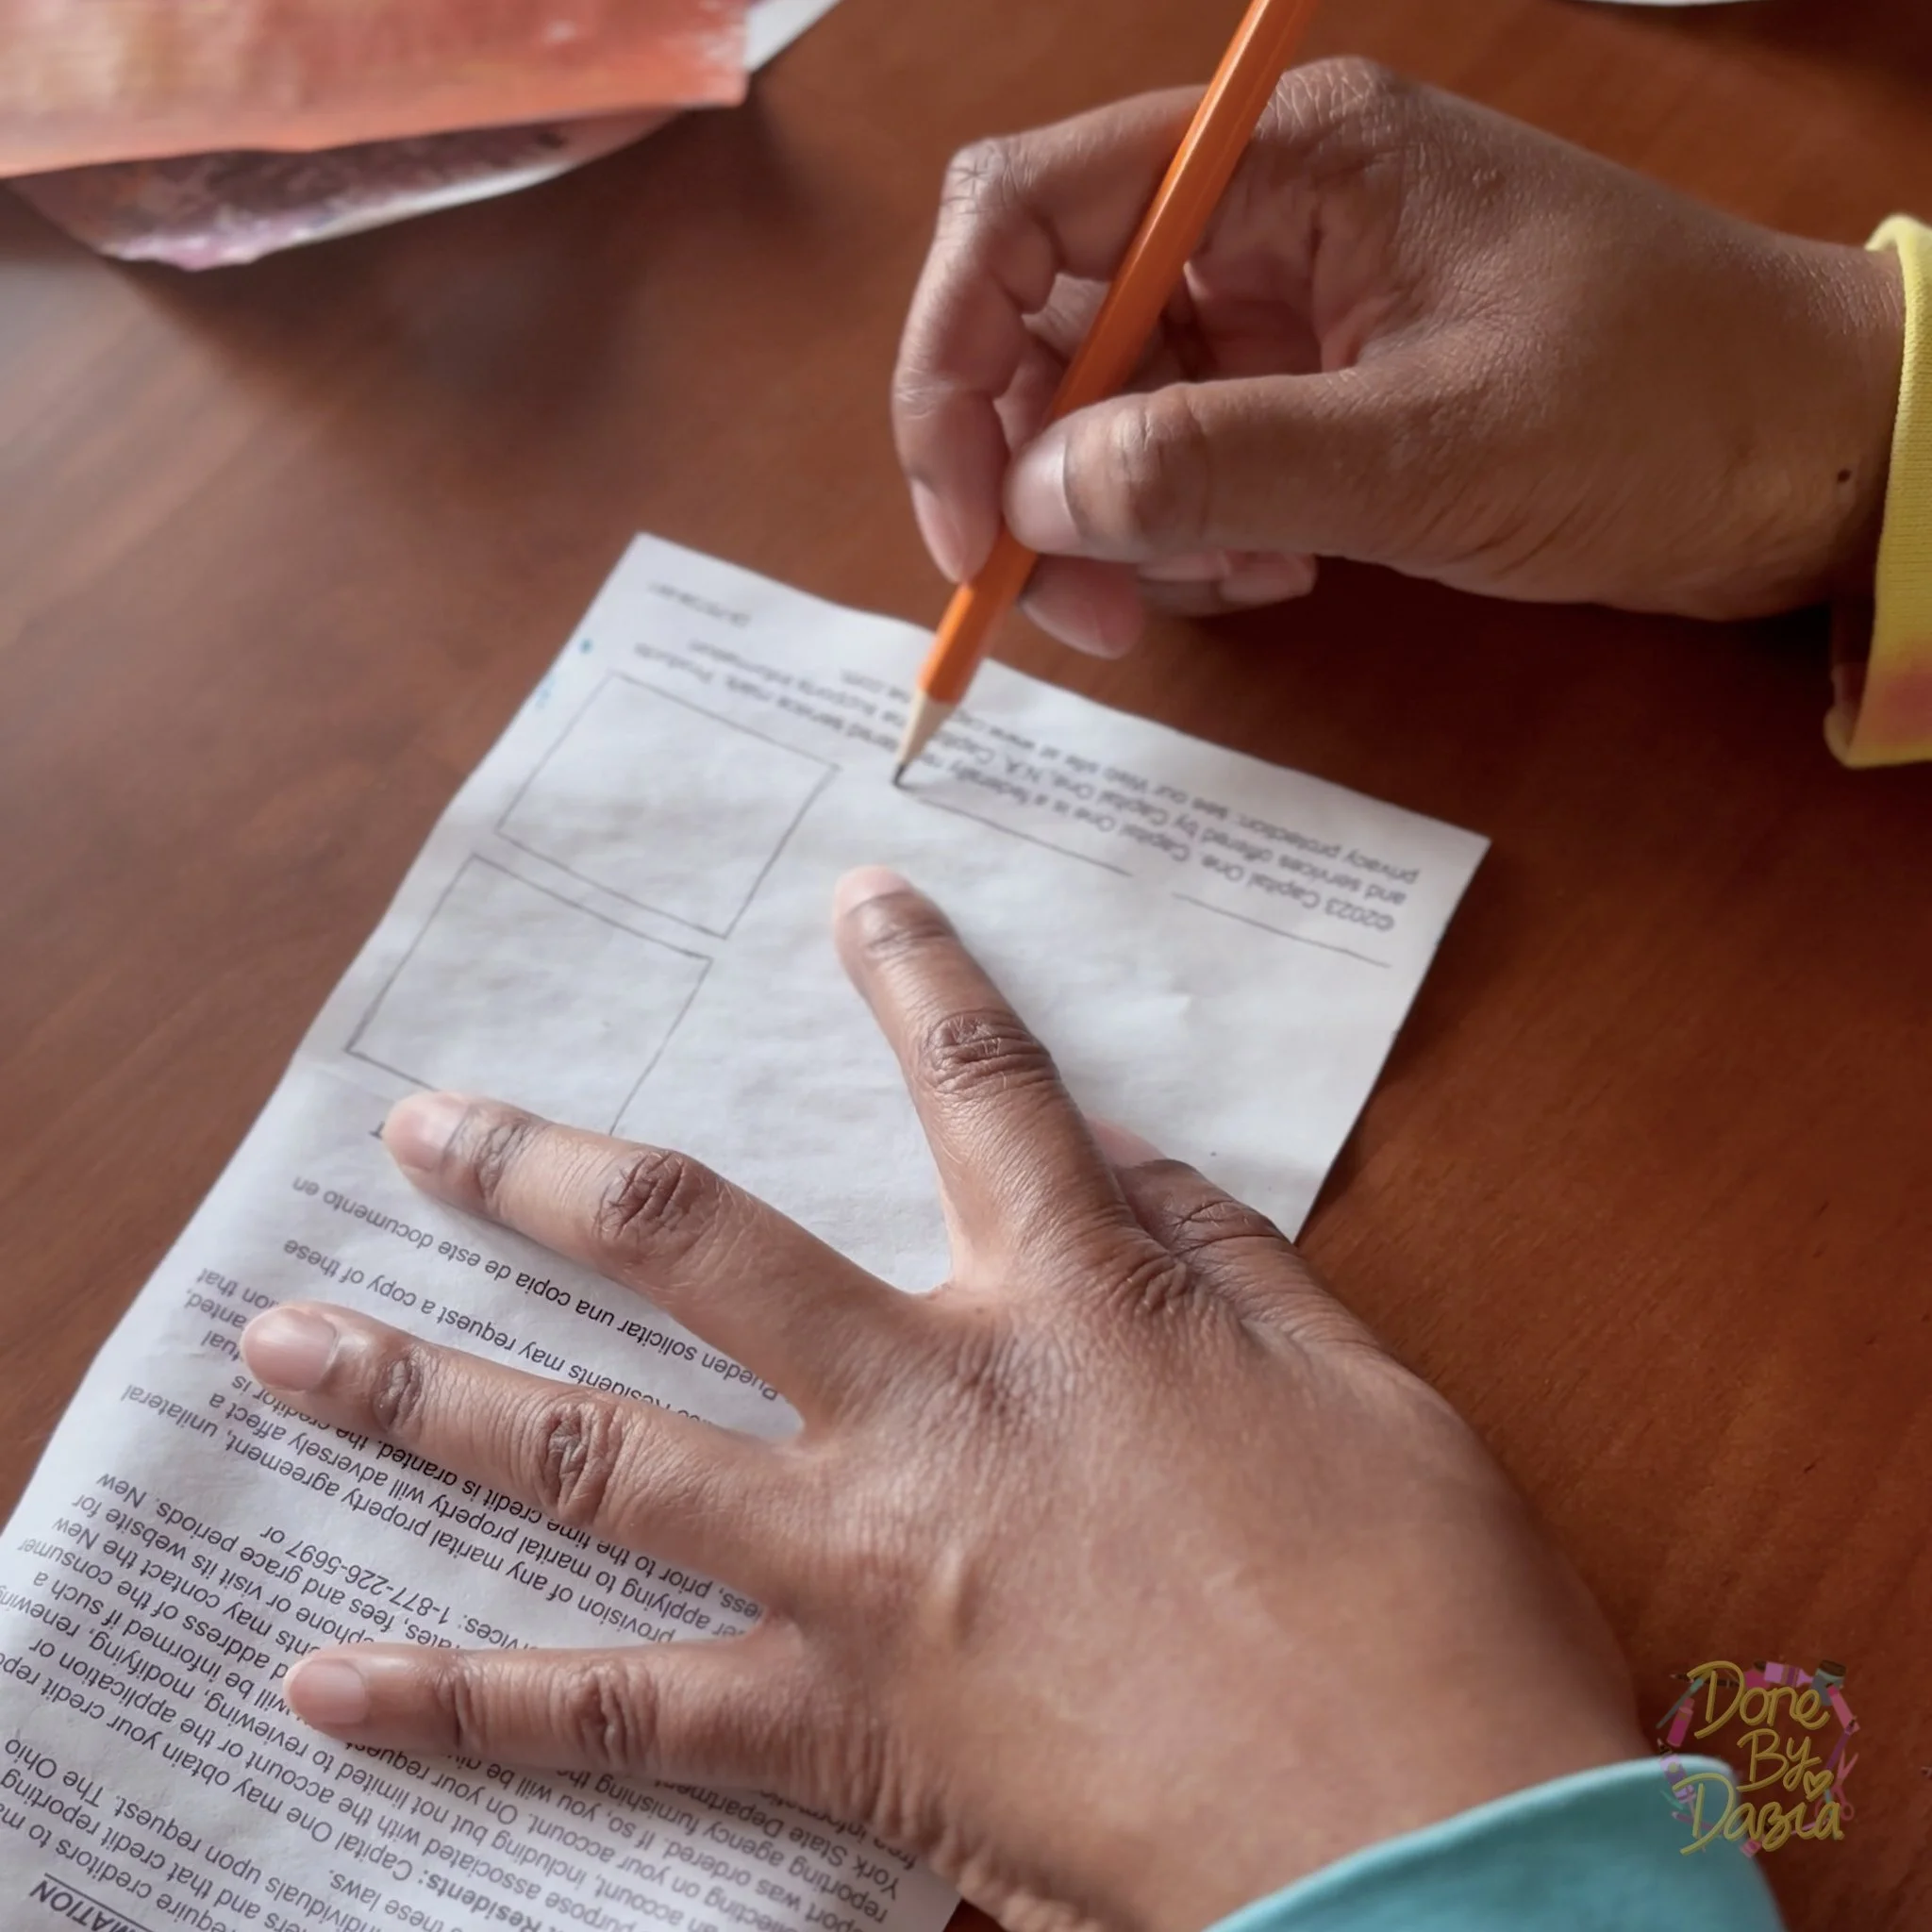
I draw on the back so that no pencil marks wind up showing in the collage. But this means that what I’m drawing will be reversed when front-facing, so keep that in mind!
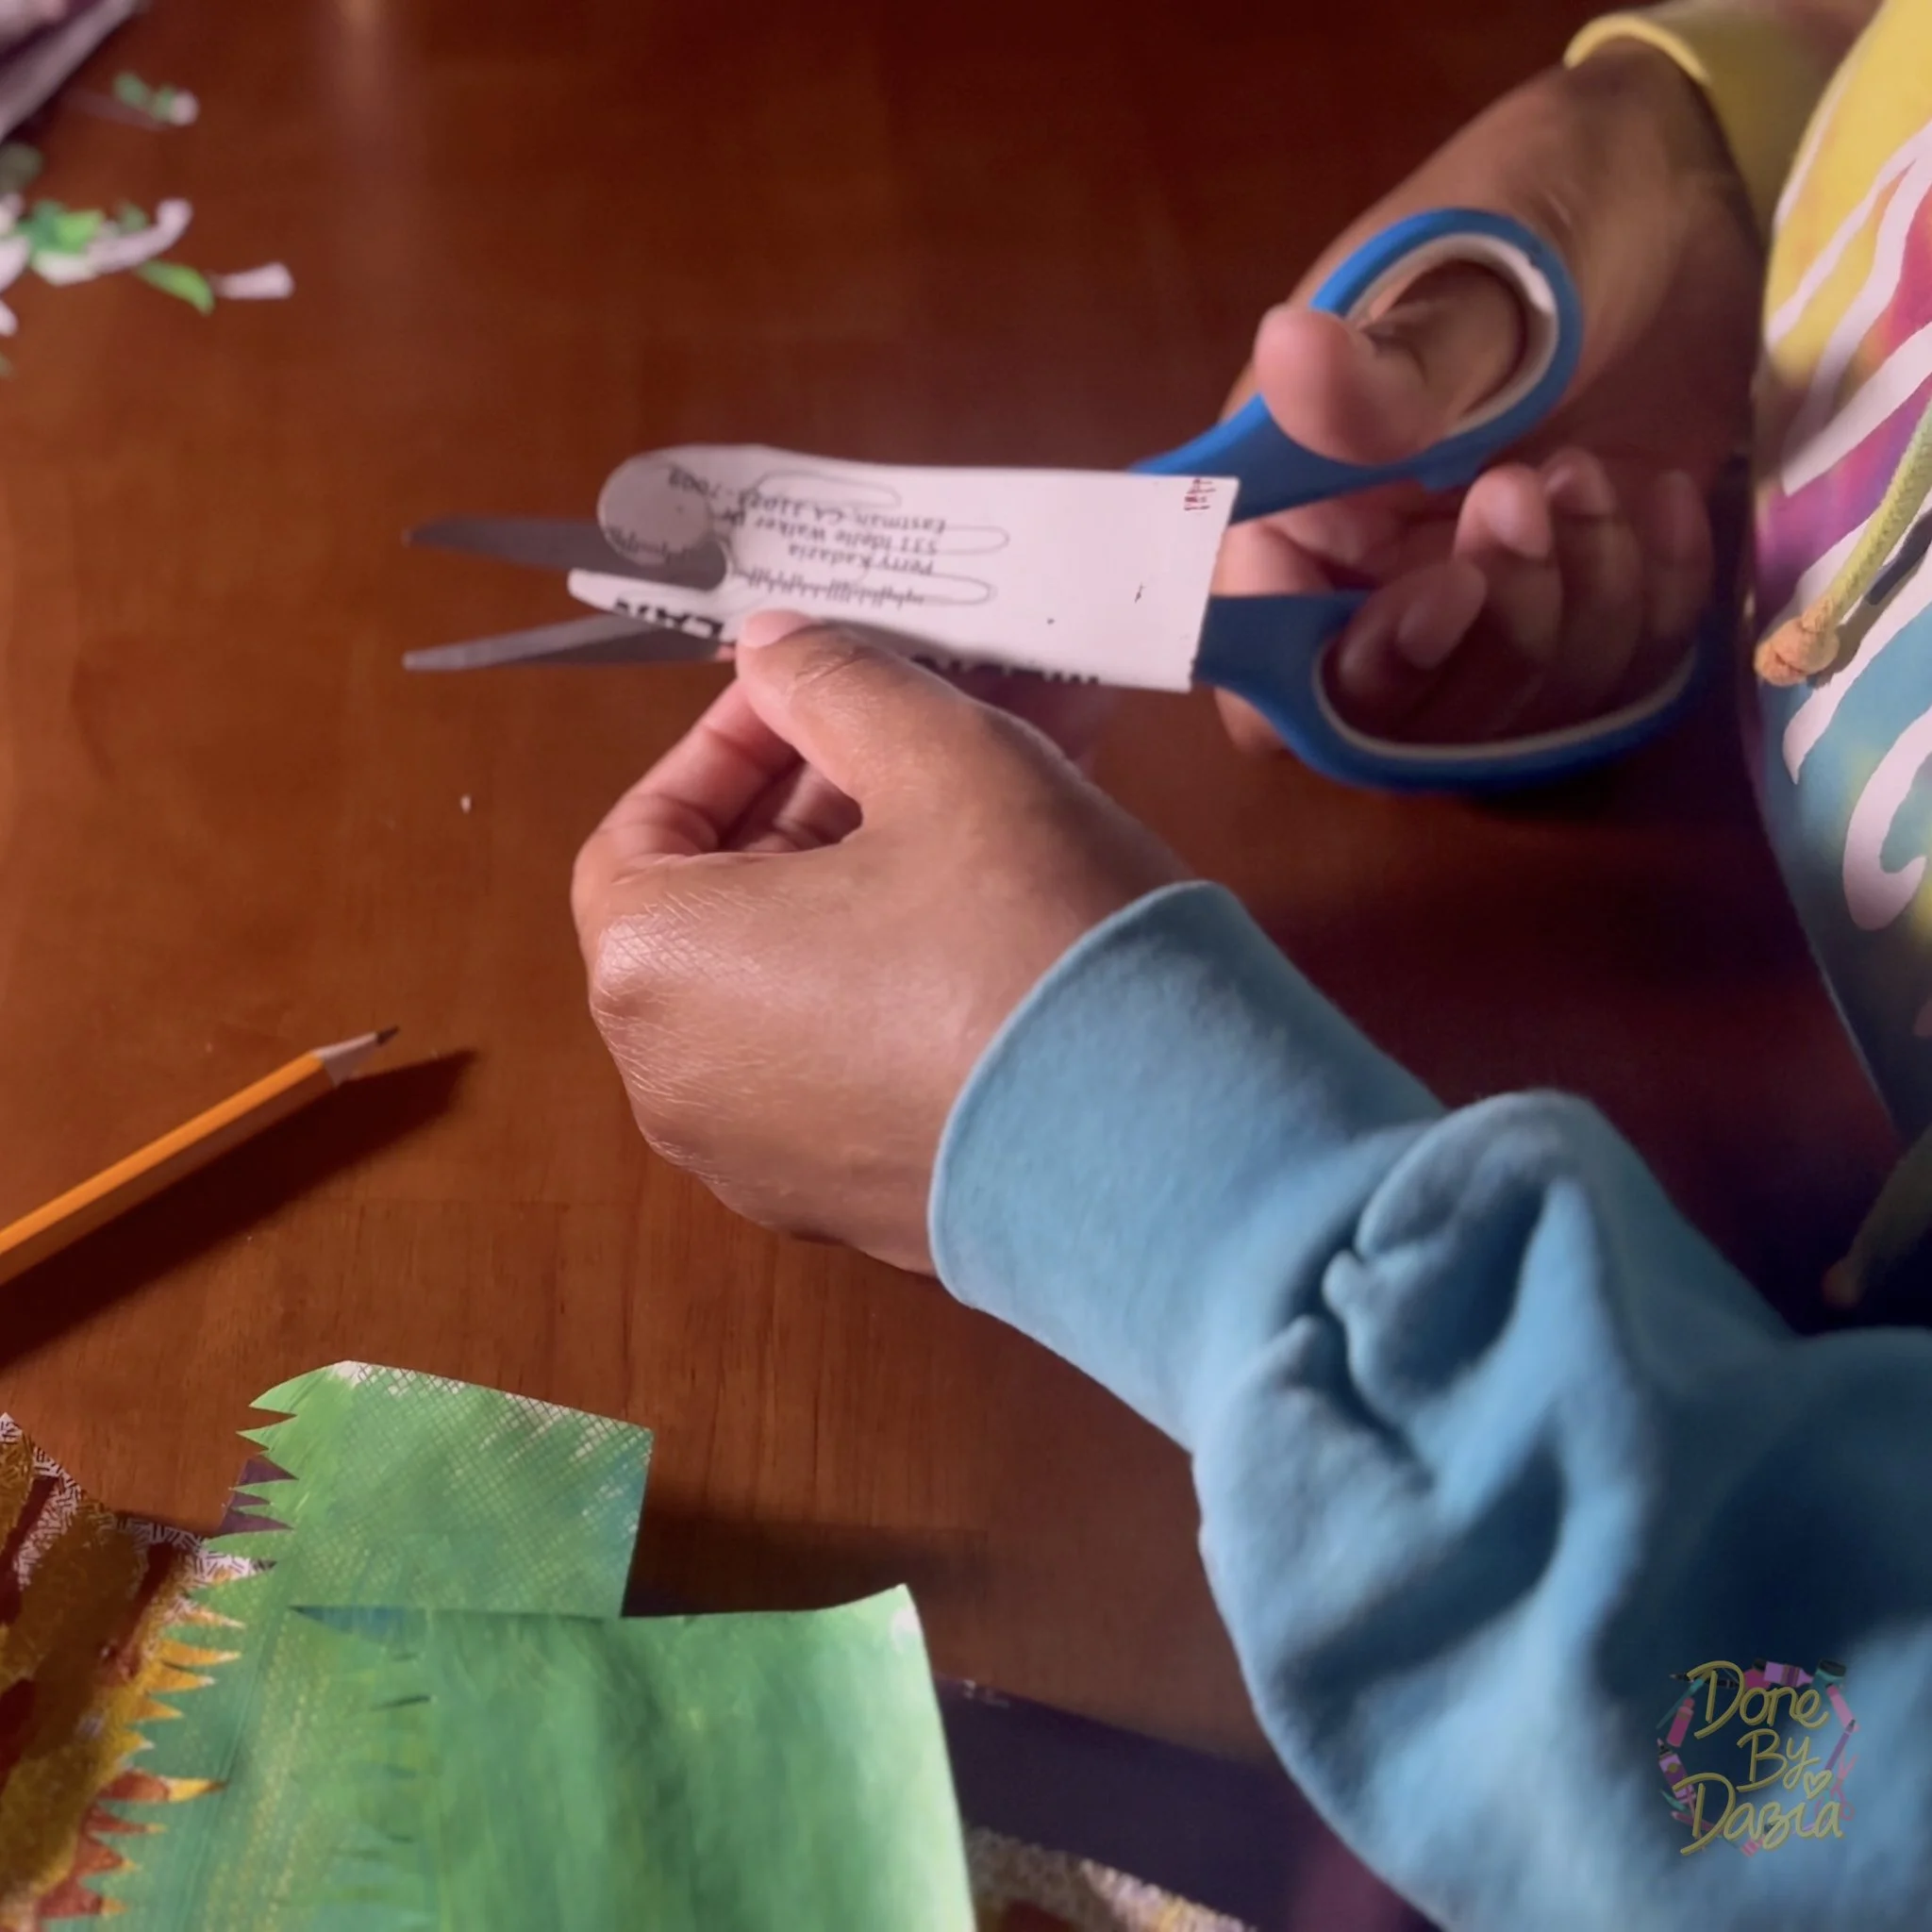
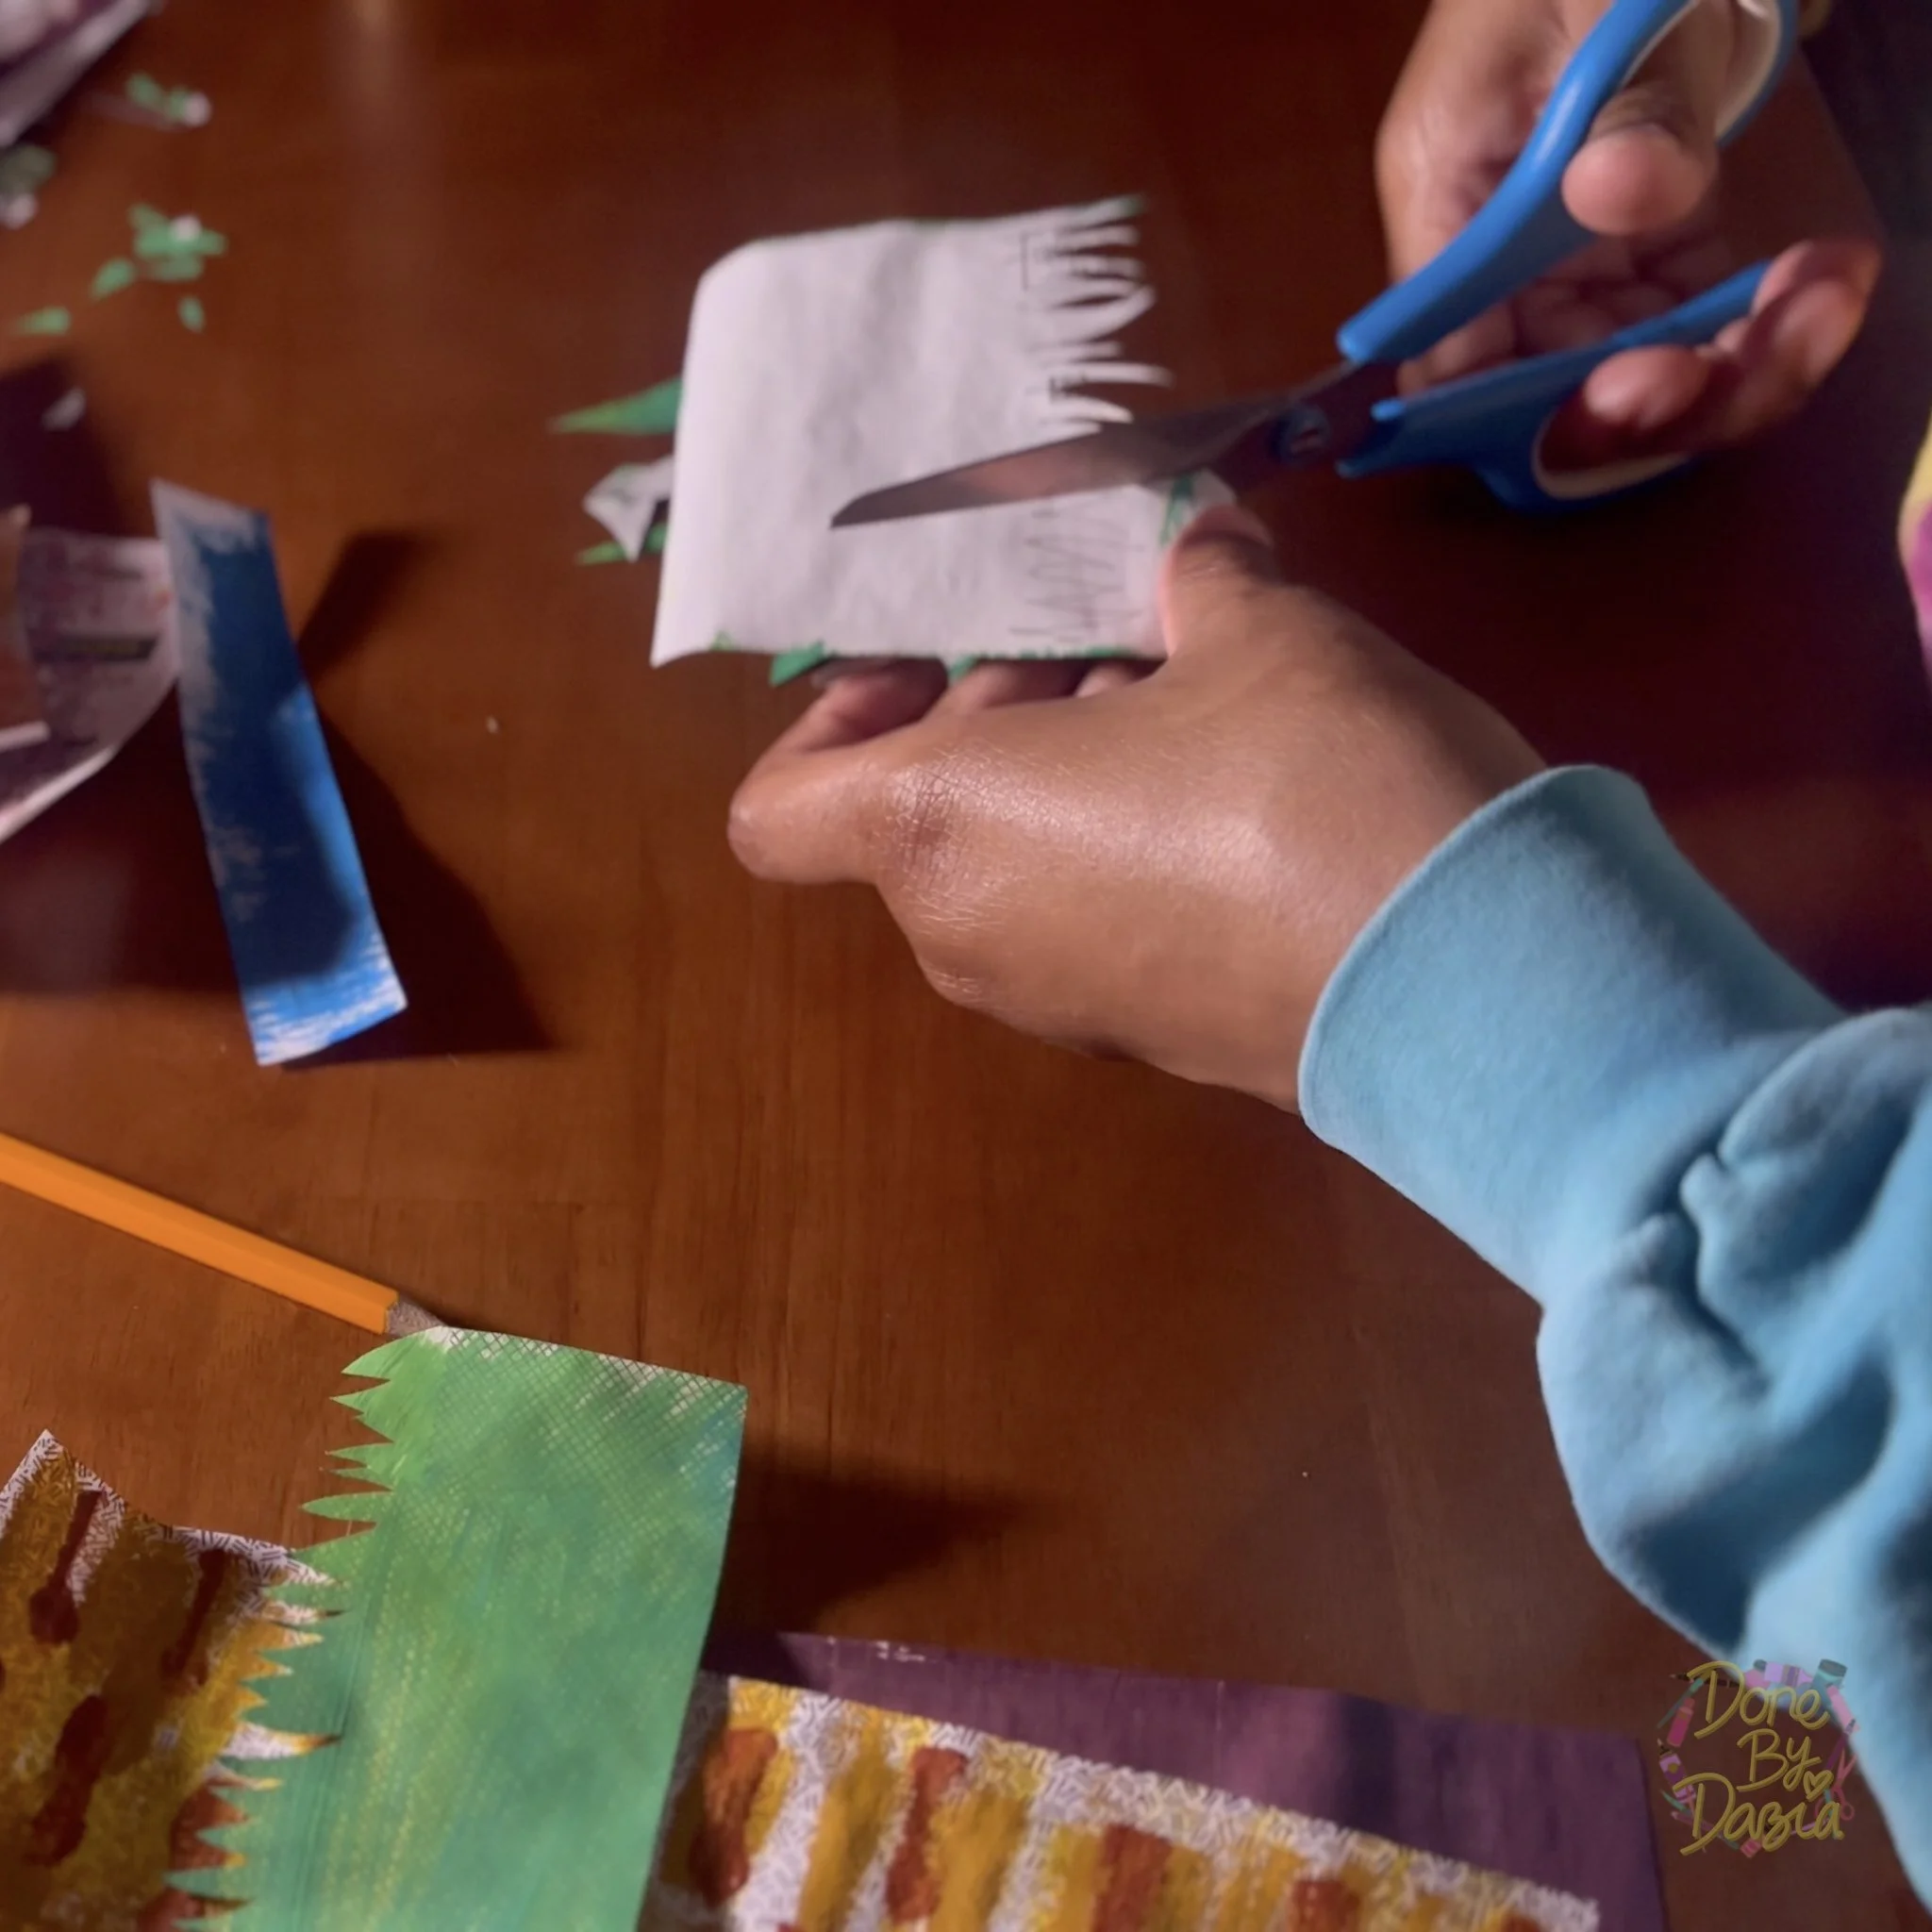
Once the drawing stage was finished I, of course, cut them out.
After I had all the puzzle pieces for my collage it was time to put it all together. Because I was just guessing the sizes and proportions of things when I drew the shapes on the backs of the collage papers, before I went straight into gluing them down I wanted to check the layout of it all as well as figure out the order I would have to glue things down in.
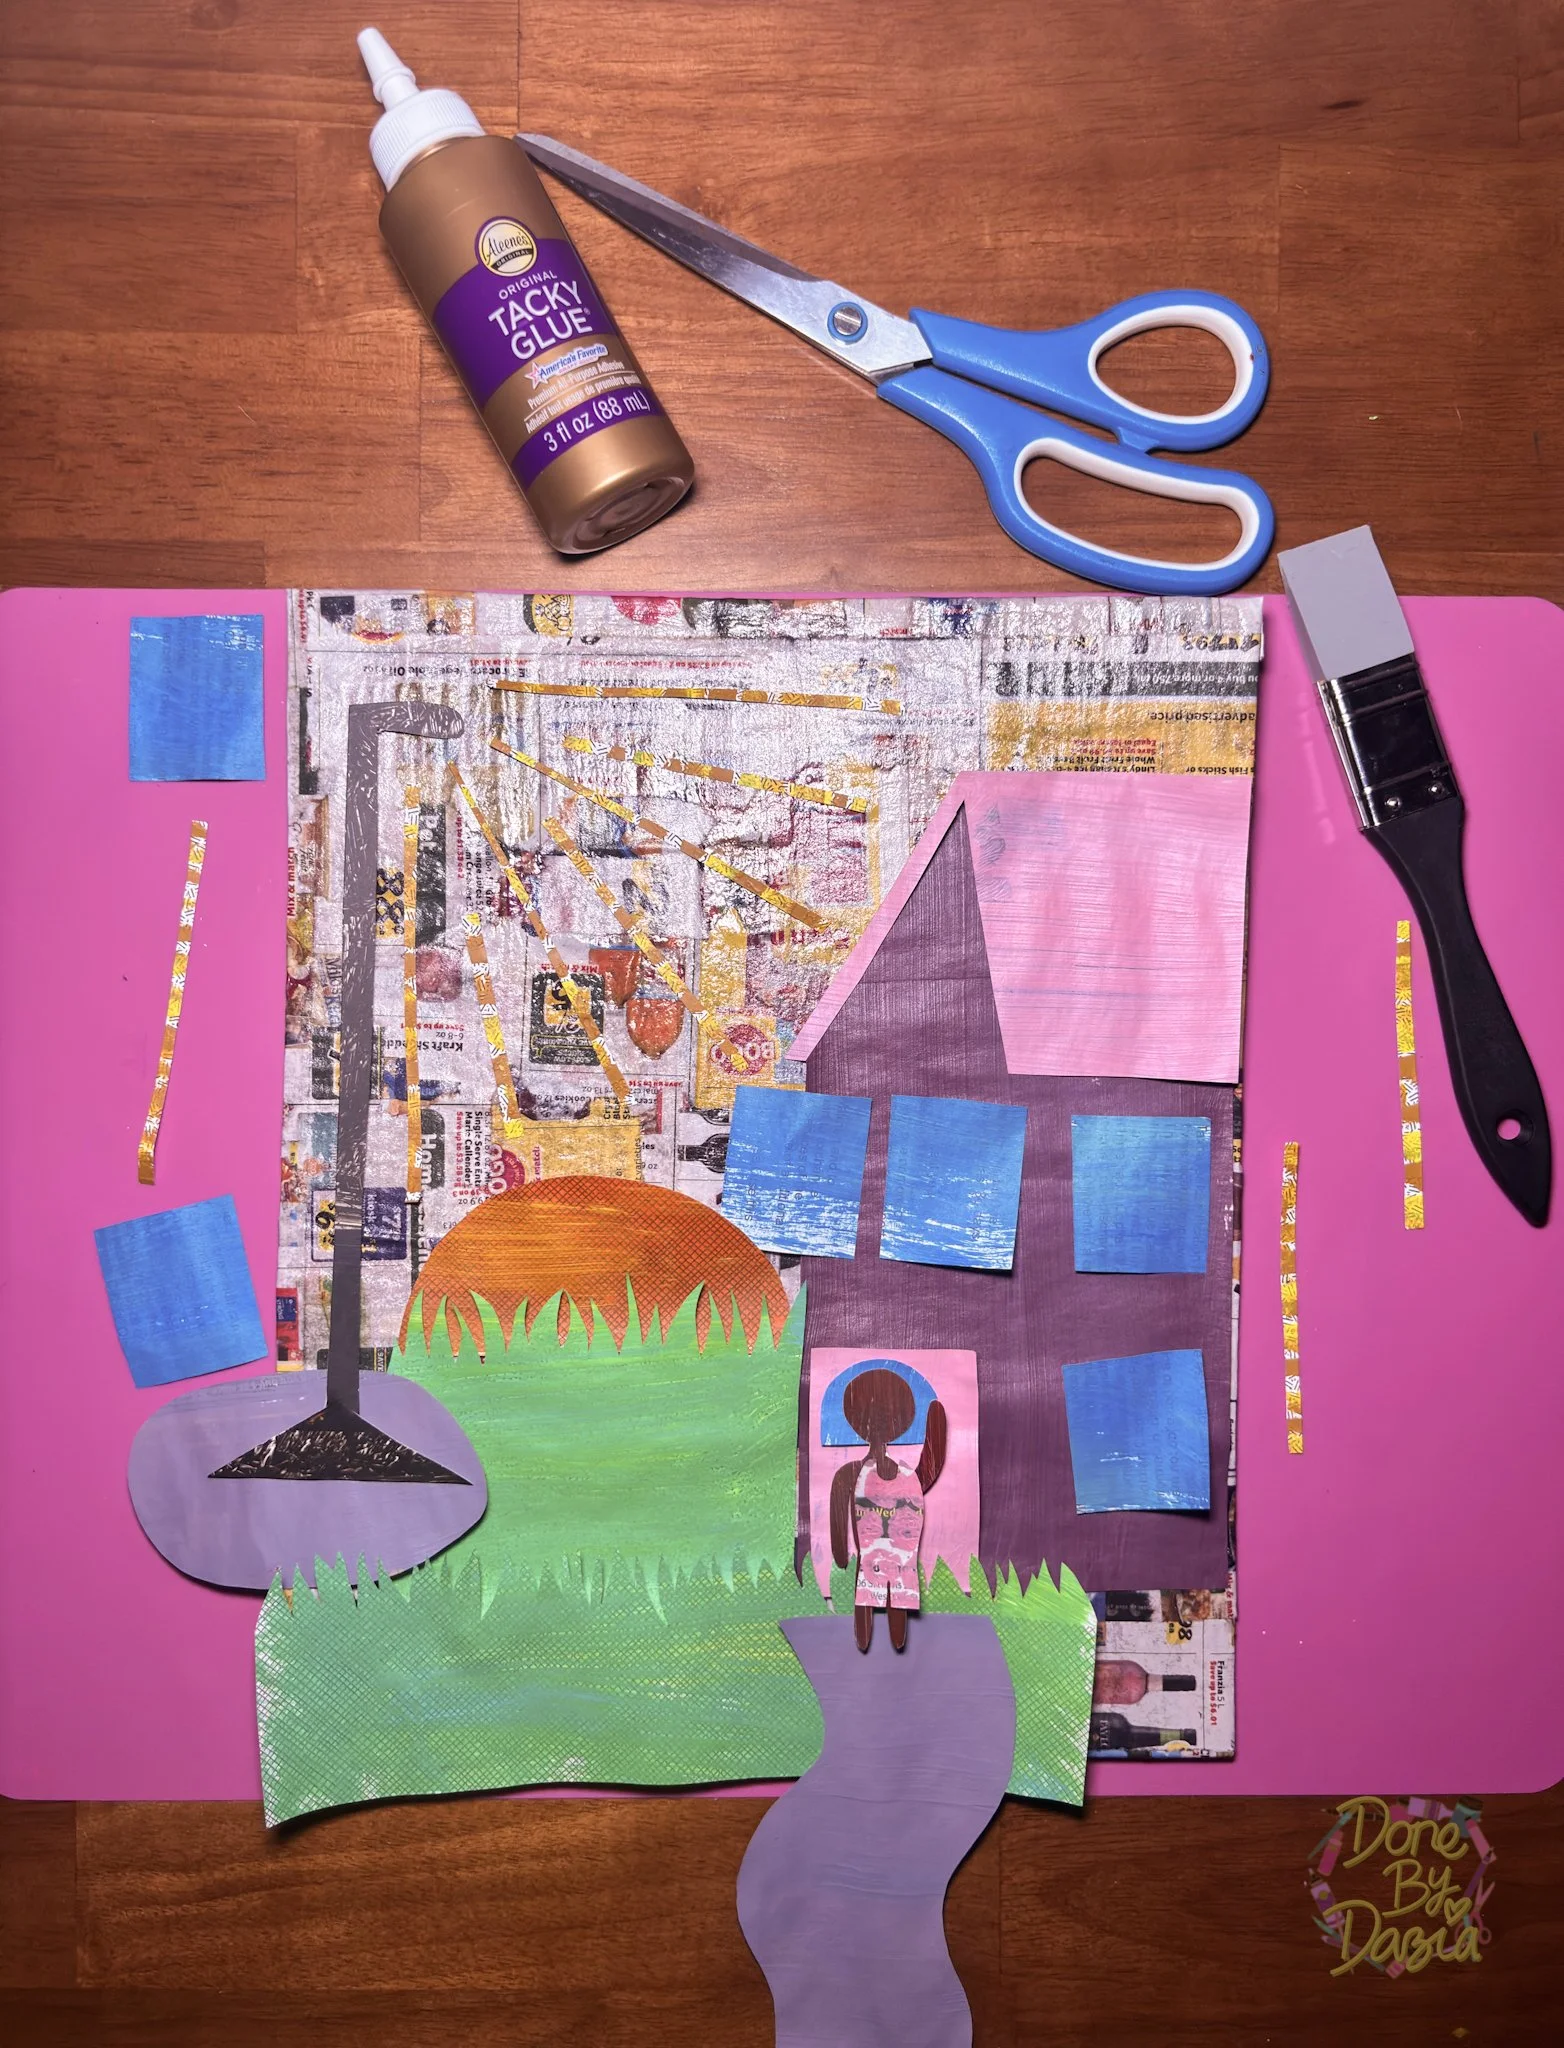
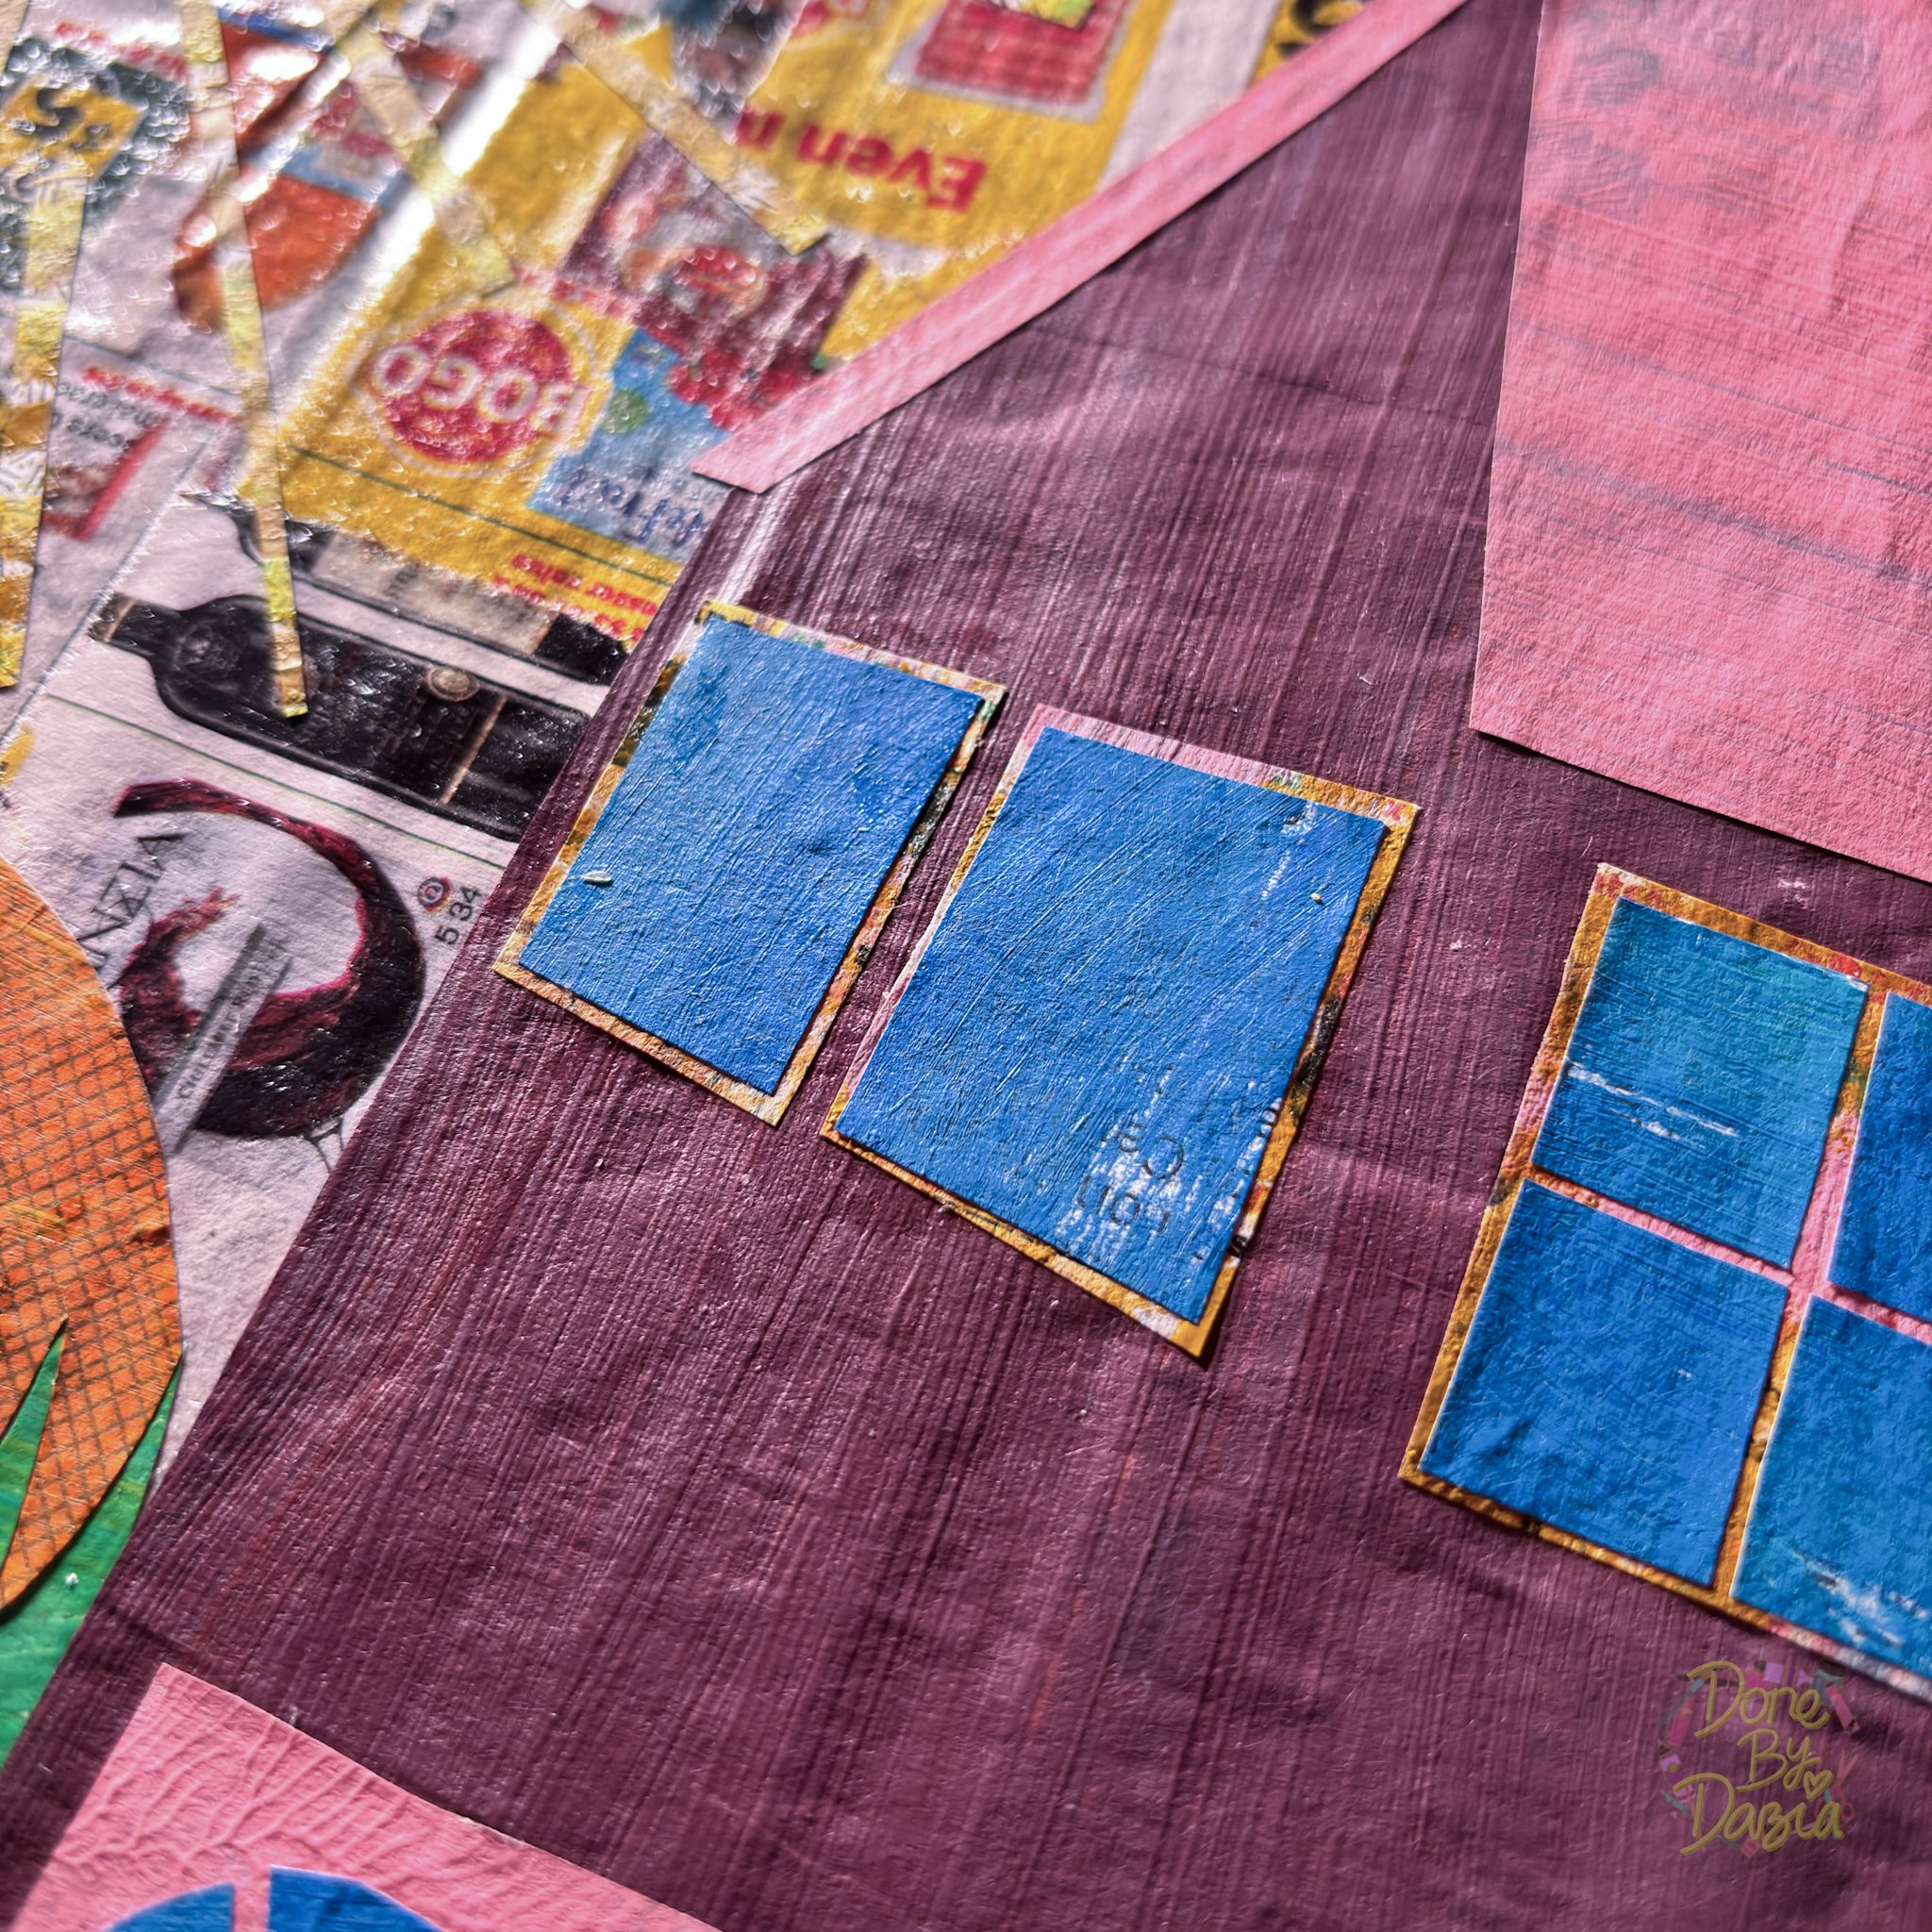
I got the layout and order sorted and then started the sticky process by gluing the windows and door onto the house shape.
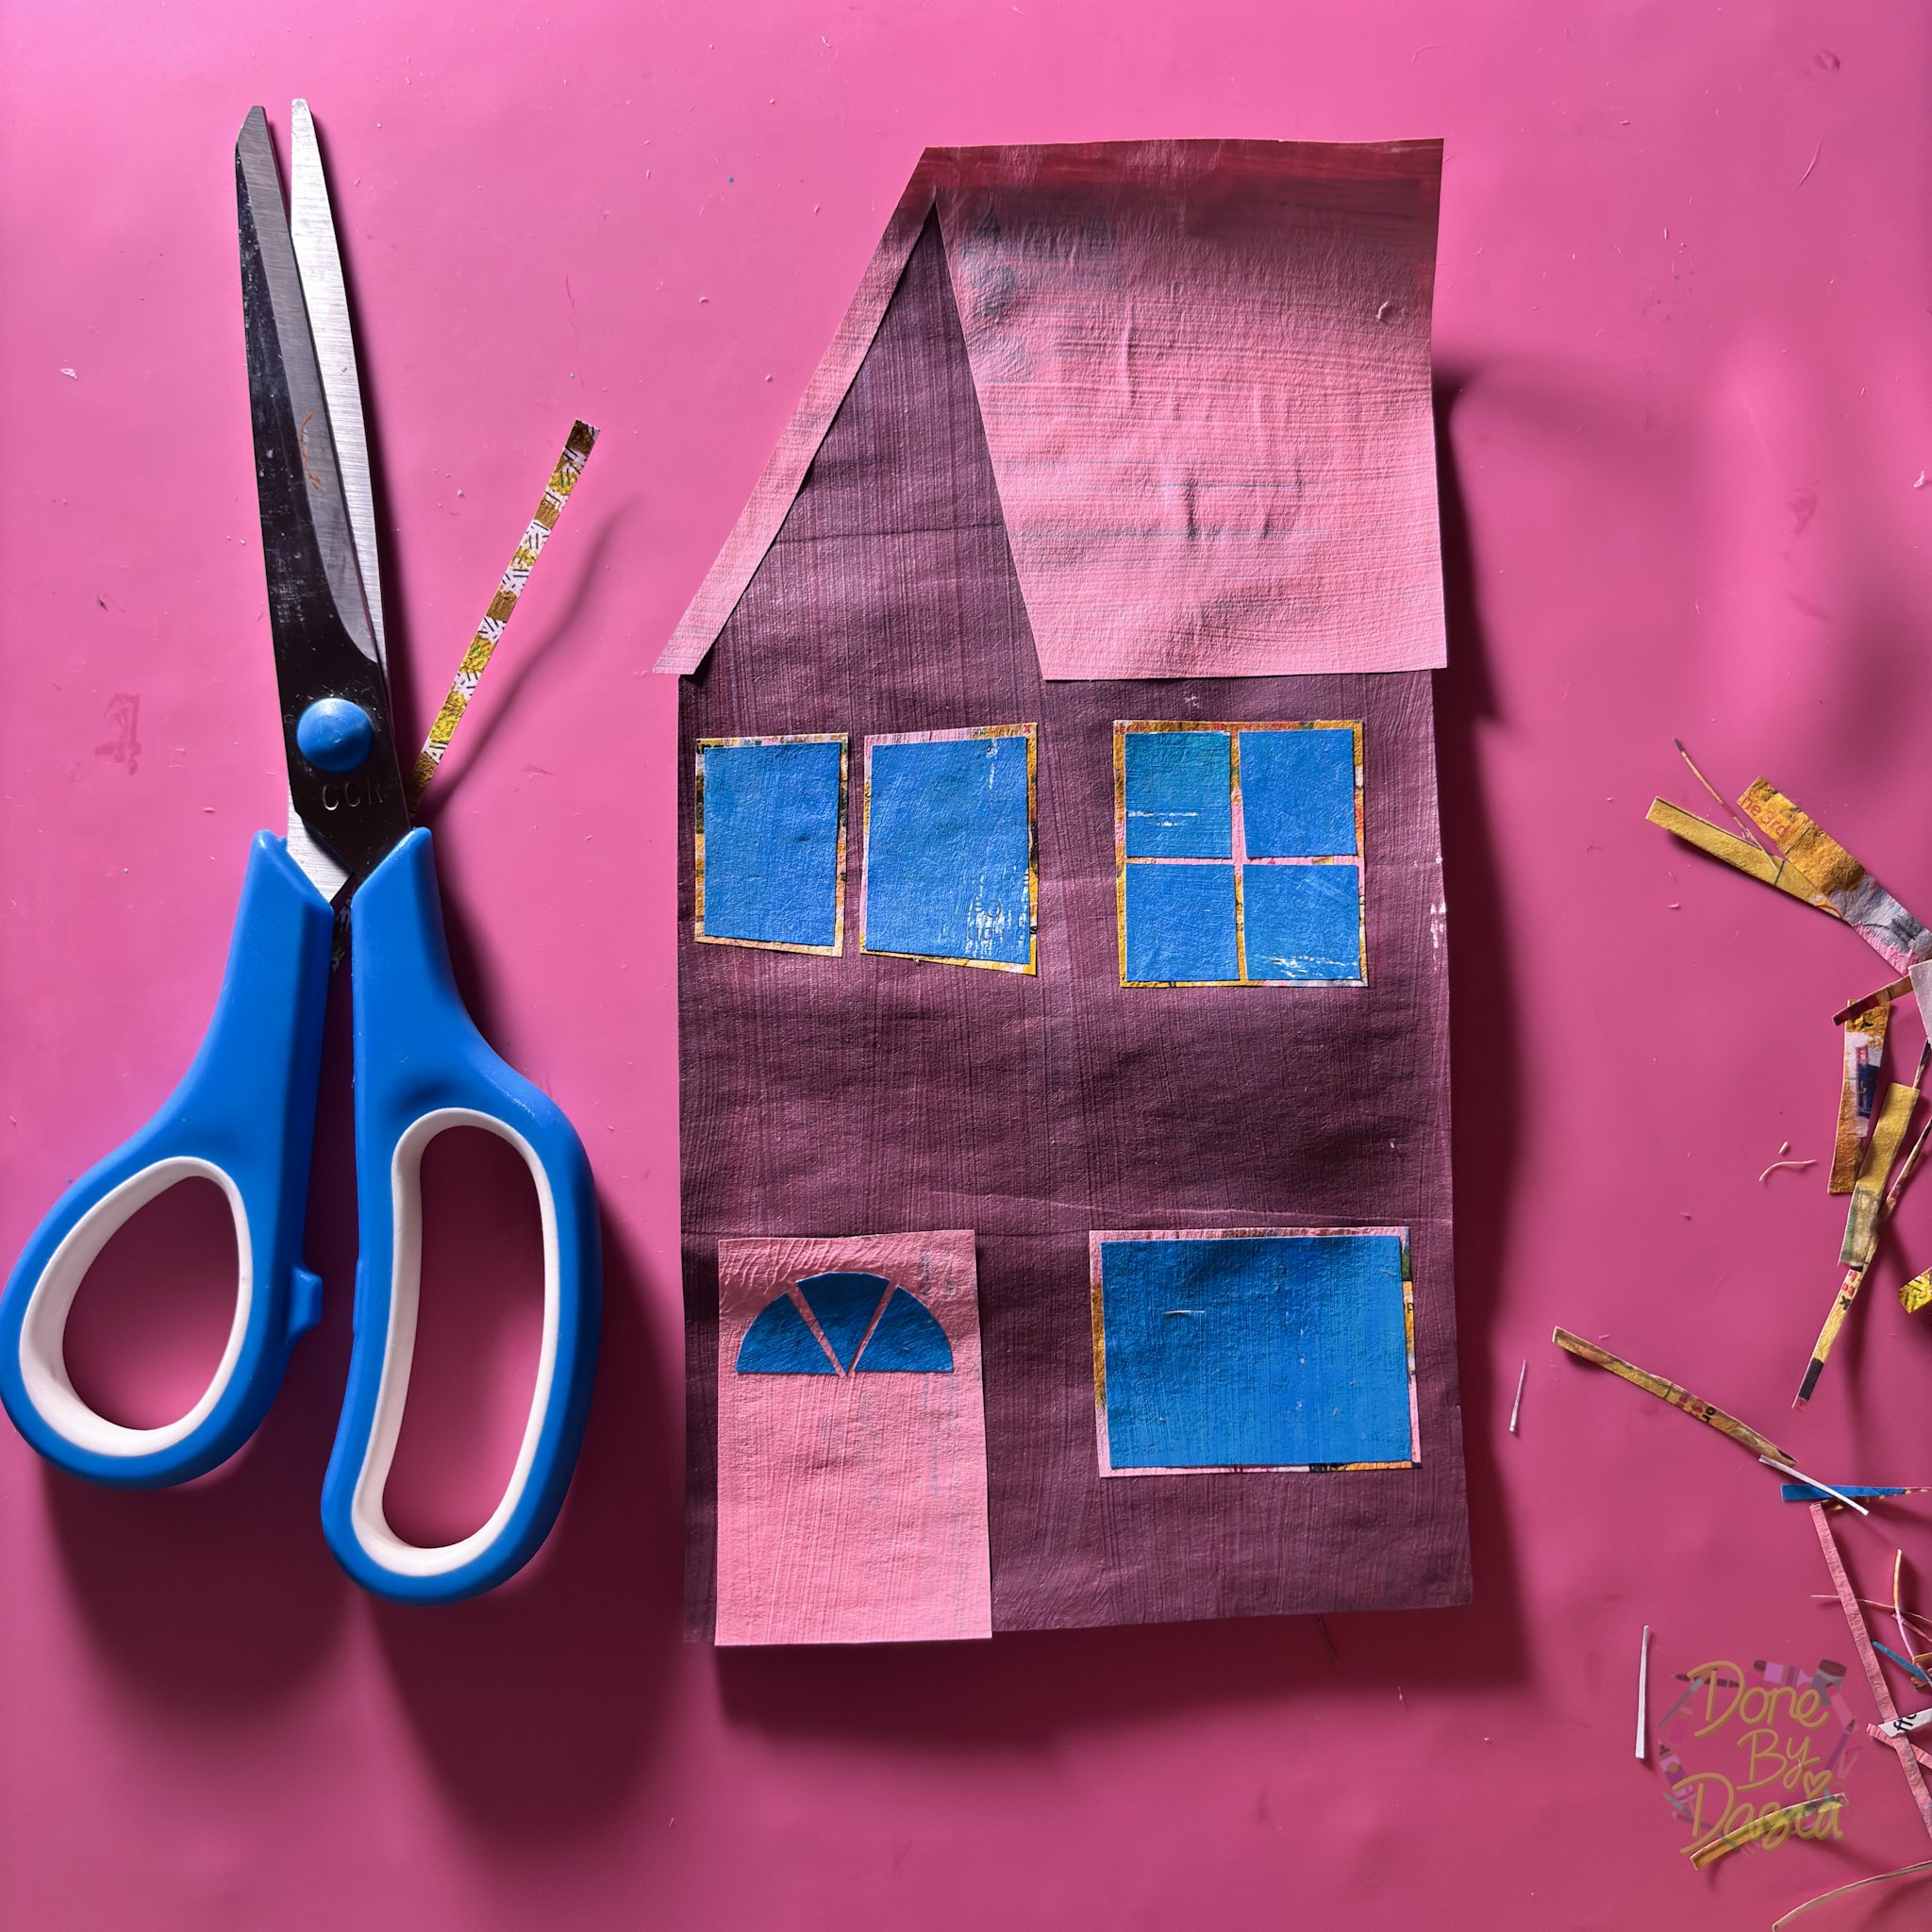
While doing this I decided to add window frames by gluing the original windows to another piece of collage paper which I think made them stand out even more!
The most difficult part about gluing the pieces down had to be the tiny pieces, like the windows and light rays, as well as remembering the order in which I needed to glue the pieces down so that they made sense. I hit a snag near the end when I realized I had glued down all the grass patches when the sun needed to be glued down first. By the time I realized this the grass was pretty much completely dry!
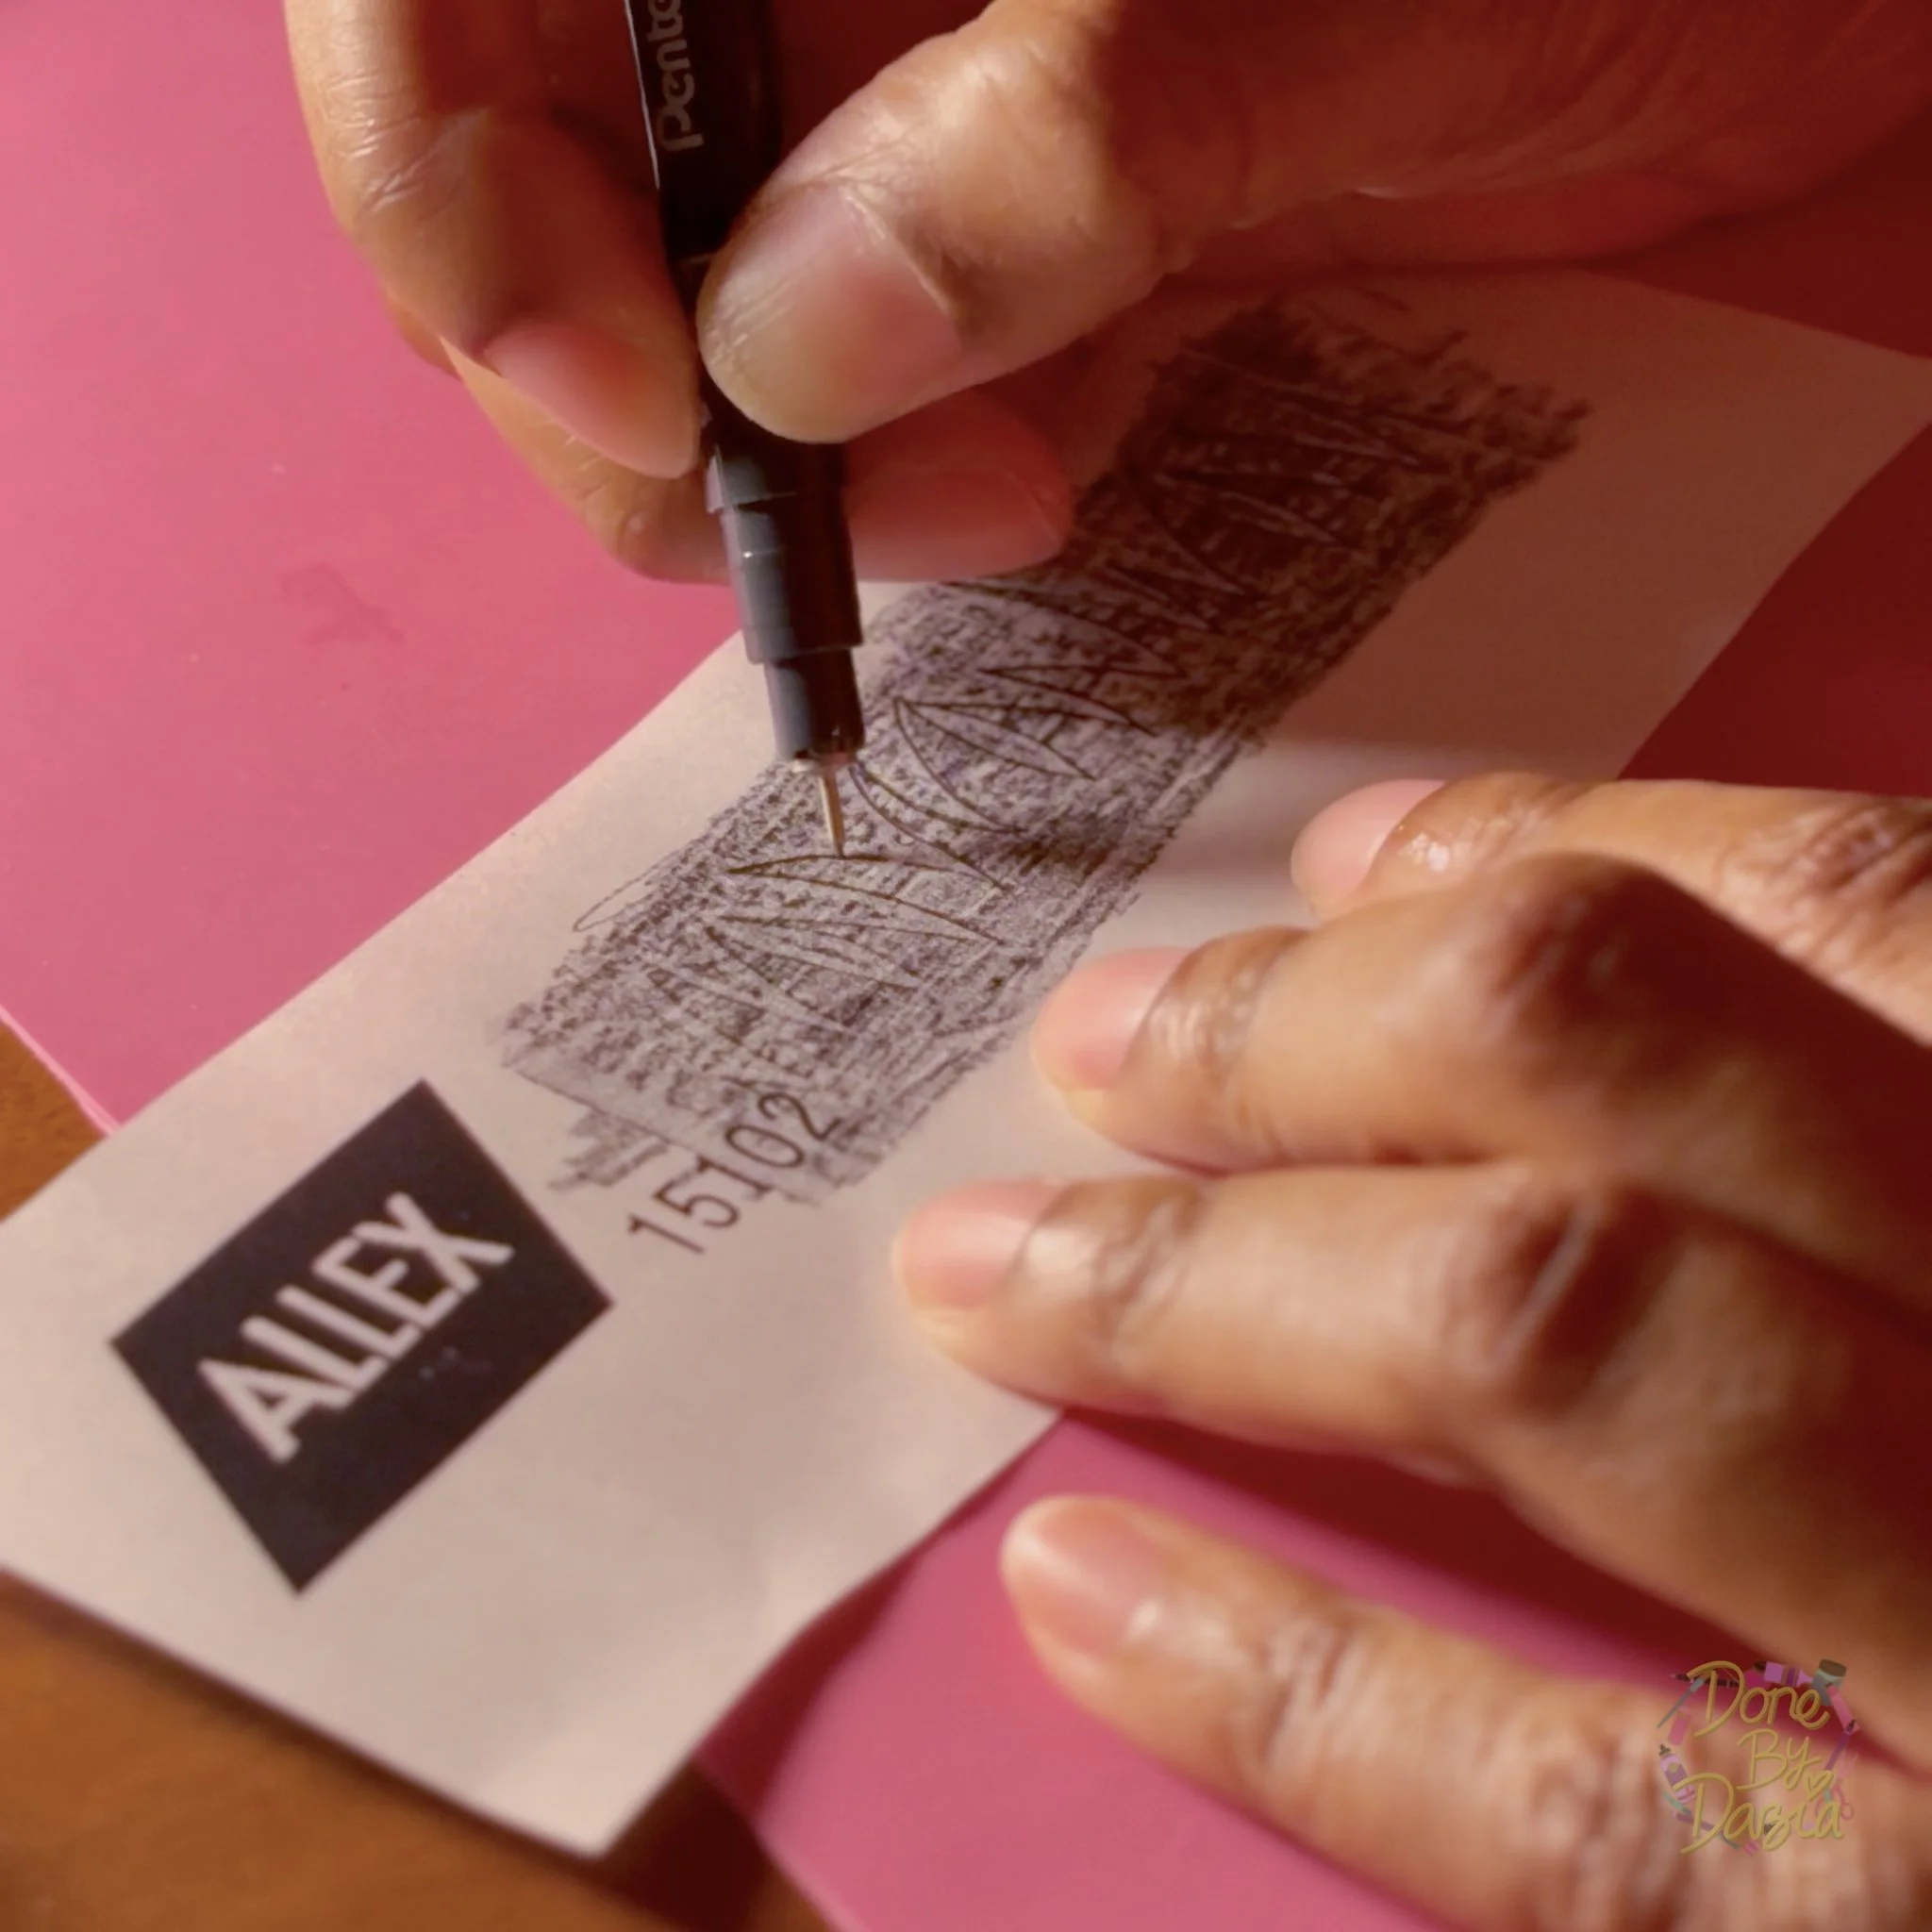
I was able to fix this by laying down a sheet of thin paper and using this thick charcoal pencil thingamabob to rub over the paper and capture an impression of the grass.
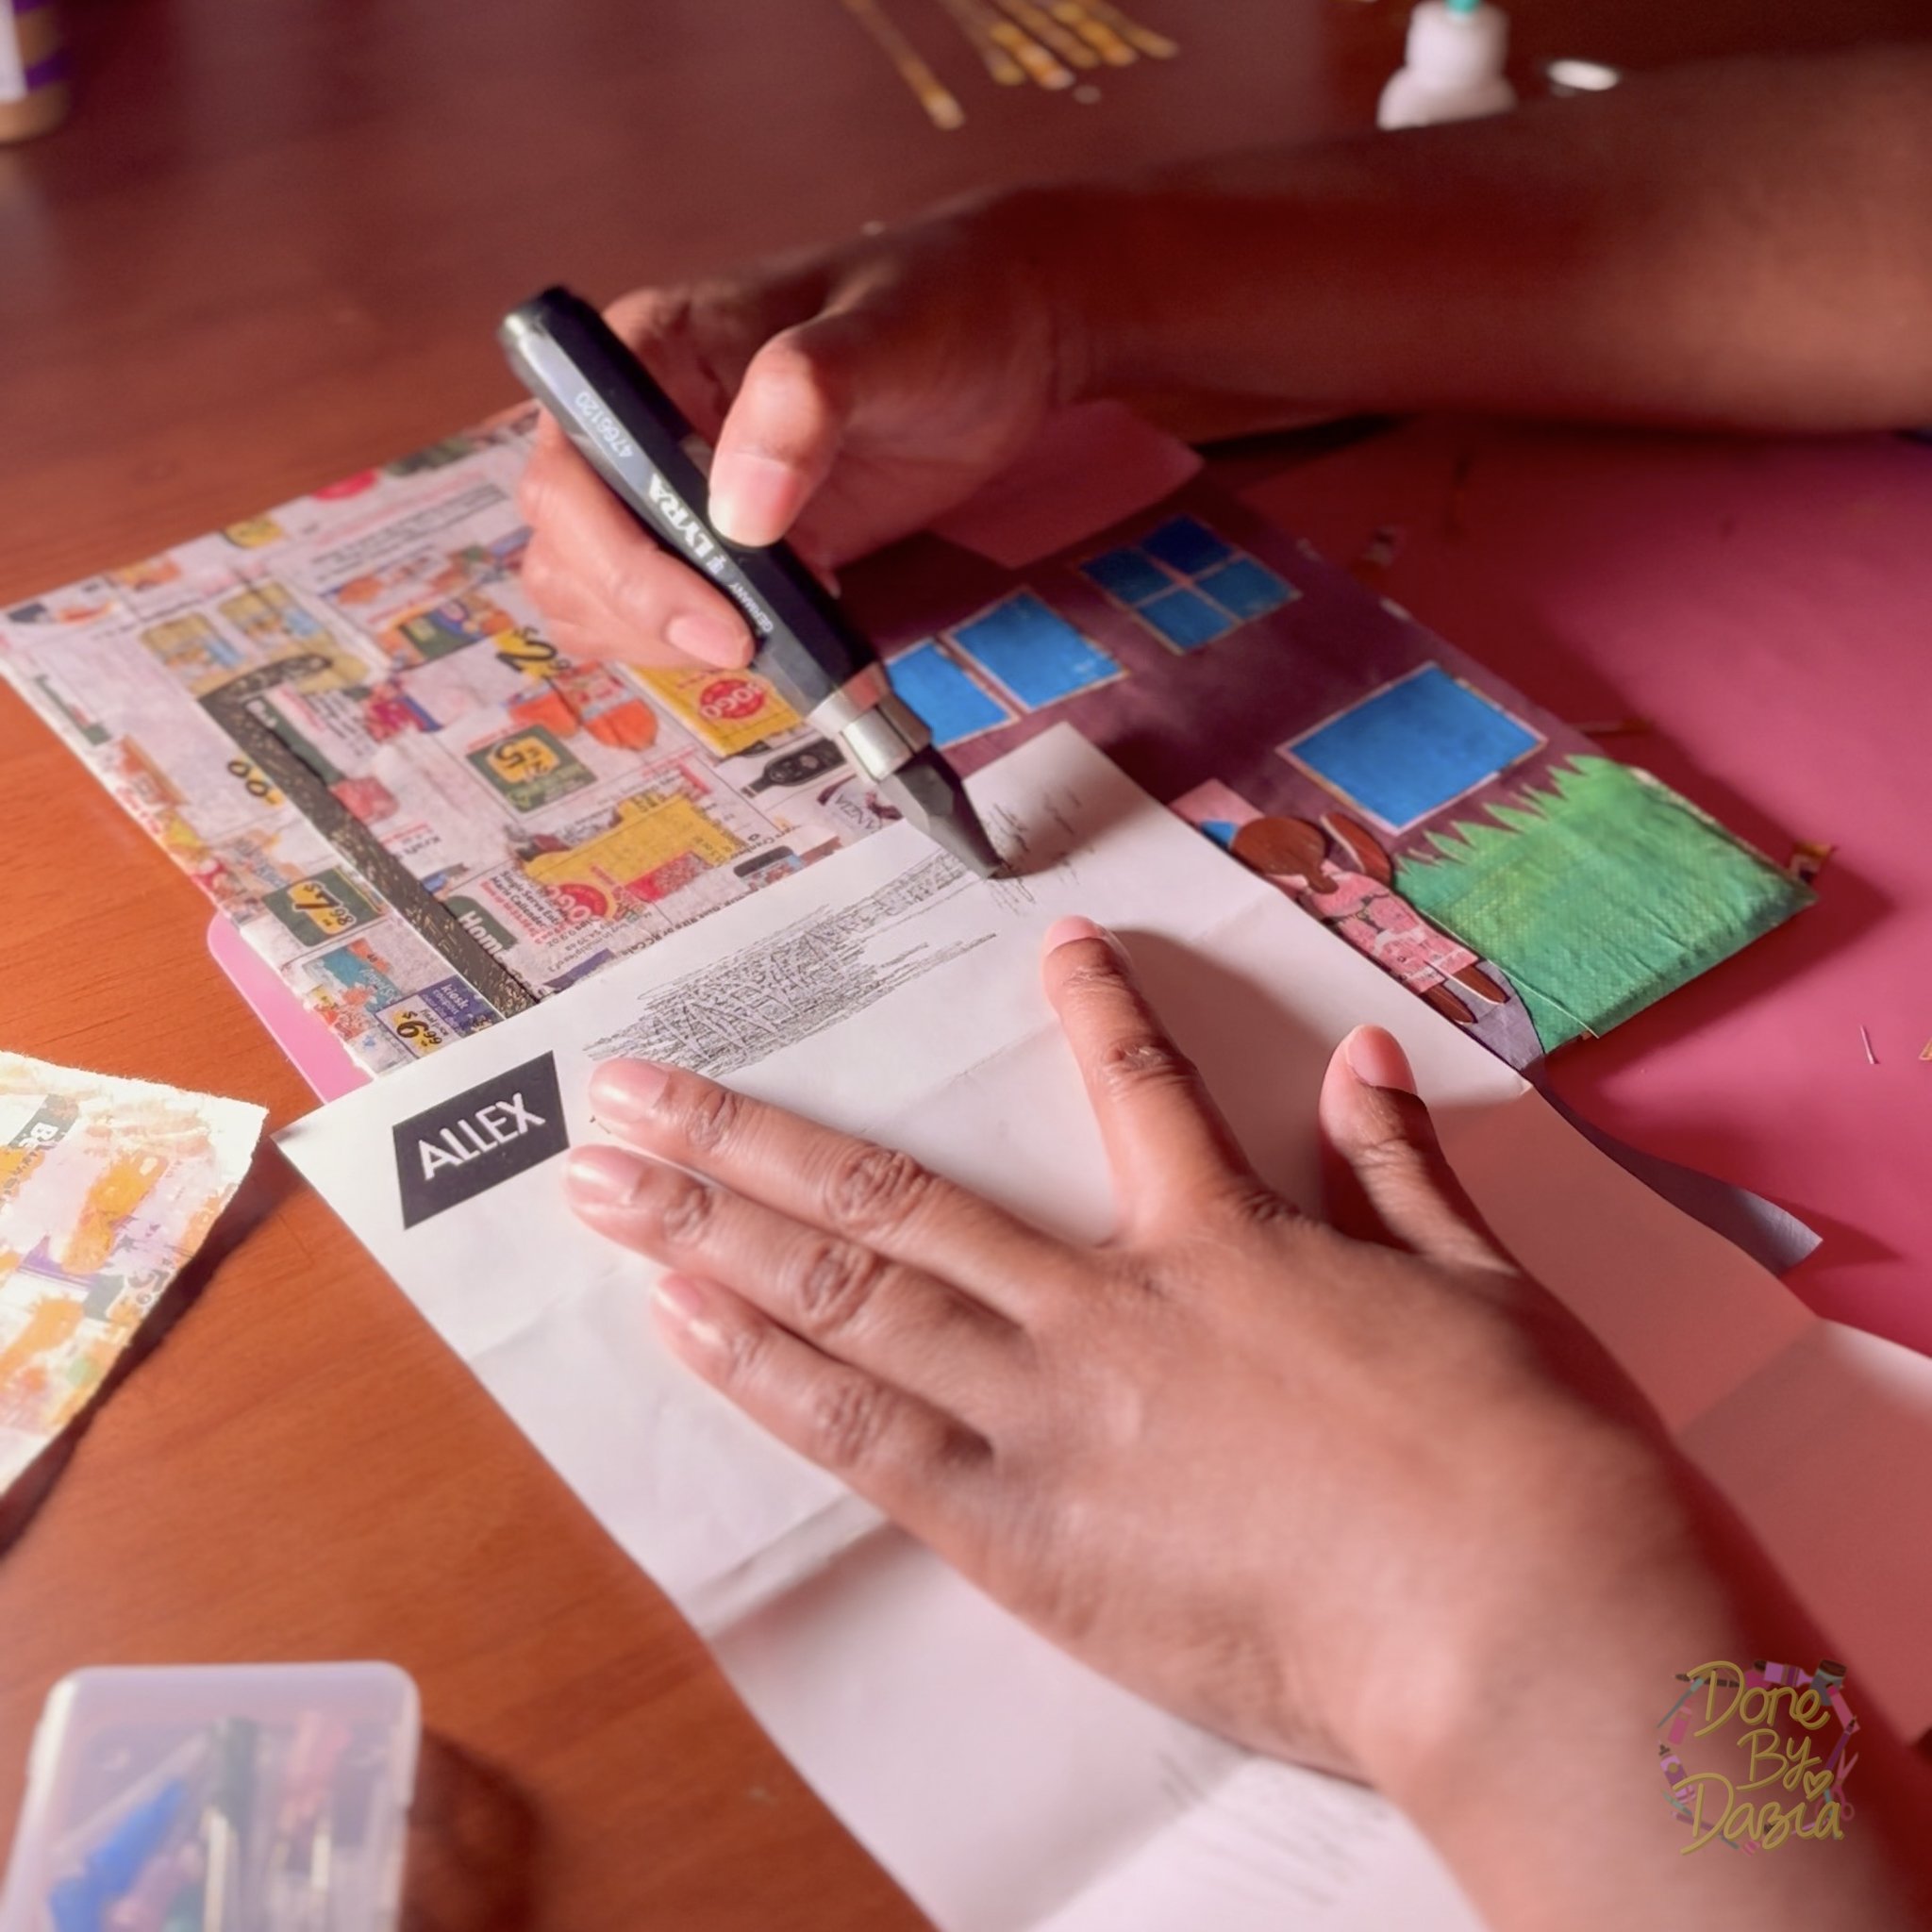
I then traced the outline of the impression, cut it out, traced the cutout onto the back of the sun, and cut the grass marks away from the sun!


Gluing the sun down in a way that lined up with the grass truly felt like working on a puzzle! While it wasn’t exact, I was happy with my stroke of genius and the result!

After I glued down the thin light beams coming from the streetlight I was done with my collage!

Who knew junk mail could look so cool?!

I hope that my niece approves of my submission to her creative challenge and that you enjoyed following along with my Junk Mail Collage process/tutorial! I had a lot of fun putting it together and trying out this hobby experiment. It has been a great way to creatively turn trash into treasure!
Be sure to tell me what you think and show me what YOU made!!!
If you’re one of my newsletter besties, you can reply directly to the weekly emails I send you about the week's hobby experiment. If you aren’t already a newsletter bestie, go ahead and fill out the form at the bottom of any page on my website to join the exclusive club! You can also tag me on Instagram (@KadaziaSparkles) or use the hashtag (#DoneWithDazia) so I can come witness your hobby greatness!
Be on the lookout for your third hobby experiment tutorial as part of my New Year, New Hobby 2024 series, it’s gonna be a good one!
Until then, Hobby-On Fam!