Urban Sketching... From Home | New Year, New Hobby 2024
Hello! Welcome to our first of the New Year, New Hobby experiments,
Urban Sketching… From Home.
For this week’s hobby experiment you’ll need the following supplies:
A sketchbook, notebook, or loose-leaf paper
A pencil and/or pen
Reference photos
Coloring supplies (optional)
Before we dive into the tutorial I’ve prepared for this week, I figured it would be nice to learn a bit about the origins of Urban Sketching. If history ain’t your thing (it typically isn’t mine either) no biggy! Go ahead and scroll down to the start of the tutorial.
Urban sketching at its core really just means to draw what you see, as you see it, from the place of where you see it. For example, if you go to a park with the supplies listed above and draw what and who you see from your perspective at that moment, then you are Urban Sketching.
This simple act boomed into a creative phenomenon in 2007 thanks to Gabriel Camapanario. From an online forum for him and his sketching friends to a full-blown blog frequented by strangers from every nook and cranny of the world Gabriel started a movement. One that has since become a community of people who call themselves Urban Sketchers. The Urban Sketchers live by a code, a set of eight Visions & Values.
For this diary entry, I’ll just let y’all in on the first community rule so you can gain a fuller understanding of how and why we’ll be deviating from it.
The first Vision/Value of being an Urban Sketcher is:
“We draw on location, indoors or out, capturing what we see from direct observation.”
This means that when you engage in Urban Sketching it’s supposed to be done based off of what you can see in the moment and not from a reference.
I completely understand the sentiment of this rule. I even appreciate its effort to encourage folks to go out into the world and experience life through on-location creativity.
However, I can think of a long list of reasons and limitations that could prevent folks from being able to engage in the very specific activity and community of Urban Sketching.
Not everyone has the ability to go out into the world and spend time in their sketchbook. Whether that be because of their work and family obligations, how their anxiety is setup, visual impairment, physical limitations, being medically home-bound, financial barriers that limit their transportation options, or all the above and more. Whatever the reason, I don’t think that means they can’t be a part of the semi-exclusive club of Urban Sketchers. But maybe that’s just my personal opinion. Either way, I’m inviting you into the fold with or without the authority to do so.
TUTORIAL
I’m gonna start by offering suggestions of the kinds of images you can use and inspiration you can gather to start Urban Sketching from home. Then I’ll break down one of the examples into easy-to-follow steps to approach your eventual masterpiece.
If for any reason at all you are unable to get out and sketch on location, I’ve come up with a few ideas of what you can do that in my opinion should still be considered urban sketching.
1. Look out your window and sketch what you see.
2. Sketch out a spot that’s in your house that you find particularly visually interesting.
3. If you are able to leave your home on an occasion for a little bit of time, take a few pictures. Even if you think the location is a basic one, like the grocery store. Then you can use them for reference later when you’re in an urban sketching kind of mood.
4. Scroll waaaaaay back in your camera roll and find a picture that you may have taken at some point in the past.
5. Look up places you’d love to go if you had the chance and sketch those, thinking about what it would be like to visit (maybe even sketch in a little doodle of yourself on location).
6. Instead of drawing a location or space, do some intuitive sketching. Which basically means to let your feelings guide your pencil or pen across the page. Whatever you’re feeling in the moment will dictate what ends up on the page.
Okay, enough talking. Let’s get to Urban Sketching from Home!
Keep in mind that neither Urban Sketching nor Urban Sketching from Home are about technical drawing skills. They’re about capturing a moment and feeling in time in your life.
For my tutorial example, I’m gonna use Urban Sketching from Home Method #5 from above and sketch out a place I would love to visit!

Photo Credit Airbnb.com
I came across this funky-looking building on Instagram and immediately went to google to find out if it was a real place. Turns out it is! It’s called Reversible Destiny Lofts Mitaka and it’s located in Tokyo, Japan! After adding it to my One Day list on Airbnb, I set out to bring it to life in my sketchbook.
I started off by sketching out the big shapes of the main building pods.

Perspective is an area of drawing I struggle with, so blocking out the main layout of the main structure first helps me get everything else generally where it’s supposed to be in the drawing.
Next I went in an drew the parts of the building that held the structure together.

Drawing in these parts made the building look more like a real structure!
I then went in and added parts of the front gate and fence that would show from the perspective I was drawing from.
This further solidified the layout of the drawing and also made it feel like I was drawing an actual place and not just recreating a photo.
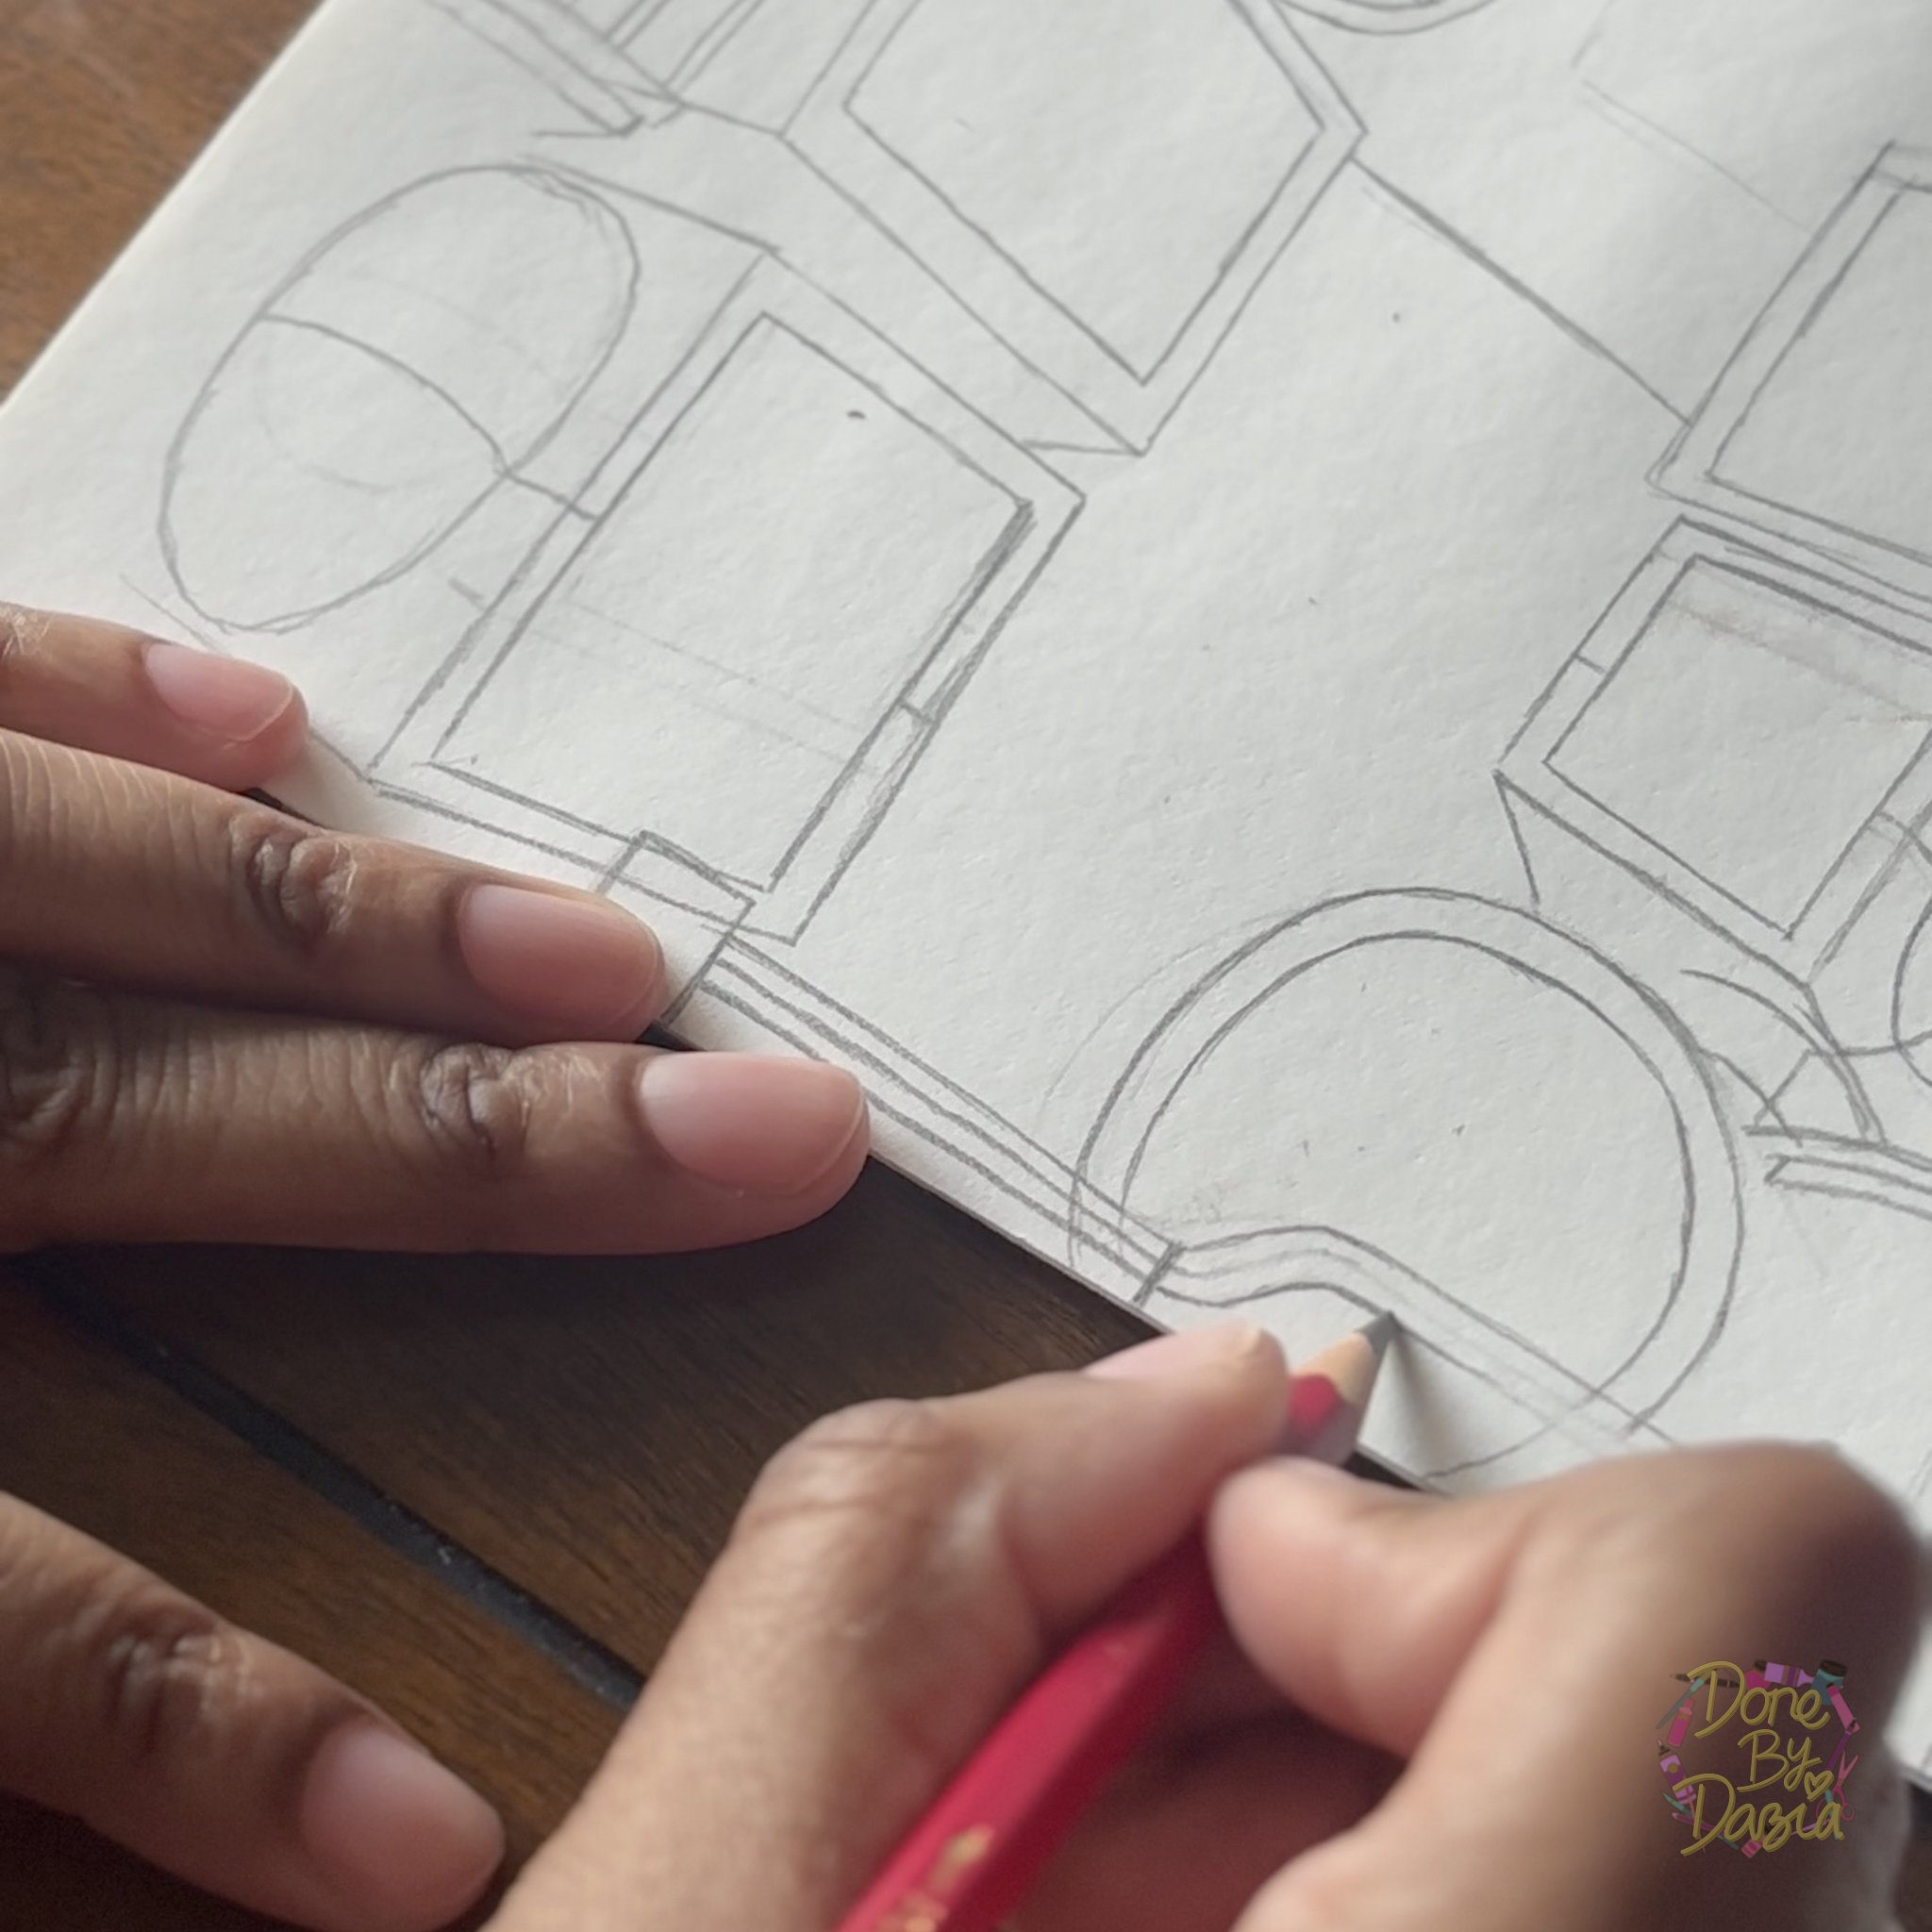
Feeling like the sketch was really on its way, I started drawing in the windows of the building.
I tried my best to get the windows and how they’re placed as loosely accurate as possible because their truly random placement in the buildings architecture is one of the most identifiable features of this building.
After drawing in the windows I went through the rest of the drawing filling in more details that brought the whole of the building and its essence alive!

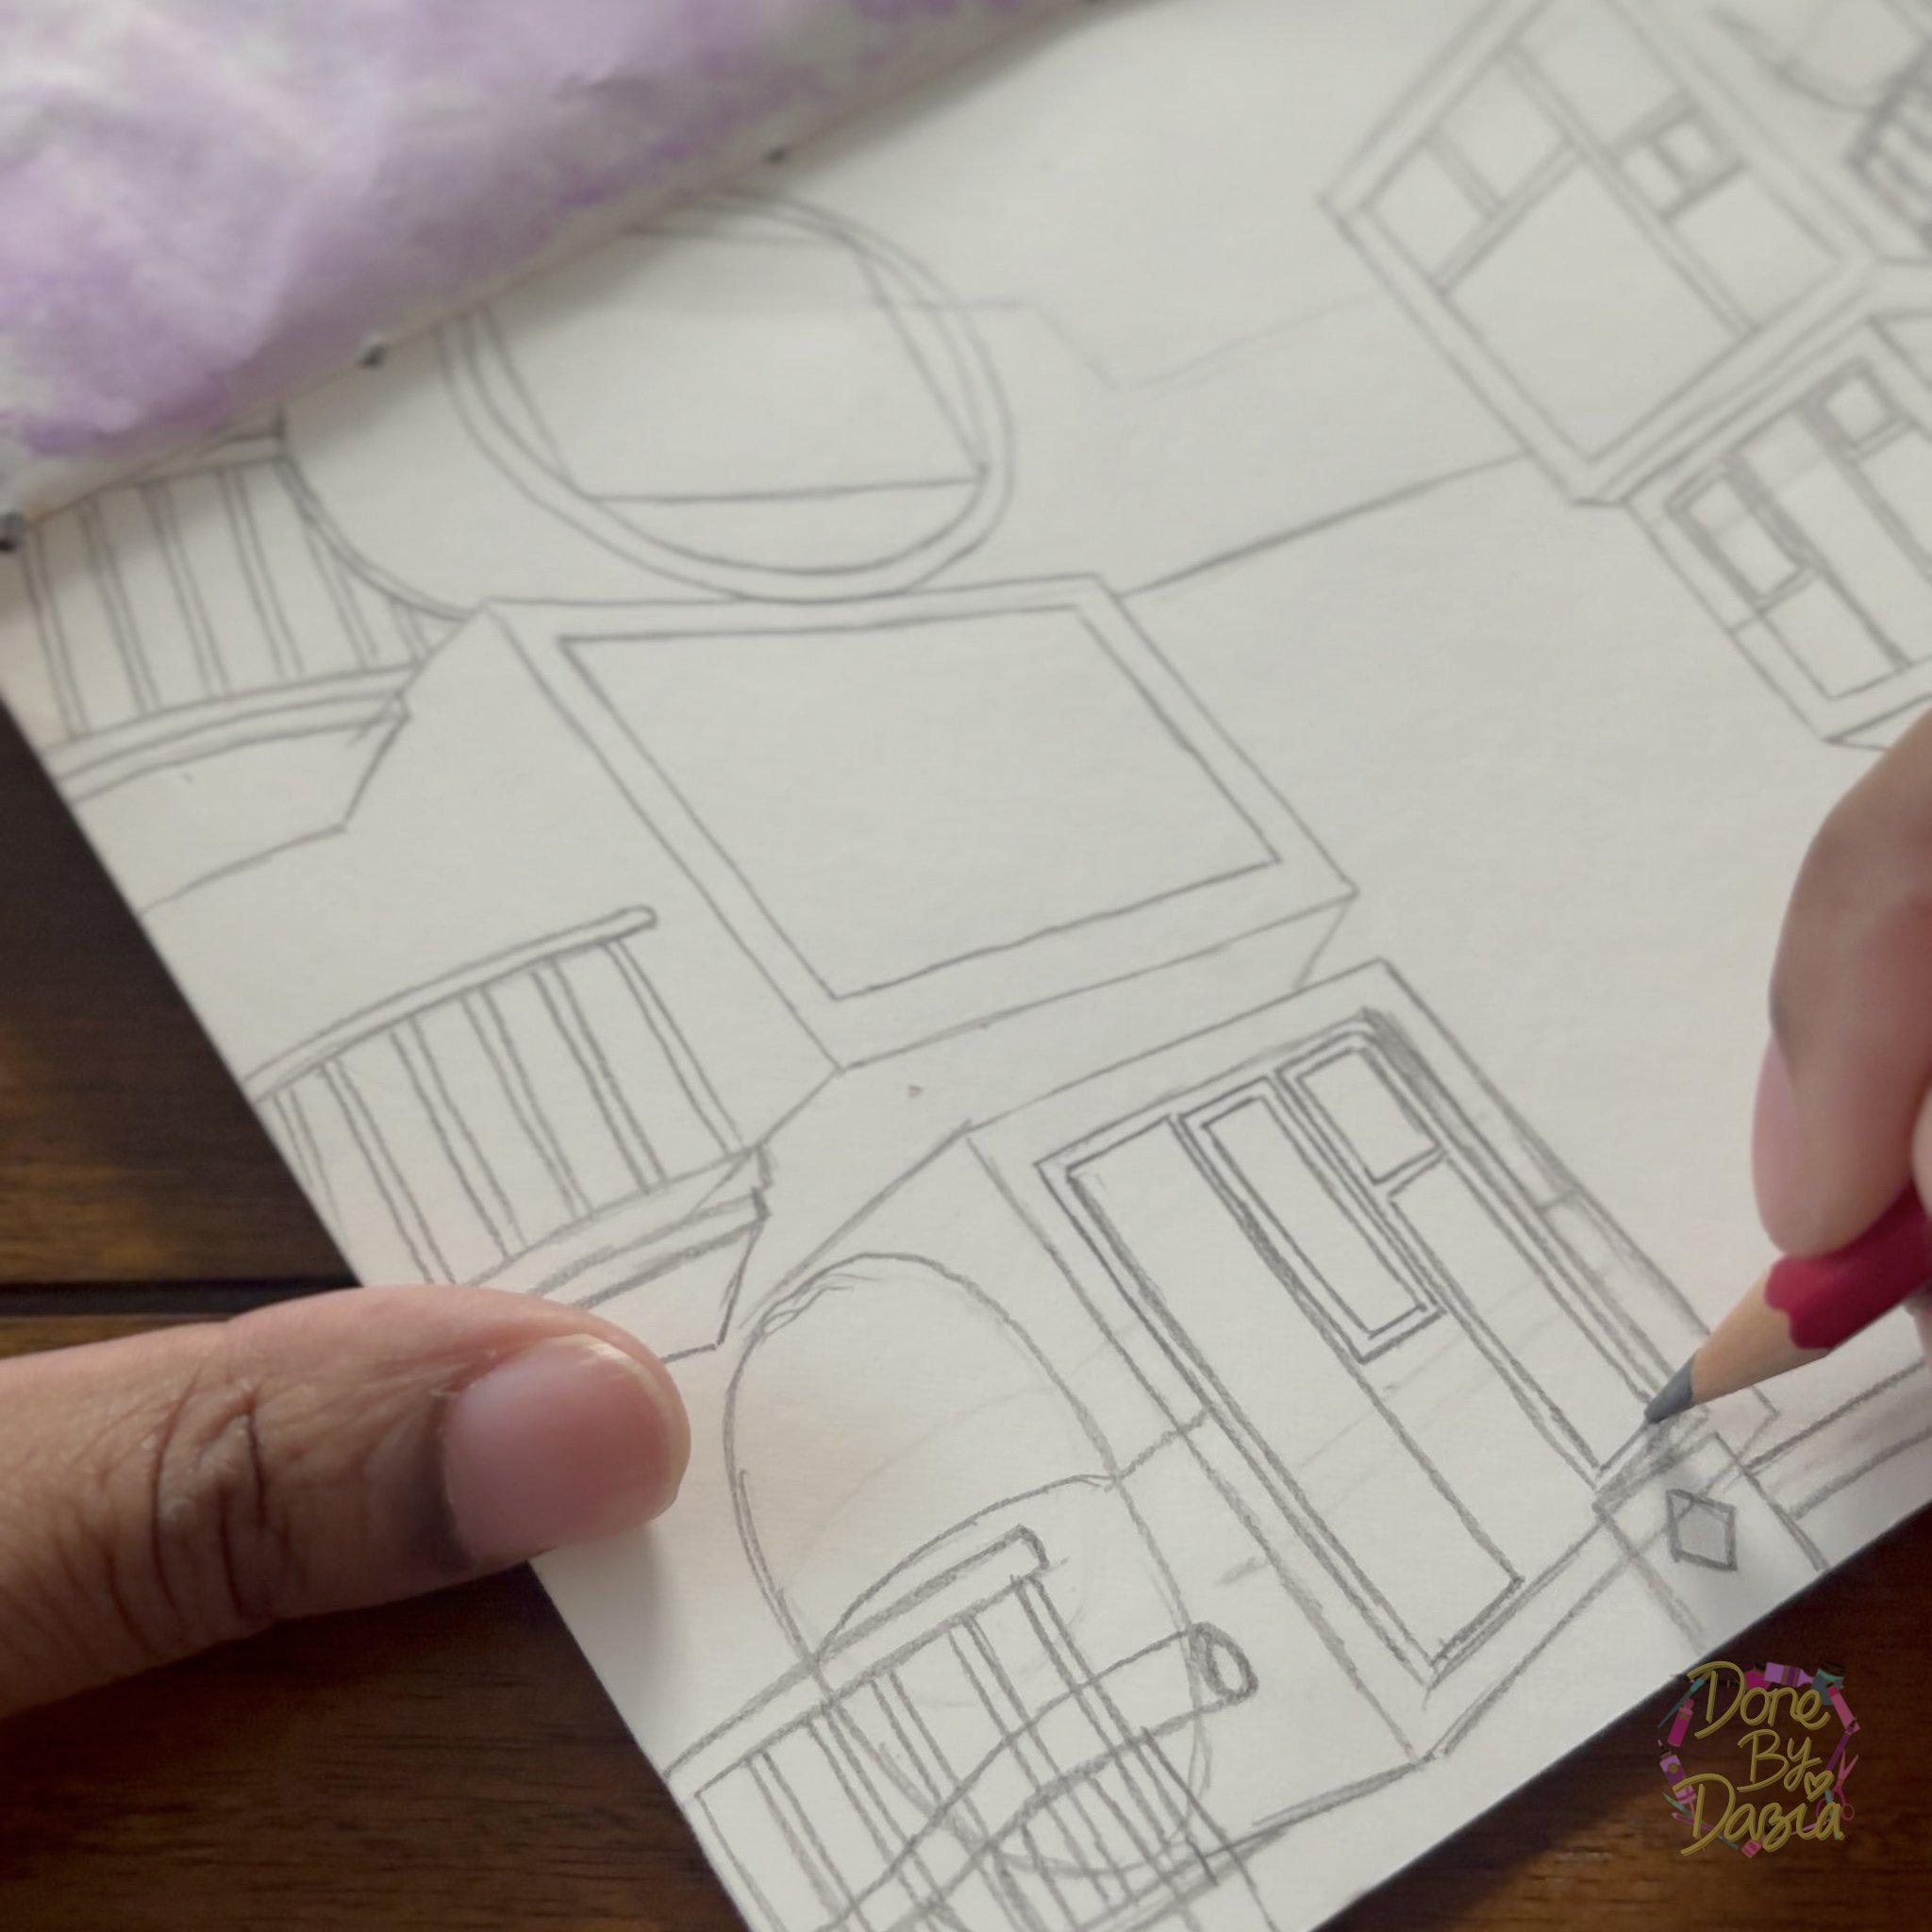
The middle/in-between part of the buildings structure was the most difficult for me to draw in because the two sides of the building ended up not being aligned in a way that would make the drawing make sense. But after quite a bit erasing and resketching I got the pencil sketch to look how I wanted.
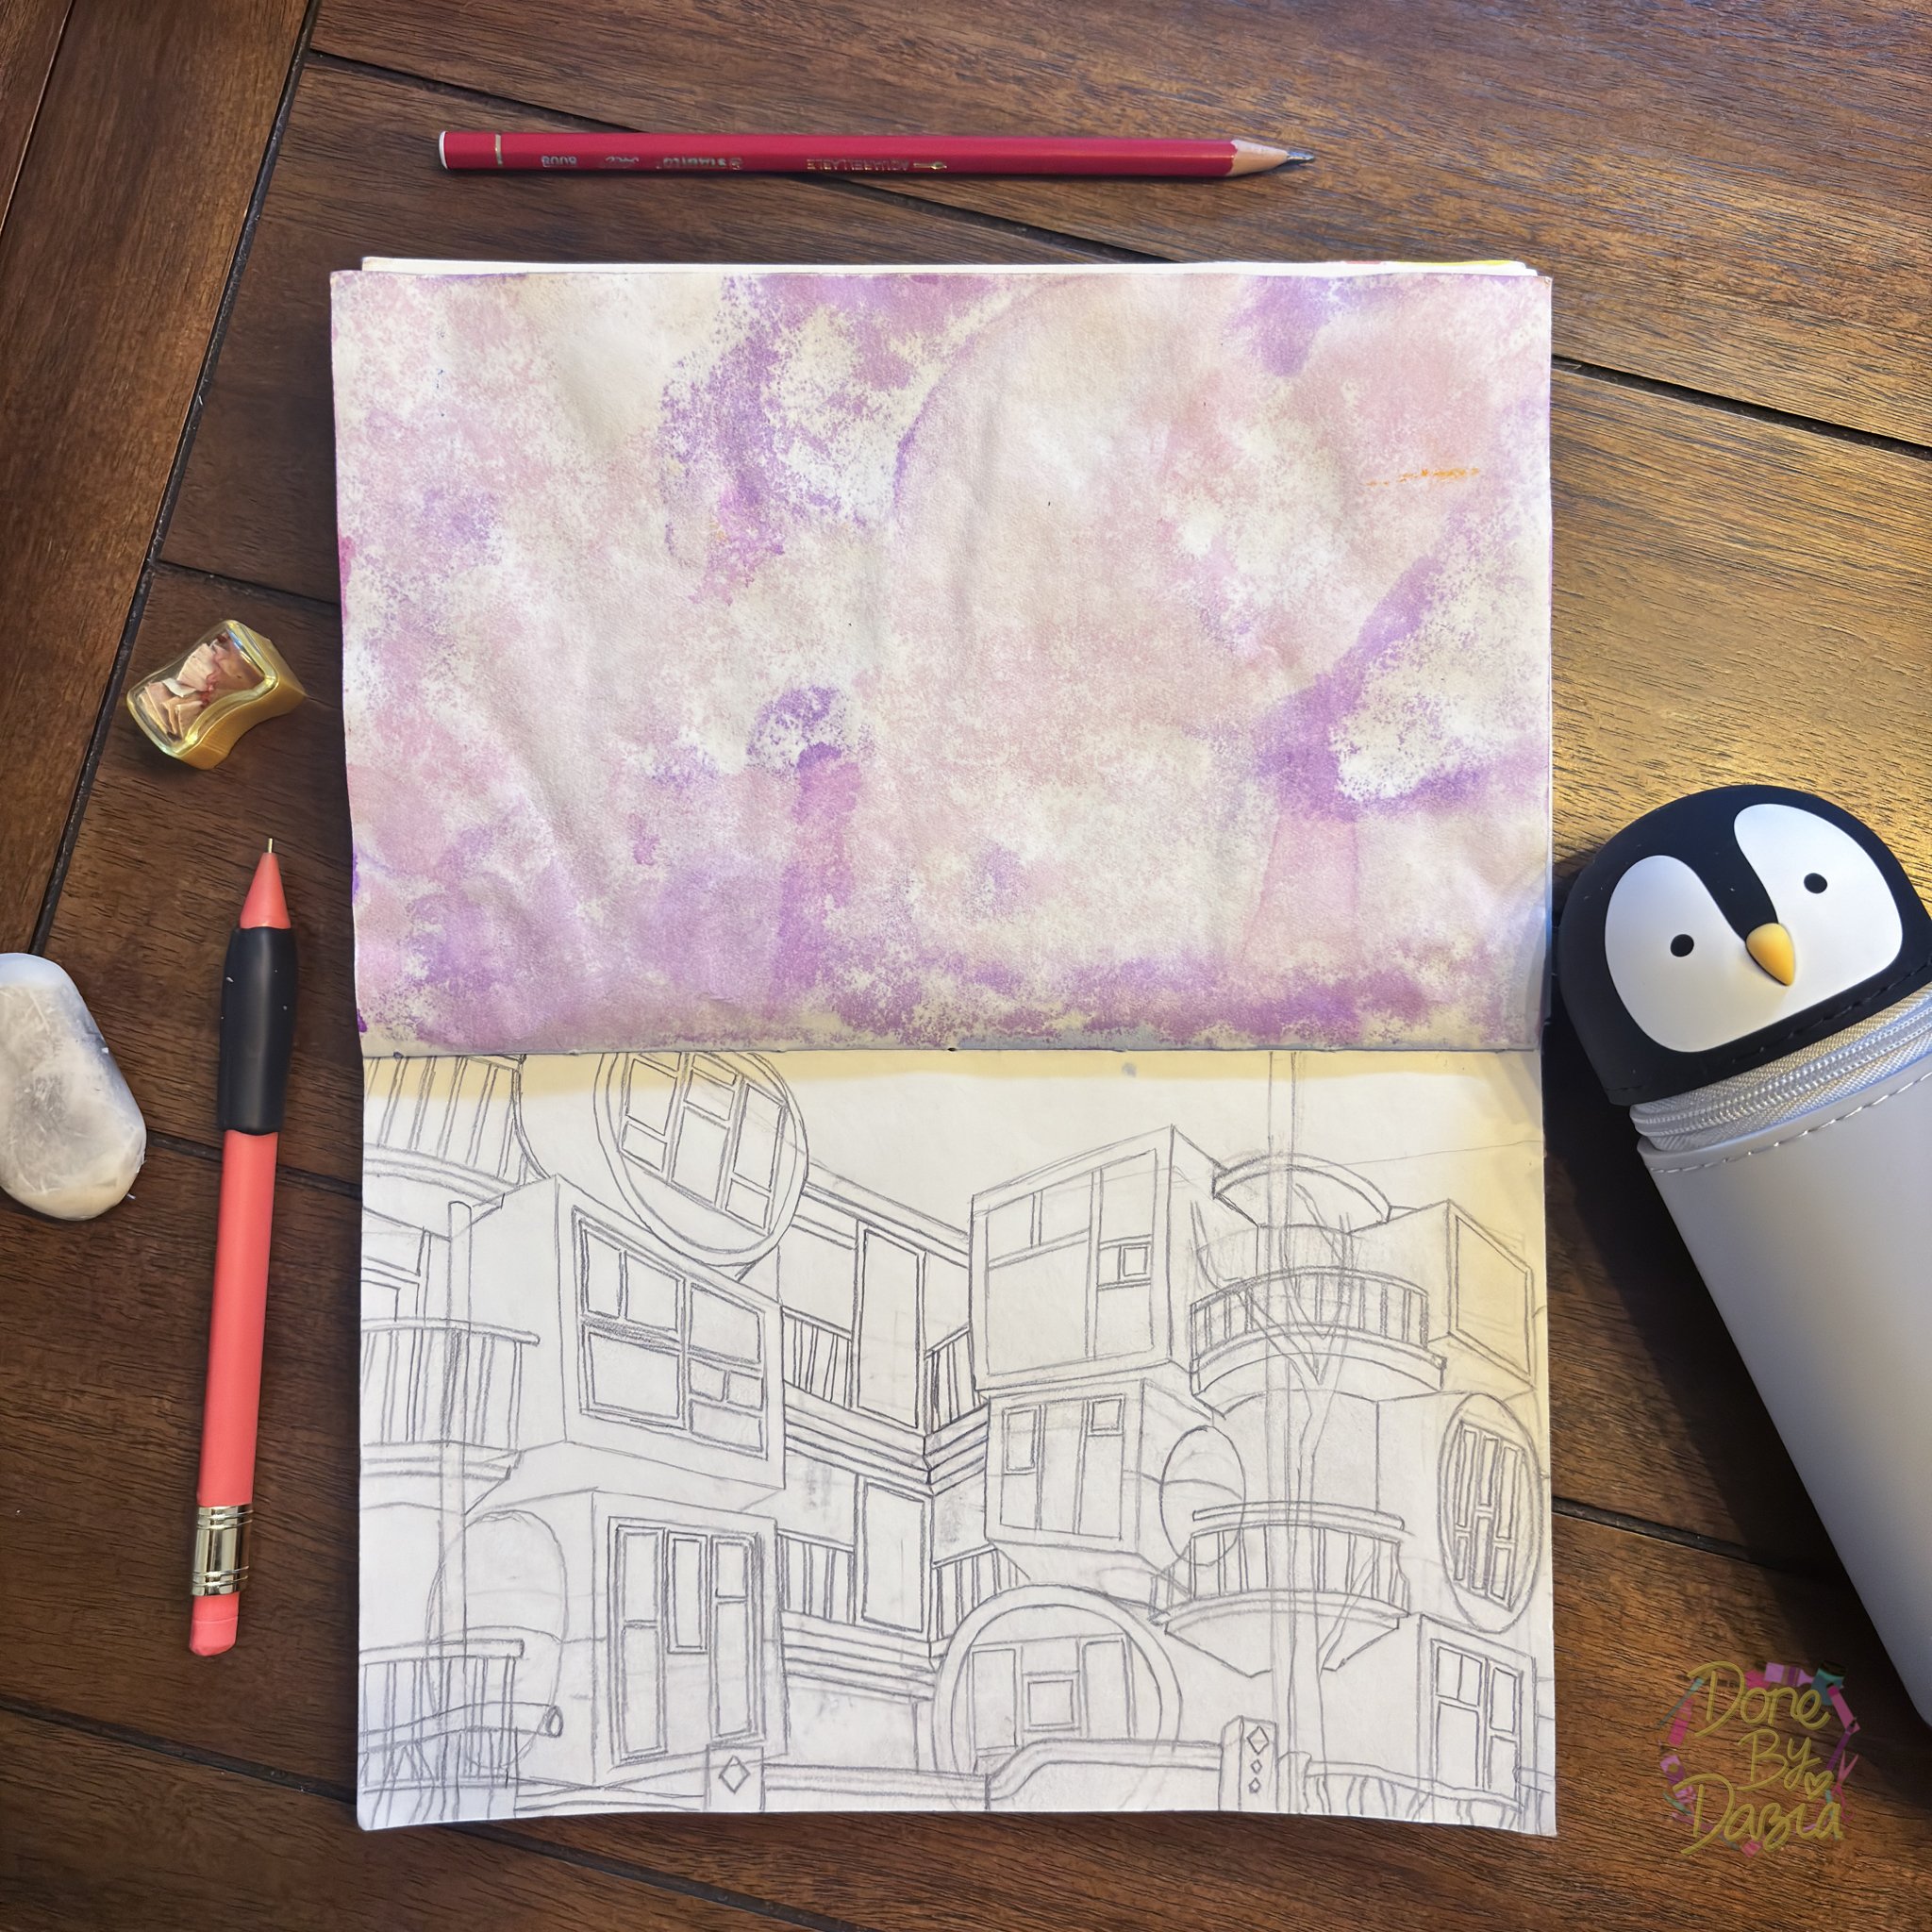
Once I was happy with my final pencil sketch I could have stopped there, and you can too! Technically, the pencil sketch alone is the Urban Sketch and you can pat yourself on the back! WOOHOO! Go you! Go us!
If you would like to add some bonus pizazz though, feel free to keep following along!
After I finished my lovely sketch I used my Prismacolor Premier Fine Liners to line my sketch. Lining a rough sketch is one of my favorite steps in drawing traditionally or digitally.

If you have a water and eraser-proof pen or liner you can do this step now too! If your pen or liner isn’t water or eraser-proof proof I would wait until you’re finished coloring to line your piece!

To color my sketch I used my Koh-I-Noor Woodless Colored Pencils that I keep in my Art Supplies on the Go bag.

And BOOM!

Our Urban Sketch that doesn’t quite follow the rules (but I think still counts) is doubly done!
Overall, I’m very happy with how my Urban Sketch turned out. Working on it made me even more excited and motivated to hopefully visit this place one day!
Remember, don’t let your very real limitations for doing something creative the “right way” stop you from doing it at all. Modify the original however and as much as you need to to make it accessible and enjoyable for you. There shouldn’t be gatekeeping in creativity because there is no right or wrong way to be creative!
I hope trying out this hobby, Urban Sketching from Home, was as fun for you as it was for me!
If you want to learn more about Urban Sketching here are some more resources:
What’s an interesting-looking place you’d want to experience in person? If you end up drawing it I’d love to see it!
If you’re on my email newsletter subscriber list, you can reply directly to the weekly emails I send you about the week's activity. If you aren’t already an email newsletter subscriber, go ahead and fill out the form at the bottom of any page on my website. You can also tag me on Instagram (@KadaziaSparkles) or use the hashtag (#DoneWithDazia) so I can come witness your hobby greatness!
Until next time, Hobby-On Fam!